Each owner wants to protect his house or summer cottage from penetration ...
|
|
When warming the house, it is very important to predict the special attention of the floor. It is much more pleasant to walk ... |
The arrangement of the garage from the sandwich panels has a mass of advantages, among which ... |
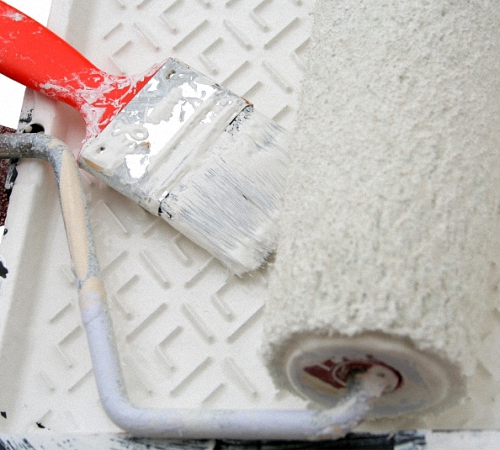
The soil of the ceiling before painting with your own hands. Instructions for preparing the ceiling for decoration
In order for the finishing of the ceiling to go as successfully as possible, it is necessary to properly prepare the surface for work. Grunning is a very important stage, which should not be neglected in any case. We will talk about the features of preparing the ceiling for painting further.
Table of contents:
- Primer for the ceiling views and features
- Features of priming the ceiling with various types of soils
- The advantages of a primed ceiling
- Preparation for the soil of the ceiling: preparation of the tool and the choice of primer
- Do -it -yourself primer primer: Features of calculating the primer for the ceiling
Primer for the ceiling views and features
The main components of the primer are the coloring pigment and the substance for the formation of the film. The number of layers is determined by the individual characteristics of the room and the evenness of the ceiling. With a maximum difference of three millimeters, it is recommended to use a primer of deep penetration.
The main purpose of the primer is a decrease in moisture absorption of the surface. The finishing of the ceiling with a plaster solution without a primer will lead to an uneven distribution of moisture. At the same time, the level of adhesion of the ceiling with paint is reduced, its drying out and the loss of the attractiveness of the appearance.
In the ratio with the type of surface, several types of primer are distinguished:
1. Acrylic primer - contains acrylic polymers, applied to concrete, wooden fiberglass, plastered, brick, cement surfaces. Water -based composition is used before applying water -based paint.
Please note that in housing premises it is allowed to use exclusively compounds on alkyd, acrylic and mineral -based.
2. Alquid composition - is characterized by high strength, used on tiled, glass, steel surfaces. It is strictly forbidden to use alkyd primer on drywall and plastered base.
3. The mineral version of the primer is the most popular, used on the surfaces of brick, concrete, plaster, aerated concrete, foam concrete. As the main components of such a composition are substances in the form of cement, gypsum, lime.
For painting a wooden, metal ceiling, a primer is used on a coloring basis. Olifa, resin of synthetic or natural origin is used for its manufacture. Compounds with a special action are also distinguished, they make the coating anti -corrosion and moisture resistant.
A primer of deep penetration strengthens the surface, penetrating deep into a distance of 0.3 to 2 cm. Some compounds differ in the presence of antiseptic inclusions that improve the opposition of the fungus, mold, and rot.

A quartz type primer contains sand in the composition, after applying to the surface, makes it rough, thereby improving adhesion with subsequent finishing materials.
Some primer options are a full -fledged coating, in which case they are applied to several layers. The first of which implies the dilution of the composition with water.
It is not recommended to process the ceilings in the room with primers for enamel. Since these compositions contain alkyd resin, unsafe for human health.
Features of priming the ceiling with various types of soils
In relation to the type of further finish, such primer options are highlighted:
- under the enamel;
- under water -based paints;
- universal compositions;
- Special preparations.
A variant of independent manufacture of a primer is possible by breeding water with putty and PVA glue or diluting the paint with a solvent in a ratio of four to one.
The primary of the primal contains pigmented inclusions, resins and additional additives. For dilution, solvent or solvent is used. Water primer contains latex additives and synthetic dispersion. For dilution, the compositions are used, recommended by the manufacturer in the instructions. Widespread water primers are widely used to apply to the ceiling and walls. After drying, it forms a coating of increased density.
In addition, universal compositions are distinguished, which are suitable for almost any type of finish. They increase the strength characteristics of the coating, significantly save on finishing materials, especially when using paint.
The emulsion primer is used to strengthen old loosened surfaces, contains a modified vinyl version in the composition, which is distinguished by good moisture -resistant characteristics. An emulsion type primer is applied on a surface made of concrete or plaster.
For a porous surface made of wood or drywall, a latex -based primer with strengthening characteristics is used. This tool performs the function of preparing the ceiling for further decoration. It is categorically not suitable for a lime surface.
The advantages of a primed ceiling
The primer is applied to the ceiling both at the stage of preparation for the finish and after it. The composition forms a protective coating that protects the ceiling from external stimuli and mechanical influences.
Among the main advantages of priming the ceiling in a private house, we note:
1. Surfacing - the primer perfectly fills out all pores, eliminating additional building defects.
2. Improves surface adhesion with various types of finishing materials. After the primer dries, the surface acquires roughness, thanks to this it connects well with paint, putty, tile, decorative plaster and other finishing materials.
3. It has an antiseptic effect - the presence of antimicrobial components in the composition of antimicrobial components, increases the resistance of the coating to the appearance of fungus, mold, corrosion.
4. Improving fire safety - this advantage is inherent in certain types of soils that make the surface non -combustible.
5. Moisturization of the surface and decrease in paint consumption. The priming of the surface leads to the creation of a transparent film that reduces the porosity of the ceiling, while the flowing composition is significantly reduced.
Concrete, plastered and plasterboard ceilings are subject to compulsory processing with a primer. This not only reduces the costs of further finishing materials, but also improves the operational characteristics of the coating.
Before the secondary painting of the ceiling, it is recommended to pre -apply a primer. In this case, the composition will reduce the risk of spots, after staining.
The priming of the ceiling before painting is distinguished by the following advantages:
- paint evenly lay down on the surface;
- Moisture does not penetrate the depths of the ceiling, especially relevant for the kitchen and bathroom;
- The coloring composition evenly dries;
- The paint consumption is reduced by at least 1.5 times.
Before choosing a primer, determine the type of surface on which it will be applied, as well as an option for further finishing. The technology for applying a primer to the plastered, plasterboard and wooden ceiling varies. With high -quality plastering, it is enough to cover the surface in one layer of primer, wait for its drying and proceed to further decoration.
Preparation for the soil of the ceiling: preparation of the tool and the choice of primer
Before the start of any repair work, it is necessary to free the room from furniture and other objects that fire space. Pre -follow a number of such events:
1. Free the room. Remove the chandelier from the ceiling, if any. Cover the floor with plastic film.
2. Defend the electrical wiring, as you are dealing with a humid environment. And the ceiling must be moistened in the process of work.
3. Close the window and door openings with a film in order to avoid their pollution.
It is recommended that the ceiling finish before the wall decoration, in this case, the risk of damage to the wallpaper or painting is minimized.
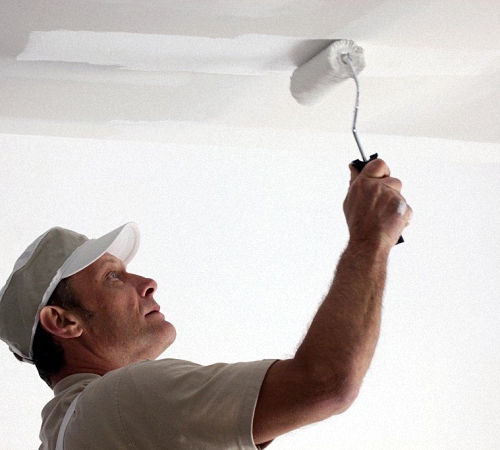
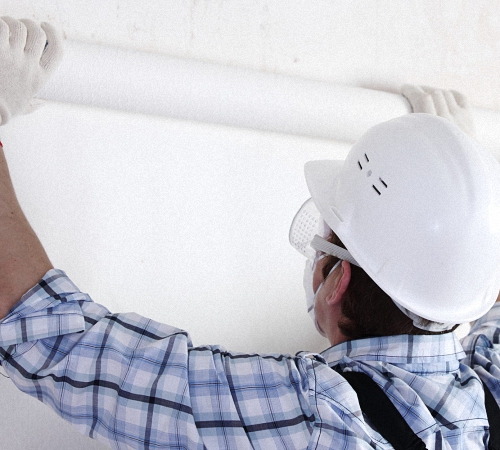
Follow safety precautions in the soil process, use only high -quality tools and personal protective equipment. Be sure to put on a light hat, to avoid getting a primer on the hair. In addition, prepare a respirator or a cotton-gauze bandage. It is desirable to use gloves, but optional. From the instruments for priming the ceiling, prepare a metal light stepladder, steel spatula, water and a container for it, several different rollers and brushes.

The initial stage is based on the removal of the old coating. In the presence of whitewashing, rinse it with water, for this, use a roller that periodically plunges into a container for a water set. Evenly apply water to the surface of the ceiling, repeat the process several times. After the whitewash gets wet, remove it using a metal sharp spatula. Next, wipe the ceiling with a rag, well moistened in water.
If earlier tiles made of polystyrene foam were installed on the ceiling, then it is enough to remove the tile with a spatula, and then get rid of the remains of the glue.
The removal of paint is performed using special solvents, a building hair dryer or sandpaper. First, we recommend using the mechanical method, for this using sandpaper or metal brushes, remove the paint from the surface. If after that, the paint on the ceiling remains, use a building hair dryer to warm it up and use a mechanical method of removal again. The simpler, then costly is the method of applying a solvent, with which the paint is washed off the ceiling with ordinary water.
After getting rid of the old finish, the ceiling should be treated:
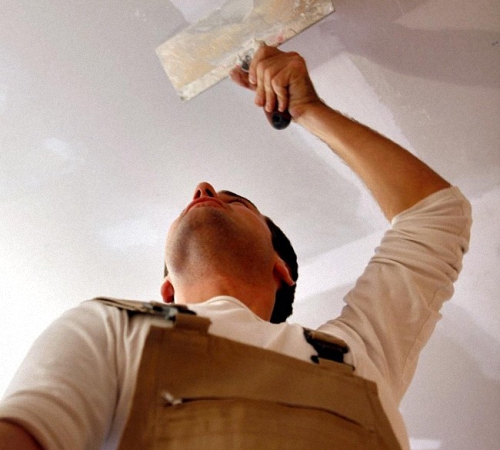
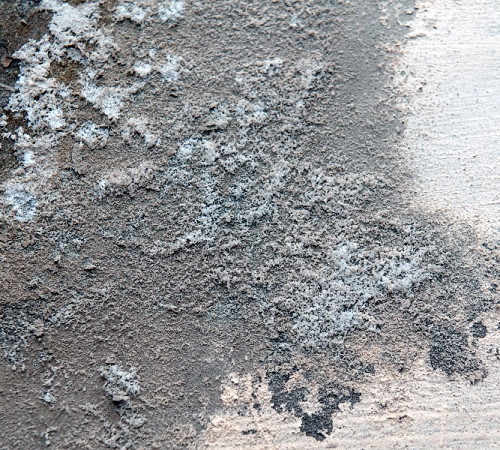
1. Inspect the surface, remove the plaster, which is poorly held on the ceiling.
2. Check the joints between the wall and the ceiling, in the presence of voids, clean them, and then cover them with cement mortar or putty.
3. Check the evenness of the ceiling, apply a primer in several layers.
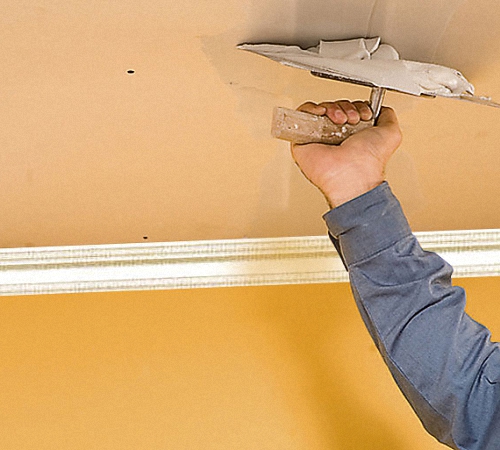
4. Next follows the process of putting the ceiling, which takes place in two stages. Each of the layers of putty is pre -primed.
5. Upon completion of putty, the surface is also covered with a primer to reduce paint consumption.
Do -it -yourself primer primer: Features of calculating the primer for the ceiling
The primer consumption is determined by the type of surface on which it is applied, as well as the number of layers. The primer for concrete creates roughness on the surface, most often applied in two layers. As a finishing material, in this case, putty, tile, plaster are used. The standard consumption of such a primer is 250 grams per square meter.
Among the advantages of a primer for concrete, we note:
- the speed of drying;
- counteraction of an alkaline environment;
- moisture resistance;
- ease of application;
- vapor permeability.
A primer with antiseptic characteristics is often applied to the ceiling to prevent mold and fungus on it. Most often, it is used to process bathrooms, basements, baths and saunas. The consumption of such a primer is 300 grams per square meter.
Two main technologies for applying the primer are distinguished:
- manual;
- mechanical.
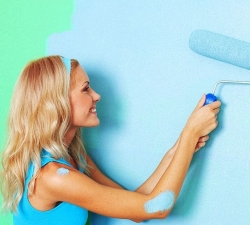
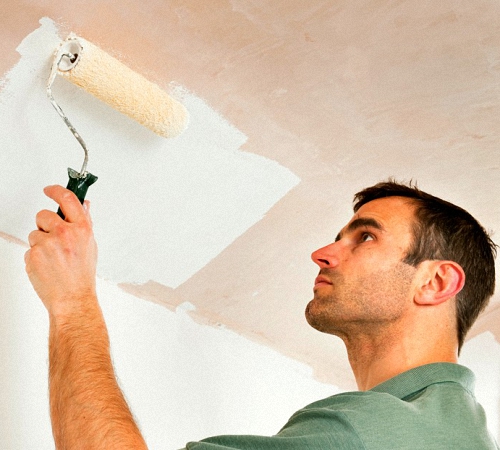
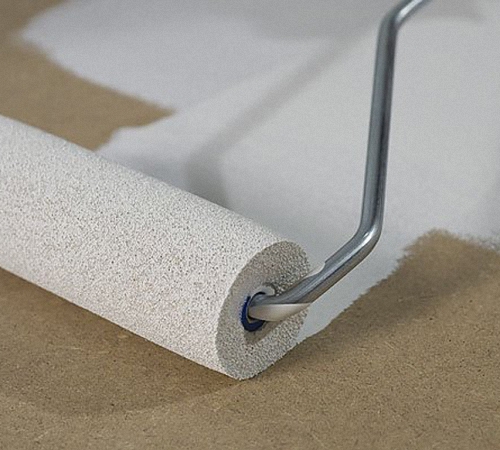
Any primer is a concentrated substance that is bred according to the manufacturer's instructions. Prepare a primer for a primer, which is suitable for the size of the roller. When using a manual method, applying a primer is performed with a roller and brush. The mechanical method involves the use of a spray gun.
Please note that it is necessary to dilute the primer strictly according to the instructions, an excessive amount of water, reduces the functions of the composition and leads to uneven drying. The first layer is applied in a perpendicular direction in relation to the sunlight. The next layer is applied on the contrary to the previous one.
For the correct application of the primer, select it in a ratio with the ceiling. Pre -remove dust, dirt and be sure to degrease the surface from the ceiling. The first layer is applied to the cleaned ceiling, the second - before plastering.
The interval between the application of layers is at least two hours. In any case, before starting work, study the instructions. A combination of several soils on one ceiling is possible. The first layer - has moisture -repellent characteristics, the second antiseptic. Some experts, in this case, recommend using a universal composition that has a multifunctional spectrum and is great for any surfaces.
The primer of the ceiling video:
![]()
StrPort construction portal 2011-2018. Articles about repair, construction, building materials.
Copying information from the site is possible only with permission of the editorial office Or indicating a direct link to the source. Legal justification