The bulk of the wave of the wave creates a perfectly even surface of the floor without much effort with ...
|
|
Installation of a terrace board is a rather complicated and painstaking process that ... |
Despite the widespread gasification, firewood boilers continue to be widely used ... |
All about floor repair in the house

Having bought an apartment in an old house or in the inheritance, the new owners immediately think about its capital repairs so that the design and the interior correspond to their preferences. And if almost everyone knows what to do with the walls and the ceiling, then not everyone knows how to repair the floor in their home. The floor can be concrete or parquet, with a laid tile or laminate, with linoleum or other coatings that make the apartment cozy and beautiful. And so that the dwelling is not only beautiful, but also safe, the repair of floors in the house must be carried out with special care. At the same time, the repair of the floors is an excellent occasion to insulate them!
- Floor repair in a wooden house
- Choosing thermal insulation for the floor
- Installation of a wooden floor
- Cycles of a wooden floor in the house
- Floor repair in a panel house
- Floor screed the base for high -quality flooring
- Linoleum
- Vinyl tile
- Tile
- Partial floor repair
Floor repair in a wooden house
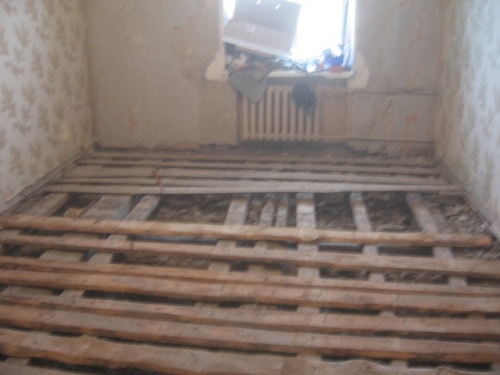
First of all, floor repair must be started with the dismantling of the old coating. Linoleum, parquet or other type of floors need to be disrupted and inspection of the floor boards. As a rule, if the house is old, then they require a complete replacement, so they should also be dismantled.
After all the work on dismantling the building materials that have had obsolete their age and cleaning the space from garbage, you can proceed to the construction of a new gender.
If the foundation has become unusable from damp from the basement, it must be plastered and brought into the normal appearance before the construction work on the installation of the floor begins. The main materials that allow you to repair the floor in a wooden house:
- dry beam, in size 200x200 mm;
- thermal insulation material, sheet or roll;
- floor board;
- antiseptic impregnations for wood;
- various fasteners, including screws and mounting foam.
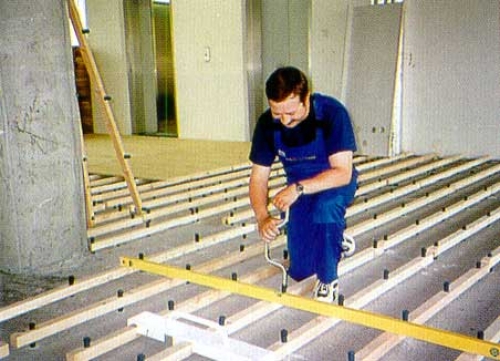
Having decided on the location of the boards in the room, you can proceed to the installation of a wooden beam impregnated with an antiseptic, which will be the basis of the new gender. The step of laying the lag depends on the thickness of the floor boards: if the board has a thickness of 40 mm, then the floors must be installed with a step of not more than 850 mm. When using thicker boards, the step can be increased to 1 meter and, accordingly, reduce it if the thickness of the board is less than 35 mm.
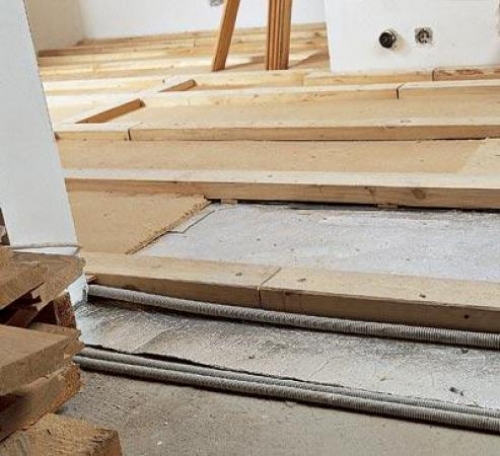
Lags are set strictly in level. In places where you need to raise the beam, you should use gaskets from plywood, soaked in hot olifa, it works perfectly for compression and will not allow shrinkage over time. These gaskets must be screwed to the lags, in order to avoid their loss and subsequent landing. In no case should you use wedges and spacers instead of gaskets, they can decrease in size over time and fall out of the seats, which will lead to a fracture of the floor and creak. If the floor is repaired in a private house or in an apartment on the ground floor, and a basement is provided under the room, then before installing the lag this must be taken into account. In this case, a thermal insulation material will need to be laid between the lags. After fixing all the elements of the base of the floor, you can proceed to laying the insulation.
Choosing thermal insulation for the floor
The insulation must be selected based on the climatic conditions in which there are a house or apartment. If the apartment is on the ground floor or half is repaired in its own house, you should be very seriously treated with this issue. A comfortable stay of households in the house in the cold season will depend on the quality of the insulation. To choose a material that is ideal for specific living conditions, you need to consult specialists in construction stores and purchase the appropriate insulation. It can be polystyrene polystyrene, mineral wool, ecovata, foamyizol, etc.
Rolling or sheet material is laid between the lags. At the same time, it is important not to leave cracks and voids to exclude the passage of cold air from the basement. If the lags are selected 200 mm high, you can use a stone wool sheet, if the height of the base should be considered less than the option with rolled thermal insulation, laid in one or more layers. The main thing is that it is necessary to be guided by the installation of thermal insulation of the floor so that the upper board does not touch this material, there should be a small air gap between them. Also, in the case of constant dampness in the basement, which sooner or later penetrates the concrete slabs, lay waterproofing to the floor before laying the insulation. This is a necessary measure, since all thermal insulating materials are extremely negatively tolerate increased humidity, can accumulate moisture in themselves, increasing the risk of rotting of wood and destroying at the same time. This, of course, does not apply to polystyrene foam and some other synthetic insulations, but in most cases waterproofing is needed.
Installation of a wooden floor
After thorough laying of the insulation, you can proceed to the installation of a wooden floor. To date, the lining has proven itself perfectly. Thanks to special spikes and grooves, the installation of a wooden floor will pass very easily and quickly, in addition, in the lower part of the board there is a ventilation groove so that the tree breathes.

The board is fixed to the lags with self -tapping screws, while it is necessary to control the absence of gaps between joints. Properly mounted floor should not even have minimal cracks. It is recommended to tighten the screws so that after installation they are not visible, and their heads do not spoil the appearance of the floor.
Having fixed the last board, you can proceed to the next operation, depending on the preferences of the owners of the house.
So, if the owners of the dwelling prefer a parquet board or laminate, in which case, a waterproof plywood is fixed on the floor with a thickness of 10-15 mm, reliably screwing it to the boards. It should be noted that between the sheets it is necessary to withstand small gaps in order to exclude friction of the ends against each other and creaking. Next, laminate or parquet is laid on the faner. The laminate has an ideal smooth surface and does not need further processing, and in the case of laying a floorboard or parquet, it is necessary to perform several more repair operations.
Cycles of a wooden floor in the house
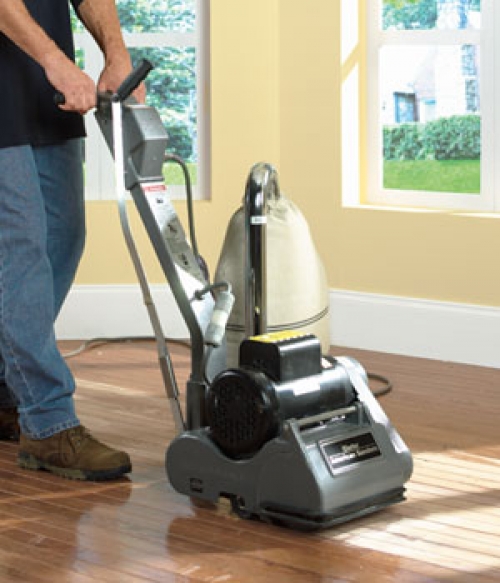
To remove possible changes in the height of the boards or parquet and perfectly leve the floor, use a special cycle machine, which allows you to remove the upper layer of the tree, cleaning the possible dirt and irregularities that occurred during the installation of the floor. If there are deep scratches and dents on the boards, you should perform a rough cyclist with sandpaper with large grain, and then, using smaller -grained paper, achieve the perfect floor surface.
After cycling of the floor and cleaning of garbage and dust, you can cover the tree with special varnish, which will not only give the mirror gloss of the surface, but also protect the floor from pollution and minor damage.
Floor repair in a panel house
Of course, everyone knows that a wooden floor is an ideal surface of a dwelling for a comfortable person in it. But you can not always see a tree on the floor. Modern architects and builders, erecting new living boxes, think little about the aesthetics of the interior and the health of future owners. That is why in panel houses the floor, for the most part, concrete, linoleum coatings or vinyl tiles. And when the owners of the apartment plan to repair their living space, they are thinking about the repair of the floor.
The worn linoleum or exfolved tiles must be removed, and the concrete floor should be cleaned from the old glue. Further, floor repair in a panel house can go through several scenarios.
Floor screed the base for high -quality flooring
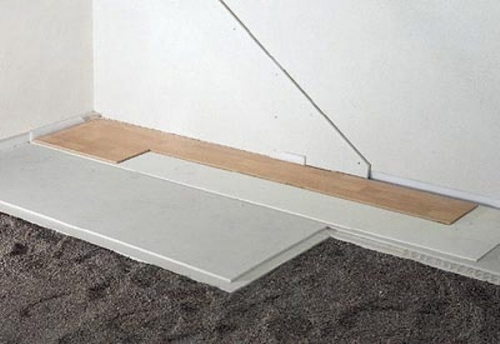
If the height of the floor levels forced you to think about aligning the floors, then you should think about the screed of the floor. This alignment method can be either dry, semi -dry, or wet. It all depends on the material used. With a dry floor screed, expanded clay is used, which is covered with gypsum -fiber slabs. The main advantage of the execution, ease of design and parallel floor insulation.
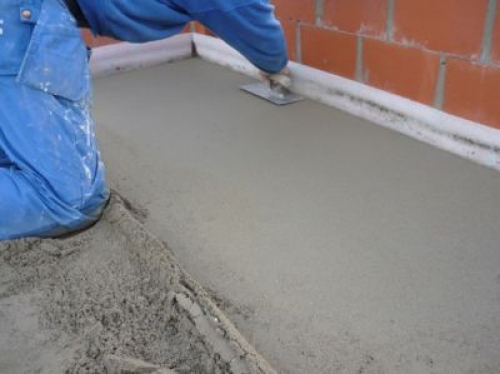
With a semi -dry screed, the solution is kneaded in such a way that it contains very little water. Such a screed and dries faster than wet, and the process of its implementation is less time -consuming.
Sand and cement sometimes with the addition of plasticizers the basis for wet screed. To insulate the floor, expanded clay is added to the mixture. This method is one of the most used, but it is not suitable in cases where it is impossible to create additional loads on the floor slabs, and such a screed dries up to 30 days.
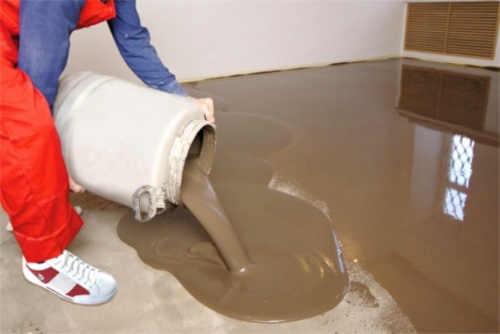
A novelty in the field of flooring is considered bulk floors. Polymer mixtures are quite easy to prepare, and the installation of bulk floors requires much less effort than any of the screeds of the floor.
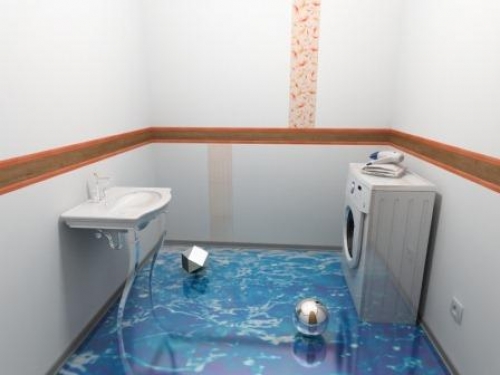
It is important to properly prepare half the way, primer it, observe the technology of the mixture and all the necessary parameters in humidity and temperature in the room. Polymer mixtures are also called self -combating. Such a solution is simply poured to the floor, focusing in some cases on the beacons, and distributed by the floor. So you can quickly align the floor, which is then covered with linoleum, tiles and anything. And you can use only polymers and after the starting coating, fill in the finish. Burning floors allow you to radically change the interior of the dwelling. After all, you can make not only single -color floors, but also floors with a pattern of the so -called 3D floors.
Such a floor itself is already a work of art, and from the point of view of practicality it is generally indispensable. One drawback: such floors will be expensive. But, as an option, they can be poured in a small area in the kitchen, bathroom and even on the balcony.
Linoleum is simple, cheap and fast
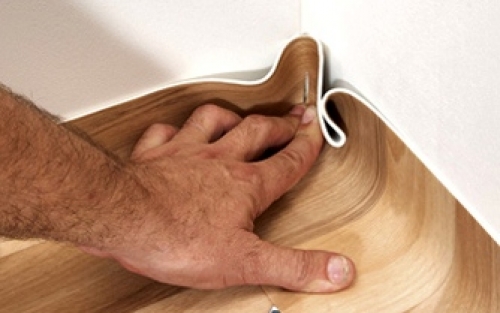
One of the most economical and simple flooring is linoleum. Indeed, what could be easier than laying linoleum? On a clean washed floor, glue or mastic is applied and linoleum is laid. The principle of laying linoleum is similar to wallpaper wallpaper, only the workflow occurs in a different plane. It is necessary to monitor the density of gluing linoleum and not allow air bubbles, otherwise the hole from the carelessly paved chair or table will necessarily break through in that place.
Vinyl tiles no problem!
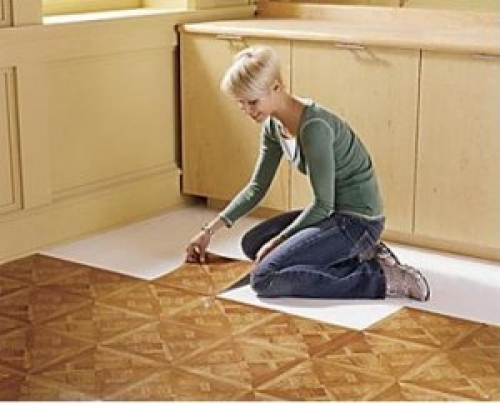
One of the easiest in styling and dismantling and cheap ways to repair the old floor is vinyl tile. The variety of its design allows you to create a very beautiful coating with a minimum of effort. But tiles, like linoleum, laminate, and parquet should be fitted on a perfectly smooth surface.
Tile tiles Durability and beauty
The tile in the hallway or in the kitchen, to everything else, is easily cleaned of various contaminants looks very impressive.
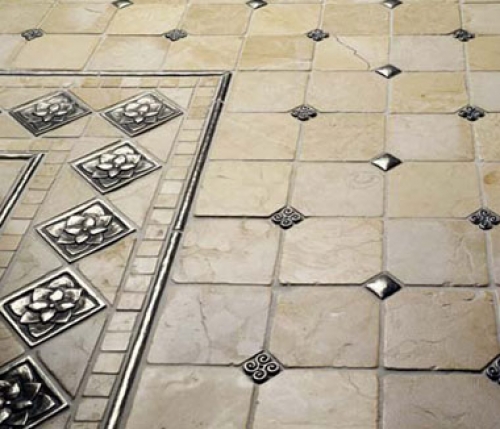
The tile is laid on a concrete floor peeled from dust and fat spots using an adhesive solution. Before laying the tiles, so that symmetry is observed, it is best to carry out preliminary marking of the area and determine its center. In this case, the drawing on the floor will fit into the interior, without violating the harmony of the ensemble of the apartment. After hardening the glue, the joints are grouted with special solutions, which can completely merge with the color of the tiles or, conversely, contrast sharply with it.
Partial floor repair
There are not enough funds for overhaul of the floor in the old house inherited, and the repair is required today? You can extend the life of a worn floor, and at the same time strengthen your nerves, since creaking floorboards or dangling tiles can even get out of an iron endurance.
The resulting cracks between the boards in the floor can be sealed with a special putty on wood, and after drying it, thoroughly cleaned. Large cracks must be sealed with wooden rails pre -lubricated with PVA glue, and then carefully beat them with a hammer. A broken or rotten floorboard should be cut and replaced with a new one, which should be suitable for the formed size of the opening. It should be remembered that both ends of the boards must necessarily lie down on the lags and be fixed on them.
If for some reason the tile has been peeled off, it must be gently removed so that it does not burst. Otherwise, you will have to improvise with the remnants of the tile from past repairs or look for similar tiles in construction stores. After removing the tile from the floor, carefully remove the part of the frozen solution so as not to damage the remaining tile. Next, the resulting recess is filled with glue and laid the tile, pressing and removing the excess solution squeezed through the gaps. After solidifying the solution, you can grout the seams and in a day the floor will look like new.
The parquet floor can simply be restored by yourself. As a rule, various damaged elements are replaced by new ones, and the strips with scratches and small irregularities are treated with putty on wood. But before filling cracks, it is necessary to clean the repair areas from the varnish so that the repair mixture holds well. After the putty dries, you can grind the renovated areas of the parquet and cover them with varnish.
To strengthen the old wooden floors and make them not creaking, you need:
- Using the punch, drill holes into them;
- insert long screws;
- drive them with a hammer;
- tighten with a screwdriver.
You will learn the whole process in detail if you watch the video.
Of course, floor repair in an old house is a painstaking work requiring some construction skills. But for a home master who is familiar with the carpentry and locksmith tools, this work will not seem difficult and the repair of even the most difficult areas will pass perfectly!

And we are fast in due time
And at one time we quickly polished wooden boards and covered with paint. Cheap, fast and angry. For 3 years, the floor is beautiful, without scuffs and scratches. Used Sadolin Epolan paint.