The frame house is a light structure that is being erected on all types of foundations ...
|
|
Porcelain tiles - ideal for decorating garden paths, territories near ... |
Every year there are more and more diverse ones in the suburban construction market ... |
We lay tiles without seams with our own hands. Ceiling tiles without seams - installation technology
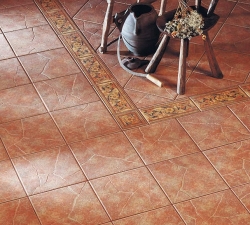
The use of seamless polystyrene tiles is a great way to make an inexpensive, but beautiful and practical design of the ceiling with your own hands. Excellent performance and diversity of texture and color palette made this material one of the popular interior design.
Table of contents:
- Why is it convenient to use seamless tiles to decorate the ceiling?
- Types of tiles for ceiling
- Necessary materials, tools and several useful tips
- Ceiling tile installation procedure
- How to glue the tile to the ceiling?
- Elimination of shortcomings and defects
Why is it convenient to use seamless tiles to decorate the ceiling?
In this article, we will consider how to make a ceiling from tiles without seams. The advantages of this material are visible, as they say, with the naked eye.
- Polystyrene foam is a type of foam, so they are often confused. For the manufacture of ceiling tiles, it is precisely the polystyrene foam is mainly used. It has no pores, unlike foam, so it does not pass water vapors and air. As a result, ceiling tiles made of polystyrene foam play the role of thermal insulation and sound insulation on the ceiling.
- Before installing ceiling tiles, very high -quality preparation is not required. It is enough to apply the minimum base correction and elementary preparatory actions.
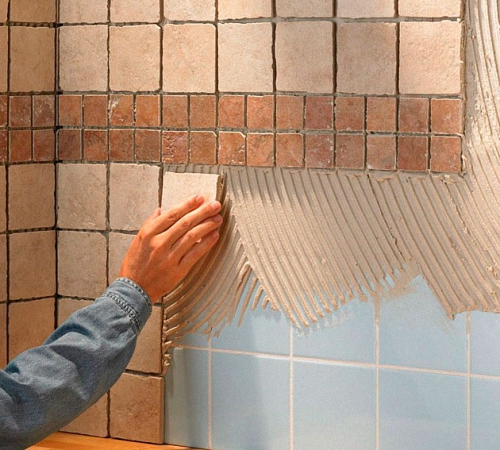
- The pattern and color solutions today are presented so widely that it will not be difficult to choose the right material for the embodiment of the most daring design ideas.
- Foamy -polystyrene ceiling tiles are not afraid of a humid environment, so they can be used in wet rooms. However, it is necessary to arrange a high -quality ventilation system, otherwise moisture, which can fall under the coating through microseizers between the elements, provoke the development of the fungus.
- This material is durable. With proper installation and operation, it will not be necessary to change it soon.
- If the ceilings are not very smooth, the tiles can hide some defects, and visually unevenness will not be noticeable.
- If desired, the ceiling tiles can be painted with water -based paint in the desired color.
This material also has some negative aspects:
- Certain types of ceiling tiles (especially color options) are subject to sunlight.
- For the ceilings, a special approach in the issue of illumination decorated with polystyrene tiles. Here it is impossible to use point built -in lamps, incandescent lamps located close to the surface of the ceiling. Heating and temperature changes extremely negatively affect the material. The tile can deform or fall.
- With large changes in the ceiling level, even seamless elements are extremely difficult to combine.
Types of tiles for ceiling
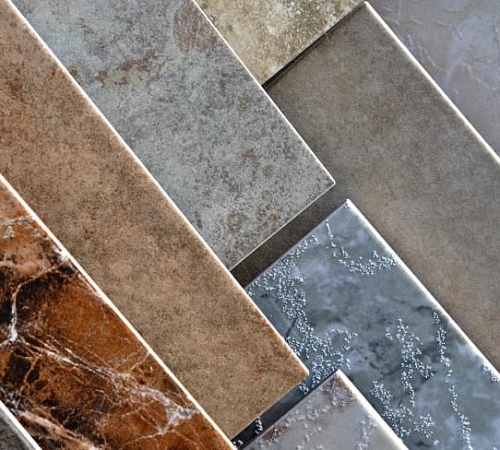
Ceiling tiles can be classified according to several signs. Regarding production technology, they distinguish:
1. Pressed polystyrene foam tiles are made by hot stamping. This is a fairly dense material with a size of 0.5x0.5 m. The thickness of the tiles without seams of this species is from 5 to 7 mm.
2. Extruded ceiling tiles have the smallest thickness of 3 mm. But, despite the subtlety, it is most in demand, as it has increased strength, it is different in operation and the most inexpensive. The disadvantage of this species can be considered weak relief, but the choice of textures and color is great. Also, under it you need to align the base well.
3. Injection tiles are particularly durable. The thickness of this species is from 9 to 14 cm. The relief, variability and elegance of the texture allow you to create whole works of art on the ceiling using this tile.
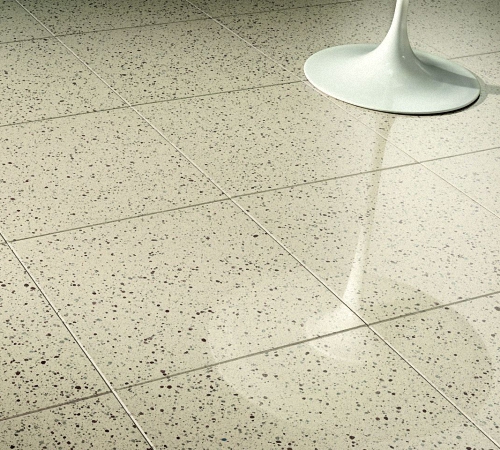
In appearance, the ceiling tiles can be conditionally distributed to the following categories:
- Seamless tiles. It has a wavy or even edge. It is made in such a way that with the correct combination of sheets, the seam between the elements remains almost invisible.
- Laminated tiles are covered with an additional layer. Lamination of the front surface provides excellent performance. It can be wiped with a wet rag using non -abrasive detergents.
- Mirror tiles have an additional plastic mirror coating on the front surface. Unique drawings and a variety of inserts determine a fairly high cost of this material.
Necessary materials, tools and several useful tips
The work will require the most elementary set of materials and tools for laying ceiling tiles:
- Ceiling tiles.
The standard size of polystyrene tiles for a ceiling 50x50 cm. There are usually 8 of them in one package. That is, one package is designed to cover 2 square meters. However, when conducting calculations, it is necessary to remember the cutting. Therefore, you should buy at least 10 15% more than the total surface area.
- Glue for tiles.
To glue the tiles, you will need polymer glue or liquid nails. A transparent or white composition is best suited. Glue for ceiling tiles in plastic jars with a dispenser or in buckets is available. In this case, a small metal or rubber spatula will be required to apply it.
Important! Apply glue is pointed: a few drops (or small strokes) around the perimeter of the tile and a little in the center of the sheet. According to the instructions for some adhesives, it may require an excerpt within a few minutes before gluing tiles to the surface.
- Marking thread (can be replaced with a regular rope), pencil and roulette for marking the ceiling.
The final result will largely depend on the accuracy of the markup. About how to mark the surface, and how tiles without seams on the ceiling are glued, watch in the video at the end of the article.
- Construction knife.
Polystyrene tiles are well cut by a construction knife with a retractable blade. But if it is not at hand, a sharp kitchen knife or thin stationery is suitable.
- Ceiling baseboard.
The final design of the ceiling using tiles is impossible without installing a ceiling plinth. He will hide the place of cutting and docking the walls and tiles. The installation of a skirting board with ceiling tiles differs from the installation on the ceiling for painting or wallpaper (when the skirting board is attached to putty until the finish).
In this case, ceiling tiles are first glued, and a baseboard is already attached along them. This procedure should be performed as accurately as possible. There are three installation methods.
The first to fix the polystyrene skirting board to the tiles and to the wall with glue after the wallpaper sticker. In this case, all the irregularities of the wall, the gaps will be visible. Then they can be treated with acrylic sealant, but such work requires special accuracy and skills.
The second use putty on both sides of the skirting board. This work is carried out before gluing wallpaper. This method is not suitable if the tiles are colored. Even removing the remnants of putty with a damp sponge or cloth, the seam will not be avoided.
The third method is combined. It will require patience, but the result will be optimal. From the side of the wall, the ceiling plinth cut out in size smell with the finish putty, and from the side of the ceiling with glue. Gently press the baseboard in place, remove the excess putty and glue with a clean cloth.
Ceiling tile installation procedure
To lay seamless tiles on the ceiling, it is necessary to first prepare the base in the first place. To do this, it is necessary to remove the old wallpaper from the ceiling, wash off the whitewashing, remove the paint. That is, to clean the base of the previous coatings as much as possible.
The best option for the installation of polystyrene ceiling tiles is concrete or drywall. But for any reason, general correctional procedures are needed.
Unevenness, chips and cracks must be plastered and leveled. Grind the surface with special mixtures, otherwise the tiles do not gain a foothold on the fragile surface and will disappear.
The next stage is the ceiling marking. There are several schemes for laying tiles without seams. Their main difference is laying in parallel to the walls or at an angle. You can also start installing tiles from the center of the room or from one of the walls. Having decided on the principle, we proceed with the markup.
1. The method of parallelism
We find, using roulette, the center of each side of the room and connect them using a marking (beaten) thread. From the point of intersection of these lines, we begin to glue the tiles, adhering to the marks and trying to press one element to the other as tightly as possible so that the seam is the least noticeable. If the work is done correctly, all angles, joints, drawings coincide, the ceiling will look monolithic.
2. The method is obliquely
Having found the center of the room using the previous method, it should be noted on the ceiling a square with a side equal to the width of the room. From its peaks through the center of the room we are diagonals. It is these lines that will serve the guides.
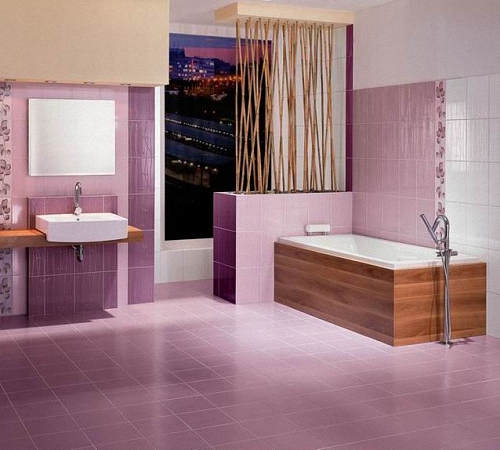
Important! Regardless of which method of placing tiles on the ceiling will be selected, for greater accuracy, you need to glue the tiles in a spiral, moving from the center of the room.
3. Wall method
Applying this method is risky. You need to be sure that the room has ideal corners and even walls, tiles of the same size, otherwise there is a risk of mismatch and ugly pruning along the edge.
You can place the tiles both parallel to the walls and obliquely. In this case, the first is the whole tile (or cut by obliquely) into the corner of the room. Then the whole is glued and so on, controlling the docking of the seams.
4. Method from chandelier
The upper lighting (chandelier) in the room is not always located perfectly in geometric cent. Often this is not at all so, and it is not planned to transfer it. In this case, it is appropriate to place the ceiling tile relative to the light source, taking a chandelier behind the center of the room. So the general visual picture is not violated.
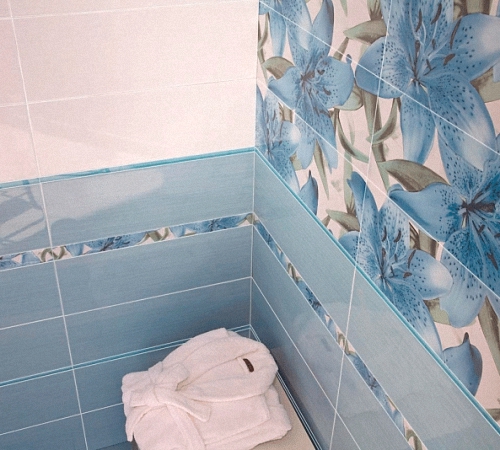
How to glue the tile to the ceiling?
The technology of laying ceiling tiles is very simple. As mentioned above, to glue the ceiling tiles, a special polymer glue is needed. It should be transparent or white, viscous and dry enough. Also, when choosing, it is better to give preference to universal glue, which will be designed to work with different surfaces.
In addition to adhesives for ceiling tiles, you can use acrylic putty or liquid nails.
After applying the marking, the process of installing tiles begins. Apply glue around the perimeter of the tile, but so that it does not play behind its edge. Also, a few drops need to be applied in the center of the sheet. Gently attach the angle of the tile at the intersection of the marking lines. Rightly press the tile in the places of application of glue. Use clean fabric or sponge in your work, otherwise dents from the fingers may remain.
When the first tile is firmly fixed, apply glue to the next sheet and repeat the procedure. Place the edges of the tiles as tightly and clearly as possible to each other. Hold the time recommended by the manufacturer of the glue so that it has time to grasp and the tile does not peel off.
Glue the tiles according to the selected scheme, making sure that the joints do not shift.
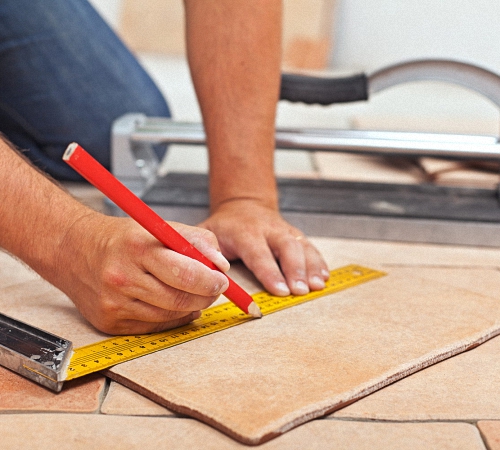
Elimination of shortcomings and defects
Unfortunately, the high cost of the material is not always a guarantee of quality. It happens that during the installation of ceiling tiles, gaps are formed, or a small piece of soft material is broken off due to one awkward movement, and there is no more excess tile. In this case, the question arises of how to remove the seams on the ceiling tiles and hide minor defects?
This problem can be solved using acrylic sealant. It is sold in a tube with a spout. But in order to use such a tube, you need a special gun. If it is not at hand, but buying for one -time use is unprofitable, you can use improvised means. An ordinary confectionery syringe is suitable for this purpose.
By putting pressure on the piston of tubes with a sealant (for example, you can use the handle of the hammer), squeeze part into the cavity of the confectionery syringe. Using a thin nozzle, gently squeeze the sealant into the gap that needs to be fixed. Remove the excess with a damp cloth or sponge. After drying, some inaccuracies and the remnants of the sealant are easily washed off.
Instead, you can hide small gaps on white tiles using a finish putty. But it is worth remembering that over time she can get enough sleep.
Ceiling tiles are a wonderful way to make a ceiling inexpensively on your own, while it will look original. To work with this material, special skills are not required. It is enough to attach a little patience, accuracy and time.

The author of the article is clearly not friends with
The author of the article is clearly not friends with the photographer, the photographer also wrote the headline. The tiles have tiles on the floor http://yserogo.ru/remont/plitka-na-pol.html
Crosses and filler seams
Crosses and filler sutures for laying tiles with good prices and free delivery. http://got.by/2dryz2
Through the service http://bit.ly/2pqd7ca cheaper by 3-8%
Why the text about the ceiling
Why is the text about foam ceiling tiles, and the pictures are absolutely all about ceramic?