The conditions of comfortable residence in the rooms of the attic directly depend on correctly ...
|
|
Fast, cheap, reliable - these phrases are the best suited to characterize houses ... |
Correctly insulated walls of the house will make life in it comfortable, and heating accounts ... |
Remote balcony: how to make a balcony with removal
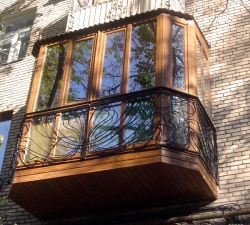
In order to increase the useful area of \u200b\u200bthe apartment, its owners often resort to the method of arranging a remote balcony. This room will be a great place for both relaxation and storing various things. The technology of the construction of the remote balcony is primarily based on the correctness of the calculation of the load on this section. We will consider how to make a remote balcony further.
Table of contents:
- Remote balcony - methods of arrangement
- A balcony with a removal: TRAINING TECHNOLOGICAL
- Remote balcony in Khrushchev: a removal on the windowsill and the technology of its implementation
- Remote balconies photos and features of insulation
- How to make a remote balcony in a wooden house
Remote balcony - methods of arrangement
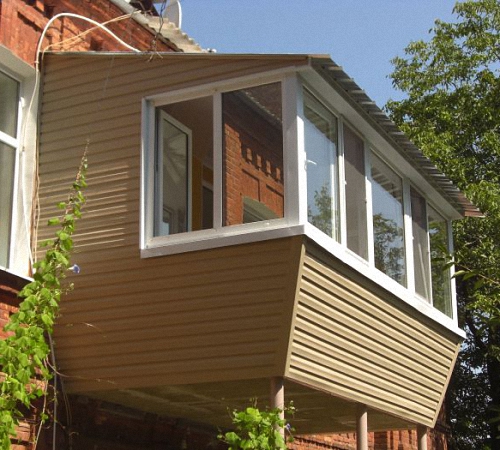
Using the organization of the remote balcony, it is possible to expand the useful area of \u200b\u200bthe apartment by several square meters. Remote - which is a balcony, allows you to equip a small room, glazed or summer nature.

Glazing of the balcony removal is carried out both in the center and on the sides, if necessary. Keep in mind that the main factor in carrying out all the work is the calculations, according to which the load on the base of the remote balcony is determined.
There are several methods of building a remote balcony. Of particular popularity is the method of expanding together with the bearing stove. In the process of carrying out work, for building the base, work is carried out to welding a steel frame that is fixed on the surface of the wall. In the process of using this method, it is possible to achieve an expansion of space by about 4 square meters. If we compare this method with other methods of arranging a remote balcony, then it differs from them with the highest complexity, but at the same time, guarantees excellent strength of the entire structure.
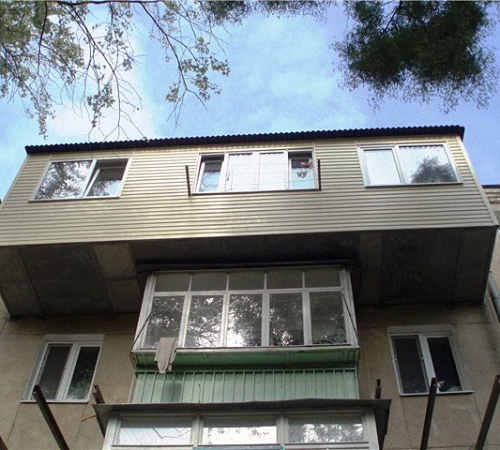
Another way to arrange a remote balcony is to carry out work on building up from the windowsill. This method implies the ending of glazing on a certain area for the parapet. The expansion of space is carried out both from the facade and from the side parts. The maximum execution value, in this case, is about 400 mm.
More expensive and complex is the first way of expansion, according to which the area expands from the stove. Since it is with its help that an increase in not only the window sill is made, but also the acquisition of a new useful area.
The use of the second method will cost much cheaper, but in this case, it will be possible to get a useful space, only from a parapet base.
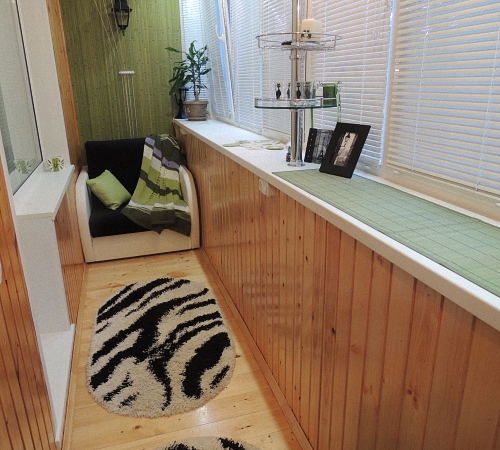
The choice of one or another method of expansion depends on the individual characteristics of the room, the total load on the house, the number of floors and other factors.
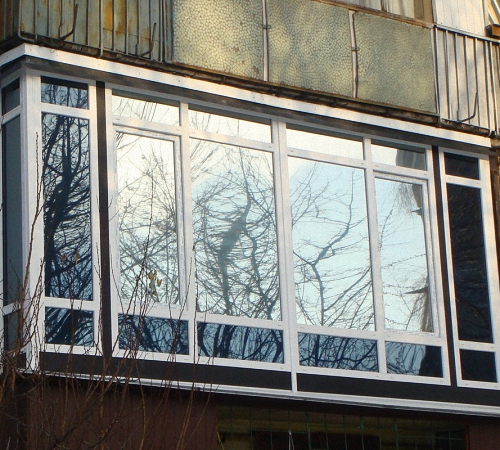
The stage of removal of the balcony ends its glazing. Ready -made designs are characterized by a rather attractive appearance, various kinds of materials in the form of siding, plastic panels, wood, etc. are used for their decoration.
If it is planned to expand the loggia, then these methods are also used, with only one difference, expansion work is carried out only on its central side.
Among other expansion methods, a butterfly is distinguished. In this case, the balcony is carried out on one or two sides of the parapet to a fairly large distance, determined at the angle of forty -five degrees. This method is distinguished by aesthetic attractiveness and obtaining considerable useful area, but it requires rather large temporary and material investments. It is advisable to expand the space using the butterfly method, if the use of expansion on the plate is not possible.
Keep in mind that before carrying out work on the expansion of useful area, you should contact special structural units to coordinate your actions. This is only necessary if the distance distance exceeds 300 mm.
A balcony with a removal: TRAINING TECHNOLOGICAL
In order to draw up a project or drawing, it is better to seek help from specialists. They will help determine the load on the balcony, its optimal size, which will not contribute to the destruction of the integrity of the main building. Since the reliability of the new design affects not only your safety, but also in neighboring apartments and all the residents of the house.
An increase in the area of \u200b\u200bthe balcony allows you to use it as a greenhouse, office, rest rooms, a library or pantry. A properly equipped and technologically equipped room will delight its owners for many years.
The first stage of work on the removal of the balcony involves reinforcing the old stove with metal stripes. Further, the following actions are performed:
- The old parapet is dismantled, a grinder is used to cut the rods in order to get rid of concrete structures use a perforator;
- The next stage involves the lengthening and expansion of the frame structure, while the channel is installed, which protrude for the main design at a certain distance reserved for the balcony;
- The reinforcement of the main slab involves the installation of several channels from below, their length is equivalent to the already installed details, a metal corner is used for the connection, previously installed elements, using such a scheme, the stiffness of the entire structure is enhanced;
- The arrangement of a new parapet and its welding using metal bands.
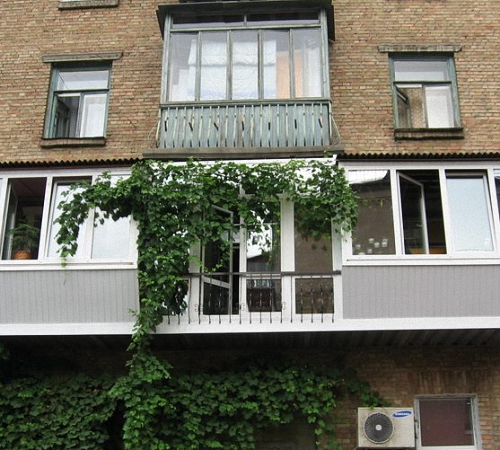
After creating a frame design, work is carried out on the manufacture of a new floor on the balcony. Steel areas are welded on the frame, on which a sheet of galvanized steel is attached. If necessary, the insulation is laid in the form of mineral wool or polystyrene foam. Next, the floor is equipped with boards or plywood.
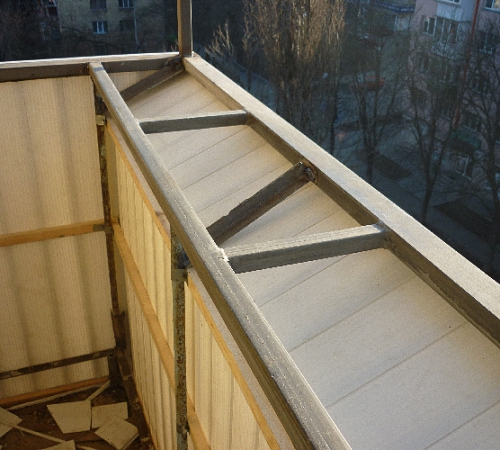
After the floor arrangement, they begin to create a frame for glazing and a visor. The roof of the balcony is installed throughout its area, even if the balcony is not located under the upper floor.
For the base under the roof, it is recommended to use materials in the form of steel triangular farms or a frame for glazing. If the frame is used, then for laying the upper circuit, it is enough to lay a narrow board, and on the wall, to obtain a small slope, 12-14 degrees, the wooden bars are fixed.
Laying a profile sheet or other roofing material is carried out by one edge on a beam, and the second on the boards. The minimum distance for the ledge of the visor outside the balcony is 300 mm.
When the roof has already been installed, work is carried out on glazing a finished remote balcony. In addition, thermal insulation of walls, parapet and roof should be ensured. Thus, it will be possible to get not only a useful, but also a warm room.
The arrangement of the balcony, its internal and exterior decoration with siding, lining or plastic panels and other alternative materials completes.
Remote balcony in Khrushchev: a removal on the windowsill and the technology of its implementation
This method of expanding the balcony is not losing popularity due to the simplicity of work and a reduced cost of obtaining a useful area. A window sill passes through the parapet in the room, and the space expands, a maximum of 40-50 cm.
The initial stage of the work involves the removal of the casing from the parapet. In the presence of old steel fences, they are removed or they are replaced with the railing.
The frame is equipped by welding to the end sections of the plate, steel profile. Locks are attached to the railing of the parapet, their fixation is carried out by welding. The welding and the interval between the jumpers on the central or lateral parts depends on the design of the balcony and the load that is assigned to it. The length of these elements affects the total area of \u200b\u200bthe window sill.
Profiles that provide an external expansion circuit are welded to the end sections of the jumpers. Keep in mind that all elements should be located horizontally and evenly, therefore, when welding, each part should be checked using the level.
Further, with the help of welding, all spacers are attached to the outer circuit. The next stage involves the performance of the parapet decoration. The whole structure is insulated, glazed and prepared for operation. The final stage involves the interior decoration of the balcony.
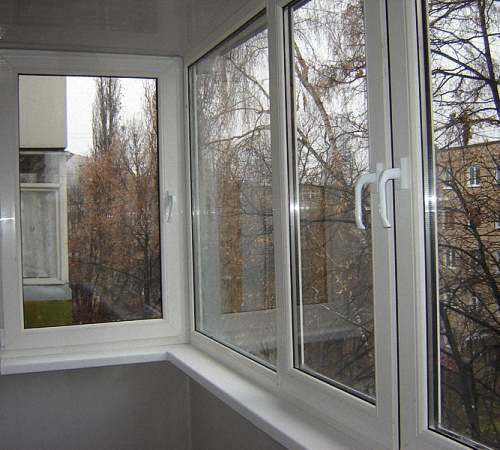
The arrangement of glazing is most often performed using aluminum -based profile. To install each of the windows, you will need at least three holes, under the profile. Next, the frame is screwed onto the contouring corner, and before that, the toll is installed.
If it is planned to install profiles with a heavier weight, then the installation will require the presence of a metal frame on which the upper circuit is equipped. Thus, the load on the surface of the parapet will decrease significantly.
Remote balconies photos and features of insulation
Since the design of the balcony is remote, the features of its insulation differ from thermal insulation of standard balconies. There are two ways to warm the balcony:
- internal thermal insulation;
- External insulation.
The insulation for internal thermal insulation should meet the following requirements:
- high level of fire safety and not flammable;
- low weight and minimum load;
- Minimum thickness and maximum thermal insulation characteristics.

High -quality insulation of the remote balcony with your own hands involves the mandatory work on the parapet, floor, ceiling, side walls. Excellent options for the work will be insulation in the form of a foam or mineral wool. These materials differ in small thickness and high thermal insulation properties.
In addition, in the process of insulation of balconies, the use of foamed polystyrene foam is quite common, which is characterized by high moisture resistance, resistance before changing temperature, the immunity of aggressive substances and good thermal insulation.
Please note that the process of installing insulation should be installed waterproofing, in the form of a waterproofing film or foamed polyethylene. These materials are installed using double -sided tape, brackets, glue or foam.
After waterproofing, the heat -insulating materials are installed, on which vapor barrier is laid on top, in the form of, for example, foil foam. Namely, the presence of a foil layer allows you to create additional protection against heat loss and retains the heat of the room.
After that, the interior decoration of the balcony is carried out, and then the floor is insulated.
It is possible to use polystyrene in the process of insulation of the balcony, it is characterized by low thermal conductivity properties, since a large number of bubbles filled with air are located inside it. The best option is to install plates, the thickness of which is 10 cm.
The insulation of the balcony with foam is characterized by good hygroscopicity and stability of the material before moisture.
Instructions for insulation of the balcony using foam:
- pursuing a primer of the balcony;
- installation of plates with glue;
- additional fixation of foam using umbrella dowels;
- waterproofing installation;
- surface reinforcement with glue and fiberglass;
- putty, plaster and coloring.
Cheaper, but at the same time, high -quality material is a foam -based insulation. Such plates are distinguished by the presence of a spike-paramed connection, which provides a more dense fit of the material to each other.
If the air temperature in the winter does not rise below 26 degrees, then only four centimeter plates will be required to warm the balcony.
Instructions for insulation of the design of the remote balcony using a foam:
- preliminary waterproofing;
- Installation of the material, first with glue, and then dowels.
How to make a remote balcony in a wooden house
The arrangement of a remote balcony in such a house has its own characteristics. Its calculation is made in accordance with the material of the manufacture of enclosing structures.
In relation to the method of support for the balcony, they are:
- based on a design of console logs or bars;
- Using elongated wood beams.
The first option implies the presence of issues that are present on the load -bearing walls and lengthen them at the place of arrangement of the balcony. In the lower part of the release, the lower crowns are equipped, decorating the facade of the building and at the same time, serve as a support for the balcony.
The second option involves the use of elongated beams, which, without fail, need thermal insulation.
Please note that beams or console logs installed on the balcony should not be more than two meters in length. Otherwise, the balcony needs to arrange additional support fences in the form of logs or timber pillars.
Keep in mind that a house built of wood in the first years is subjected to shrinkage after completion of construction, therefore, on the balcony, the presence of screw mechanisms should be provided that will help regulate the height of the balcony.
If the width of the balcony does not exceed one meter, then as supporting mechanisms, the use of wooden farms, which are fixed on the facade with metal brackets, is recommended. This method of arranging the balcony has an unattractive appearance, and therefore is extremely rare.
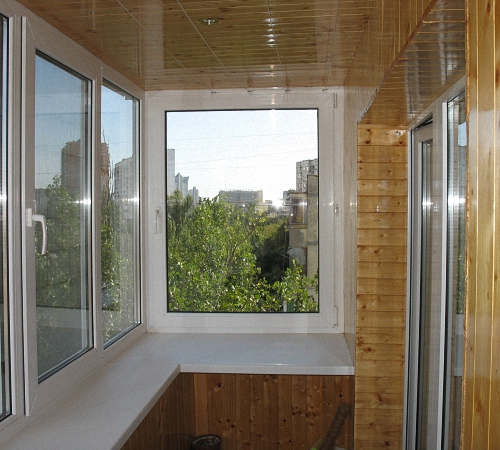
To perform the flooring of the balcony, wooden boards are used, most often from larch or pine tree. To cover the boards, bio protection compounds and special varnishes or oils are used. Fixation of the boards is carried out on the surface of the support beams or logs.
