Lining is a rather popular finishing material, the service life of which is directly ...
|
|
More than 30 companies represent aluminum composite panels on the market. Products from ... |
Bathroom is a room with high humidity, so for wall decoration, ... |
DIY bar construction: step -by -step instructions

The barn belongs to the type of non -residential economic buildings, so the process of its construction is much easier than the construction of the house. There are several technologies for the construction of barn, which differ in materials used in the process and by the final result. We will consider how to build a barn about how to build a barn on your own.
Table of contents:
Building a frame barn with your own hands
The shed is most often used to save various accessories in it in the form of building tools and materials. In addition, sometimes unnecessary things are stored in the barn or even contain animals, so the building, erected as a barn, should be strong and reliable in operation.
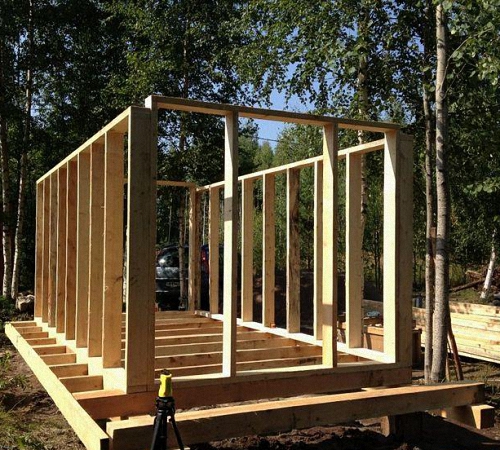
Initially, it is necessary to decide on the place of construction of the barn. Most often this is a site behind the house, located far from the main entrance. Some owner to equip a barn near the house to always have access to it. This is especially true when firewood or coal will be stored in the barn.
If the site has a place located in the shade, then feel free to equip a shed on it. Since it is here that some plants or garden crops are unlikely to take root.
Try to choose a place for the barn, depending on its purpose. If a garden tool is stored in it, then let it be located closer to the garden or garden.
In any case, the barn must harmoniously fit into the general exterior, and not contrast with it. Next, decide on the shape and appearance of the future structure. It can be a small square or rectangular house in which there are no windows or massive structures with windows of some complex shape.
For the construction of the simplest barn, quite often use a conventional wrapping board. In this case, all work takes several days, which is very convenient with limited time resources.
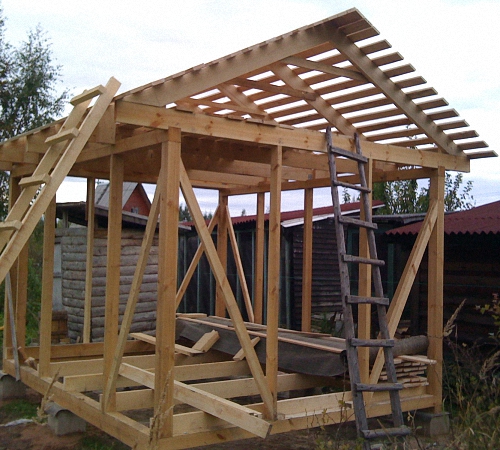
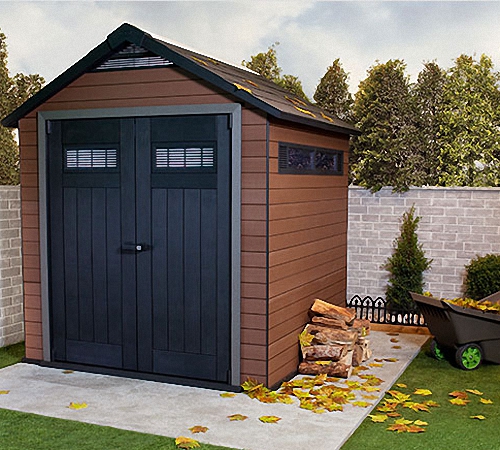
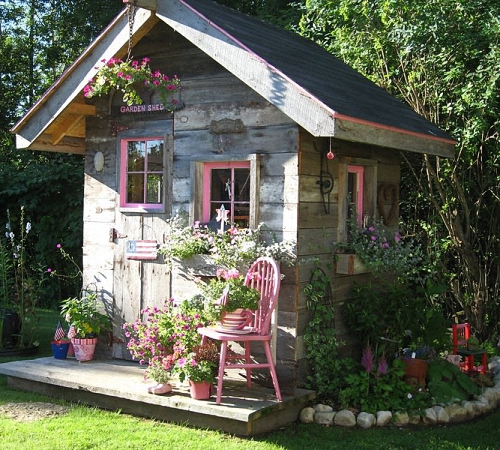
To improve the appearance of a ready -made barn, flower beds are made near it, trees and climbing plants are planted. You can also decorate the walls in different colors.
Most often, a single -sided roof is equipped in the barn, for the decoration of which slate or any other finishing material is used. However, the construction of the barn with a gable roof makes the room more attractive and holistic. For example, a shed with a gable roof, finished with bituminous tiles and siding, looks great.
Some owners equip a combined barn, one side of its place in which the inventory is stored, and the second serves as a small room for breeding flowers.
The choice of material for the construction of a country barn should be determined by the functional features of the building. So, if the living creatures, for example, chickens live in it, then the walls should be made of stone or brick. For storage of the tool, wooden walls are also suitable.
We offer to study the technical features of the independent construction of the frame barn. This is a simple option for household construction, in which you can store various tools or solid fuel for the winter.
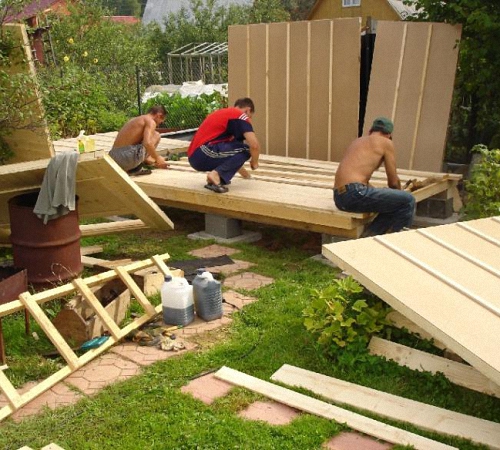
Initially, after the draft of the barn, it is necessary to proceed with the construction of its foundation. First, indicate with the pegs the place of erection of the barn, clean it from extraneous things, the top layer of the soil and proceed to the creation of the foundation. For frame construction, a column foundation is most often used. Although the option of erecting a slab or strip foundation is possible. However, since the frame structure is quite light, the foundation of a column -frequency type will become a reliable basis for it.
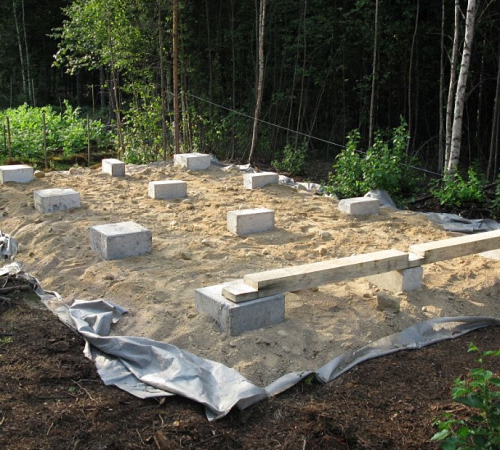
However, if the level of groundwater is too high, then you need to dwell on a different type of foundation. In order to build a columnar foundation, prepare the recesses for installing posts with an interval of 160 cm. At the same time, the depth of the recesses will be about 80 cm. Most often, the pillars function are performed from asbestos or bricks.
After installing the pillars, check the evenness of their installation by the construction level. Next, fill the pillars with sand and gravel, pour concrete. The foundation should stand at least three days, until the concrete solution is set.
In order to extend the service life of the poles and increase their moisture resistance, it is necessary to cover them with the help of a special waterproofing mastic before filling.
The following works are related to the construction of the frame from the beam, which will be fitted on the previously prepared foundation. Previously, the bars should be covered with the help of an antiseptic composition that protect them from moisture, mold and fungus. Focus on the impregnations containing a colver. Thus, areas that were not processed will be visible to the naked eye. The foundation is mounted on the foundation of timber, the size of the perimeter of the future structure. Pre -laying on the column foundation roofing ground, to ensure its additional protection against moisture. On the floor, boards are mounted, the thickness of which is 3-4 cm. During the laying of boards, neatly measure and cut the sections near the racks, then the process of installing walls will be greatly facilitated.
For further alignment of the floor, rubbings will be used. Therefore, fix the boards on the lags using a secret fixation method. To determine the number of supports, we should proceed from the number of corners in the barn, as well as in the number of window and door structures. For the correct and even arrangement of bars, use sloping sticks. It is they who will help to install the bars in a certain position. Install sticks with nails, but do not clog them completely to then facilitate the process of dismantling them. On the lower strapping, with the help of the lag, racks are installed that hold the walls.
The construction of a wooden barn is also carried out on the basis of brick. In this case, after the construction of the foundation, it is necessary to build several brick rows of walls on it. A wooden frame is mounted on this base. Vertical bars must be treated with an electric shirt. If in the future the lining is carried out outside the barn, then this side of the Brusiev should not be processed.
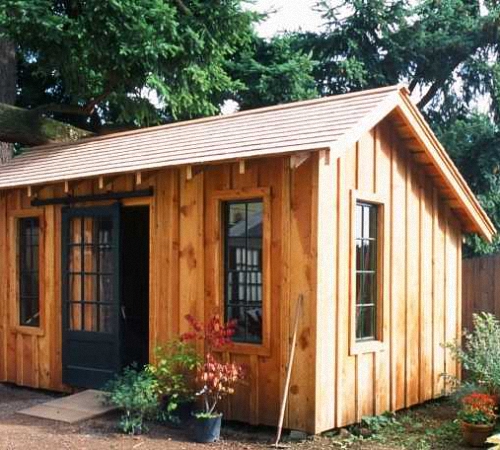
At the next stage of the construction of the barn, the rafter system should be installed and the roof should be mounted. On the previously exhibited racks, the upper part of the barn is fixed, made of timber. To fix all the compounds, use steel and screws.
Construction of shed video:
When setting up a single -sloping roof, try to install vertical racks in such a way as to get a small slope. Thus, it will be possible to avoid the accumulation of rainwater and snow on the roof of the barn. As a rafter system of the roof, use boards about 4 cm thick, the length of the boards should be half a meter more than the length of the frame of the lower base. On previously covered with special impregnations, the crate is mounted.
In order to sheathe the walls of the barn, use boards, the size of which is 2.5x15 cm. On a wooden roof, it is necessary to install waterproofing, use roofing material for these purposes. To improve the presentability of the roof, cover it with bitumen tiles, although if the appearance of the barn is not important for you, it is enough to install ordinary gray slate on the roof.
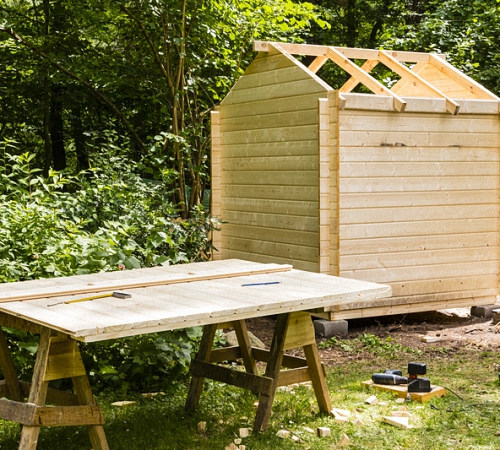
In the process of walling with the help of boards, try to first install them in the center, and then move on both sides. Install boards with a minimum interval between them. Next, process the outer part of the barn using an electric shirt, so not only their appearance will improve, but rainwater will not linger on the walls.
In order to improve the attractiveness of the finished structure, as well as provide additional protection of the boards from external influences, cover the shed varnish or paint, suitable for the exterior of the house.
Sarai construction technology from foam blocks
If you want the barn to serve you at least thirty years, we recommend that you build it from foam blocks or bricks. Since not everyone is given to master the brickwork, the more acceptable option is still foam block. Keep in mind that under such a barn, it is necessary to build a reliable base, while material costs will increase in comparison with the frame structure.
Among the main advantages of foam blocks we note:
- impressive dimensions and at the same time the lightness of the material;
- Speed \u200b\u200bwork, compared with brick masonry, several times;
- excellent properties of a thermal insulation nature;
- high vapor barrier;
- ease of processing the material and the ease of laying it;
- Environmental and fire safety of the material.
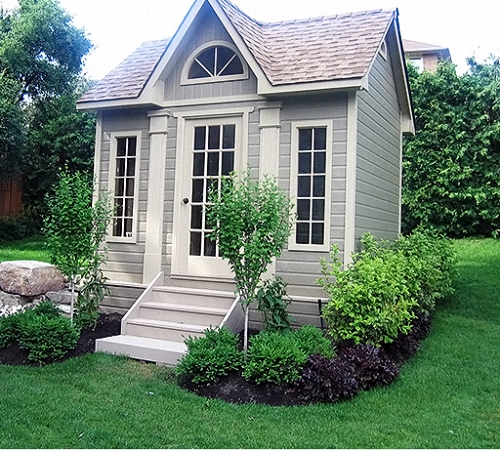
However, a shed from foam blocks requires exterior decoration, since this material is instructed before moisture and is prone to destruction under its influence.
The construction of a barn in the country from a cinder block involves the performance of such actions:
- Remove the garbage from the site for the barn, and also remove the upper fertile soil layer;
- Mark under the trench, the depth of which will be about 50 cm, adhere to perfectly straight angles;
- Build the trench under the shallow foundation, the lower part of the trench is filled with sand, which must be carefully tamped;
- Install the formwork, it should rise above the base of 200 mm;
- concrete foundation tape along the entire length;
- The time of solidification of the concrete solution is about three weeks, only after it has expired, it is allowed to start performing further work;
- For waterproofing the foundation, use roofing material.
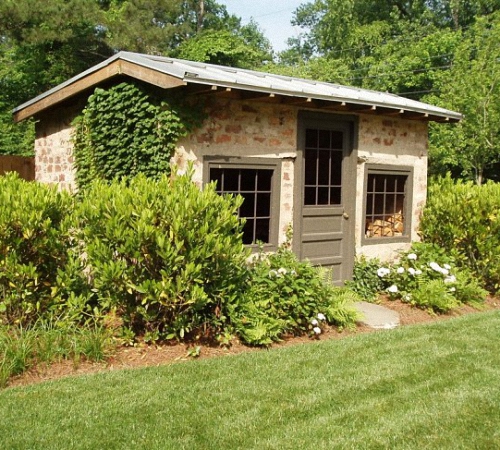
The construction of a barn from foam blocks is performed quite quickly. The main thing is to make the foundation qualitatively and wait for a certain time so that it gains the desired strength.
The number of foam blocks required during the construction of the barn is calculated according to the previously developed project. In addition, there are special programs that will help calculate the amount of material taking into account window and doorways.
Penoblok’s laying is carried out according to the same principle as the installation of brick. The laid rows should be strictly horizontal, and the walls are vertical. The correct location of each row is checked using the level and plumb line. Initially, before starting the masonry, it is necessary to remove the corners, between them you need to install a cord, which will put foam blocks evenly.
In order to connect the material, two types of solutions are used:
- special glue;
- The composition of sand and cement.
The first option is more expensive, but also more reliable. In this case, the thickness of the seams between the material will be minimal. Thus, it will be possible to reduce thermal losses. If the barn is designed to store tools and heat saving is not the main factor in its arrangement, then it is quite possible to combine foam blocks with the usual solution, for the preparation of which sand with cement is used.
Try to comply with the dressing, that is, over each joint of two foam blocks, a whole foam block is located on top. Remove the glue or solution that protrudes after connecting the material with a spatula, both inside and outside the wall. To install foam block, use a rubber hammer that will help to fix it in the right position.
After the manufacture of walls, the process of arranging the roof in the barn follows. If the roof in the barn is single -toe, then one wall should be higher than the second. When arranging a gable roof, the walls will be the same. Gable roof has more advantages, as it also allows you to build an attic in which you can store old things. Also, the appearance of a gable roof is more attractive than that of a single -sided one.
In order to equip the roofing system, the installation of the Mauerlat, under which the roofing material is located. Next, the transverse beams are laid, which will become the basis for the ceiling in the barn and the floor in the attic.
Use the transverse bar to assemble rafter legs. At the same time, it is recommended to carry out all the work on the ground, and then raise the finished structure on the roof. The skate board will help connect all the details of the rafter system. All wooden materials are treated with antiseptic substances to prevent their decay. Next, laying the previously selected roofing material and floor installation, which is most often mounted on the lags, is made.
DIY barn construction video:
