Modern production technologies provide the opportunity to make ...
|
|
Sandwich panel, clinker, plaster - all these materials are used when decorating the facade ... |
Many residents of apartment buildings are faced with the problem of lack of square ... |
Do -it -yourself loggia repair
What does loggia mean to you? For some, this is just a place to store old things or drying of linen, while others turn it into a cozy recreation area, gym or greenhouse. The loggia is an integral component of modern comfortable housing, so its reincarnation should be treated with special responsibility.
Some construction work requires the intervention of professionals, but you can equip a loggia with your own hands. And without making excessive efforts, the loggia can be turned into a multifunctional, comfortable and beautiful room, giving a special charm and comfort of living space.
In this article, we will talk about how to make the repair of the loggia with your own hands, what main steps it consists of and what materials will be required for this.
Table of contents
- Dismantling the old loggia and elimination of damage
- Materials and tools
- Installation of glazing
- Installation of lighting
- Ceiling and wall insulation
- Walls and ceiling
- Warming and flooring
- Redecorating
Dismantling the old loggia and elimination of damage
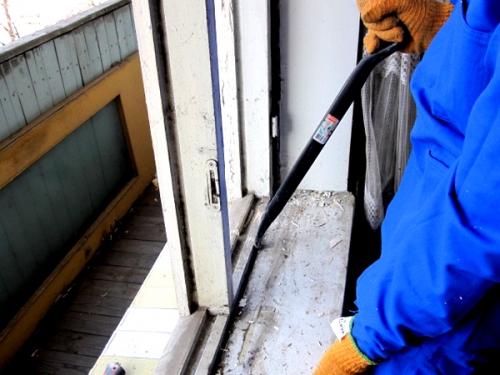
Before repairing the loggia, preparatory work should be carried out to remove the old sheathing, break off, unscrew and take out everything that was not originally into the loggia.
Next, you need to check the existing destruction. For example, if cracks or cracks were found along the edges of the plate, then they need to be restored. For this, the surface is originally cleared of all kinds of debris, stones or failure parts. Next, the damaged place is treated with a primer, and after drying it, a cement layer is thrown. If the destruction is not very large, then one layer will be enough. The cement mixture should be on an adhesive basis, otherwise the cement-sand mixture of its own manufacture can be blurred and crack over time.
Cement surfaces should also be checked for the presence of a variety of voids, and then, if any, they should be carefully cemented.
If the loggia has serious destruction, then it is better to use the services of building brigades.
Materials and tools
Before decorating the loggia, you need to choose all the required materials. For thermal insulation of the room, a variety of materials are used - from traditional mineral wool to modern high -quality polystyrene foam. The parapet is finished with siding or decorative panels. Wooden panels must be treated with antiseptics and antipyrens.
For the repair of the loggia, the price of which depends on many factors, you need: polystyrene foam or foam 4-6 centimeters thick, moisture-resistant sheets of drywall and gypsum fiber, foil polyethylene film, foil foamed polyethylene, mounting foam without toluene, self-tapping screws.
Installation of glazing
For those who want to first protect their apartment from external influences, and puts noise insulation in the background, you can install ordinary wooden frames. Such glazing, of course, will muffle external sounds, but not as efficiently as possible. The advantages of this method of installing glazing are relatively low cost, simple installation and good cross -country ability.
If you want to achieve maximum comfort on the loggia, then install plastic windows. This method as much as possible protects against wind, noise and other external influences, helps to maintain temperature, not depending on the period of the year.
The service life of plastic windows is quite large, but with such glazing, free air circulation in the apartment will be absent.
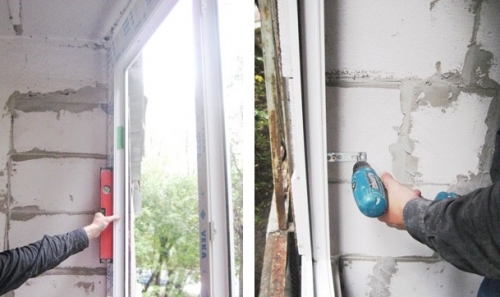
The first stage in the installation of plastic glazing is the assembly of the window design of the double-glazed windows, the sash and the sandwich panel are extracted, and the frames are connected one with one and expansion elements.
Next, elements for fastening are installed to this design.
The third stage in the installation of glazing is the mounting of the window structure in level. To do this, it is best to use screws, since it is they who guarantee reliable consolidation.
Then, a facing corner is mounted on the window structure on the sides and from above, and tide from below.
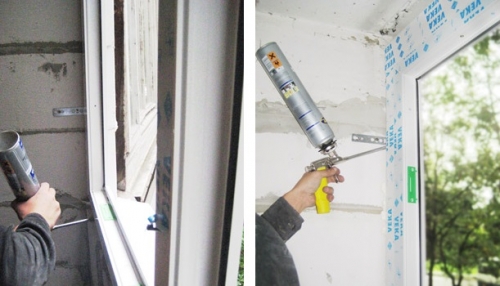
The next stage is filling the openings between the walls and the window with mounting foam.
After all these procedures, double-glazed windows, sandwich panel, sash and other additional components are mounted.
Important: after glazing the loggia, the sealing should be carefully checked, as it significantly reduces heat loss, the hit of the saw and noise.
Installation of lighting
The next step in the arrangement of the loggia is the installation of lighting. For lighting, you can use any lighting devices fixed on the wall or ceiling, built -in or ordinary. It all depends on the preferences, fantasies and the design of the room. In addition, sockets, switches can be installed on the loggia. For this, a cable with three veins of one and a half square with a cross section is suitable.
Ceiling and wall insulation
After installing high -quality plastic windows, you need to insulate the walls, ceiling and floor.
The walls are insulated with heat -insulating material, for example, polystyrex or polystyrene foam, which are attached to the wall according to wooden rails or dowels with a plastic head. All joints need to be carefully treated with mounting foam to avoid cold hit, and the joints between the sheets of the insulation are glued with tape.
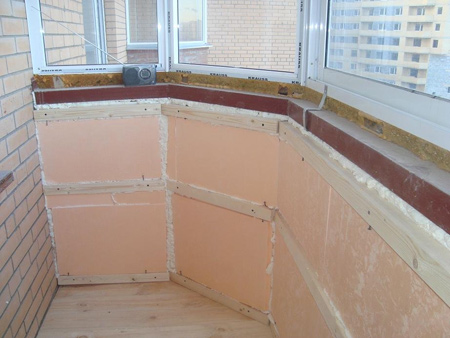
Important: the mounting foam should not include toluene, since it is able to dissolve polystyrene foam.
Next, the vapor barrier and the reflective layer should be attached. For this, foil, polyethylene film or foamed foil polyethylene is most often used. Steamproofing is attached by tape or glue on a polyurethane basis.
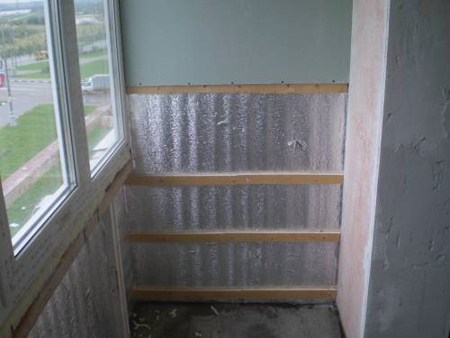
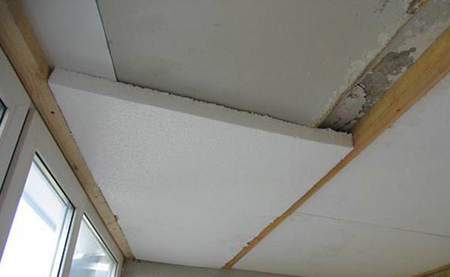
The ceiling is insulated according to the same technology, however, as a heater, you can also use a suspended ceiling and hide all the necessary wiring under it to illuminate the loggia.
Initially, transverse lags are attached to the ceiling, to which facing material will be screwed in the future. Foam is placed between the lags. All joints should be filled with mounting foam.
Walls and ceiling
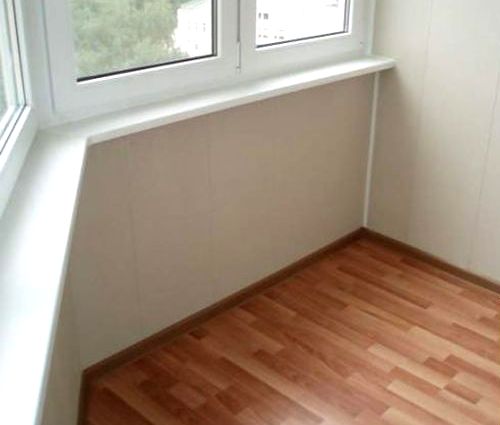
Wallpaper is not the best option for finishing the loggia, since in this room there is increased humidity and significant temperature changes. The loggia requires wall panels, moisture -resistant drywall, plastic or wooden lining.
Before decorating the loggia with panels, you need to stick the walls with a cork or wooden frame. Then, the installation of panels or other finishing material is installed by connecting them with each other.
It is worth noting that the connection of the panels with the frame cannot be difficult to make the process simplifies that the groove tongue on the outside is slightly shorter from the tongue with the back.
If you want to finish not only walls, but also the ceiling, then you need to start with the installation of the lag on the ceiling.
In most cases, it is enough to mount only 3 lags on the ceiling: place one lag in the middle, and the other two along the long walls.
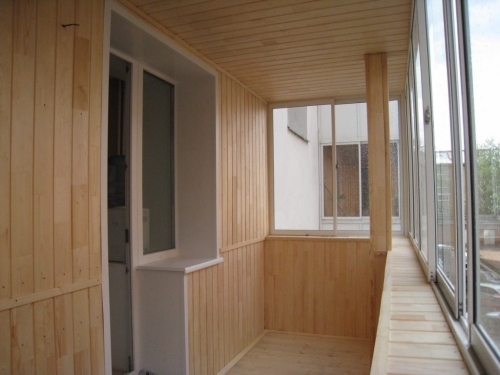
The wall decoration of a wooden lining will give additional comfort, comfort and aesthetic appearance to the entire room.
Do -it -yourself loggia repair - photos of visual examples of walls and ceiling.
Warming and flooring
There may be several ways to warm the floor of the loggia:
- wooden lags
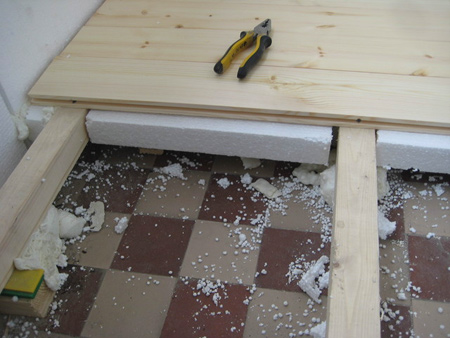
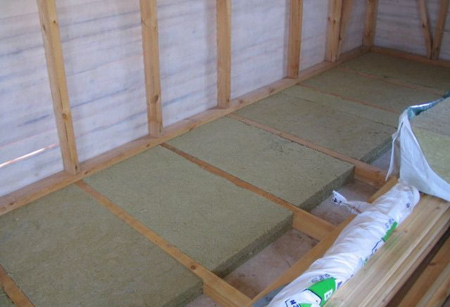
Lags are attached to the floor in the longitudinal direction, which I will serve as the basis for the future sex. Next, using mounting foam, they are fixed. Between the lags there is a thermal insulation material, such as foam or mineral blocks. To ensure maximum insulation contact with the floor, a gypsum mixture is used. If ordinary mineral wool is used as thermal insulation, then it should closed the entire surface with an uniform layer. Next, the flooring of a dodgy board using self -tapping screws is mounted on the lags.
- screed
The thickness of the screed should be 4 centimeters, and between the screed and the wall you need to leave the temperature gap of 1 centimeter. To do this, before installing the screed around the perimeter, it is necessary to strip a 1 centimeter of foamed polyethylene. After hardening the screed, ceramic tiles are attached to it with glue.
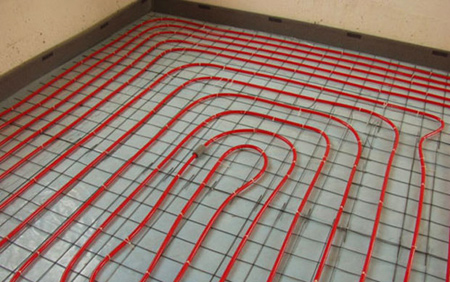
- screed with a warm floor system
Initially, the floor should be leveled with a screed. Next, the heating cable is placed and is securely attached to the screed using a construction tape. The power of the cable is determined from the conditions of 90-100 watts per square meter of loggia.
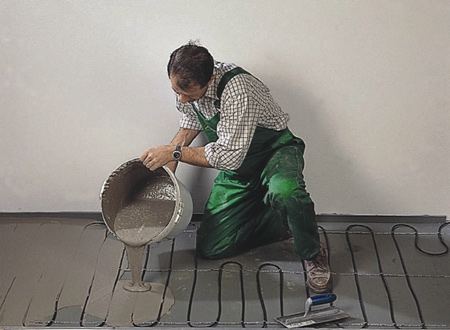
Then pour the self-leveling mixture with a thickness of 1-1.5 centimeters, completely closing the thermal conductive elements.
After that, ceramic tiles or other finishing material are laid. This method is the most optimal, but it requires more significant material costs.
Redecorating
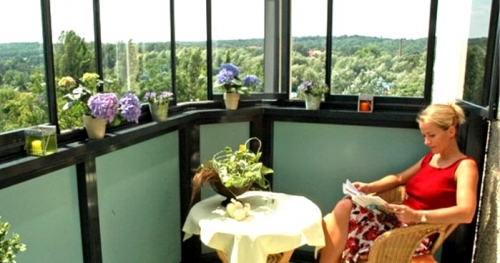
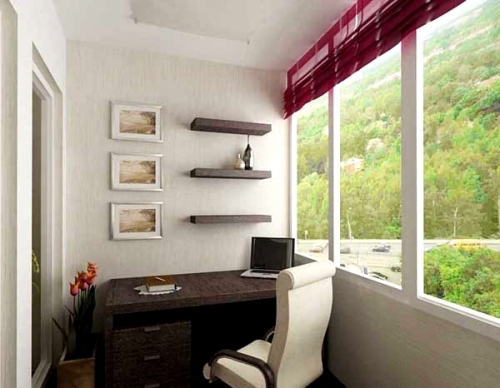
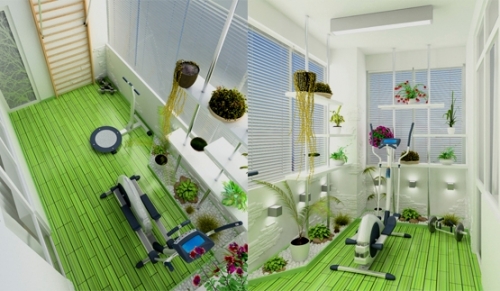
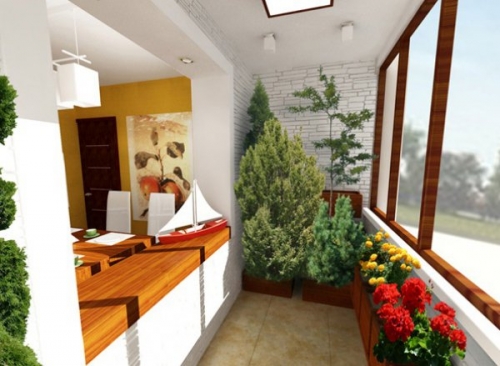
This stage is fully dependent on the imagination of the owner of the living space. There can only be financial capabilities. The loggia can be turned into a secluded, cozy place for tea drinking, playing sports, relaxing with friends or arranging it with a variety of colors. It is worth noting that the cost of repairing the loggia is completely dependent on the chosen finishing material and the style of the loggia.
The main thing is that the design of the loggia is fully consistent with the general intention of the interior of the apartment and be able to bring only positive emotions to the owners.
Consider the most common ideas of cosmetic repair of loggia.
- orange, flower garden. To do this, take care of additional lighting and heating. But these costs are fully compensated by plants flowering round year.
- tea party room. To create a cozy interior, it will be enough to put a small wooden table, a couple of seats and lay a carpet with a large pile on the floor.
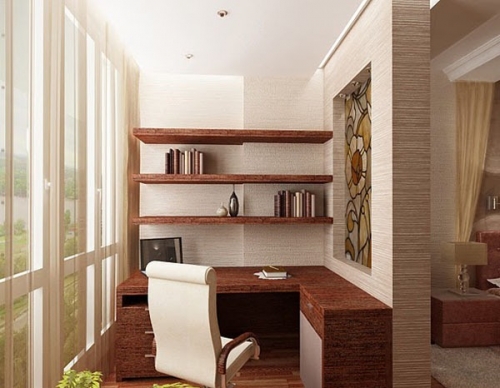
- study. If you have a small apartment, then on the loggia you can equip your personal account to put a computer table, chair and additional lighting.
- gym. Having equipped the loggia with small simulators, you can safely play sports without interfering with others.
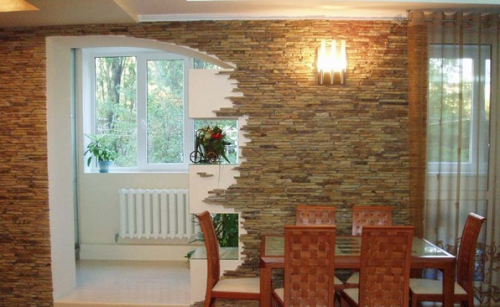
- Very often, to increase space, the loggia is combined with a room.

