The porch is an integral part of any private house, cottage or cottage. Manufacturing ...
|
|
The surface of the floor is the most vulnerable place in any home. It is on this surface ... |
Repair repair has already finished finishing the walls, ceiling and floor ... |
DIY tile laying tiles
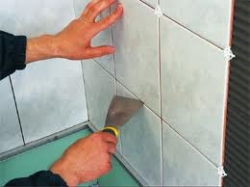
With your own hands, laying tiles with your own hands is not easy, but quite feasible. If you pay you the cost of these work not, but a beautiful bathroom and kitchen do not leave your dreams, then with the right approach everything can be done independently.
- We calculate the required amount of material
- We lay the tiles on the floor
- We lay the tile on the wall
- Methods of laying
- Surface preparation
- Statement technology
- Tile cutting
- Grout of the seams
If you take into account all our tips, practice, then be sure to fill your hand, and you will never be interested in the cost of laying tiles. You yourself can transform your room with this practical, durable, beautiful material.

We calculate the required amount of material
So, for this stage you will need: level (plumb), roulette, paper and handle. Calculations must be carried out very carefully.
The alleged location of the tile, whether it is a wall or floor, is measured horizontally and vertical. According to the resulting result and the estimated size of the tile, the required amount of tile is calculated. Special attention should be paid to the corners. If the corners are curved, several incomplete tiles will be completed in order to avoid gaps.
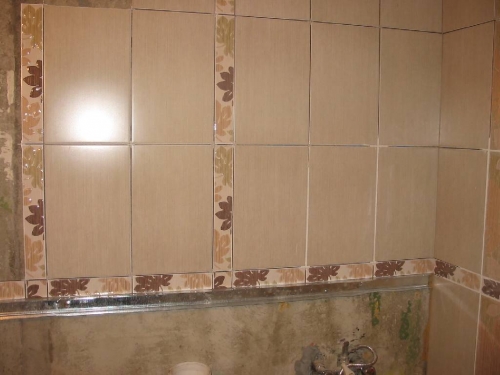
Next, you need to sketch the arrangement of the tile and choose the type of cladding. Possible options for laying tiles are: diagonal styling, joint in the joint and laying in a run. At this stage, you also need to decide on the presence and necessary number of decor elements: friezes, borders, plates with drawings.
In order not to make a mistake in the amount of bought tiles, on paper you can make a mini-scheme on the appropriate scale, on which the location of both the tiles and the decor will clearly indicate. After that, you can only start buying and laying tiles, the price of which is often quite high. Therefore, an important rule should work: measure seven times, and cut one!
We lay the tiles on the floor
The tile is laid only on a perfectly flat floor surface. Therefore, if the differences are impressive, it is worth thinking about the floor screed. All types of screeds are suitable for tiles. On top of gypsum -fiber sheets with dry screed, the tile is glued with flizenkleber glue. Only the implementation of all preparatory work begin directly to laying.
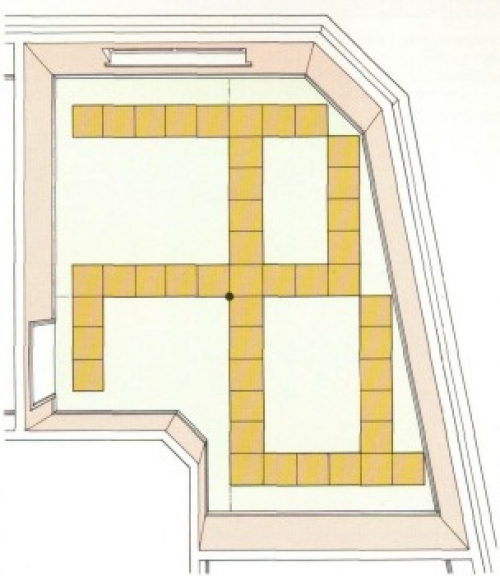
According to the rules for laying tiles on the floor, we first determine the pattern. To do this, lay out two cross rows along the longitudinal and transverse axis. And special plastic crosses inserted between tiles will help control the thickness of the seam.
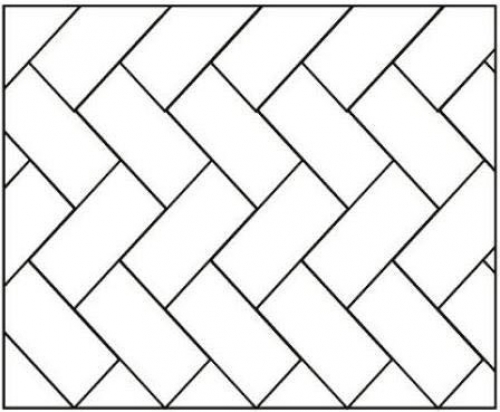
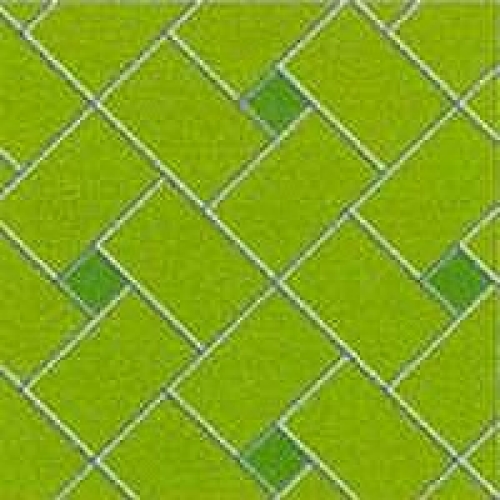
There are different ways of laying tiles.
Traditional
Diagonally
With a displacement (frame)
Christmas tree
A Christmas tree with an attachment
Modular mesh
Depending on your chosen, the first row of tiles is laid. When using a direct (traditional) method in large rooms, styling begins in the middle, and in small ones from the second row.
When using the diagonal styling, first a frieze marking is made, then whole tiles are laid around the perimeter, after cutting tiles, and then a frieze is laid. By laying the first trial row, be sure to control its plane using the level.
Special attention should be paid to the corners. Since the tile may not be concave in the same way, the protrusion of the corners is possible, therefore, in order to avoid the irregularity of the floor, the tiles must be besieged just below the level. Be sure to ensure that the seams in perpendicular directions match.
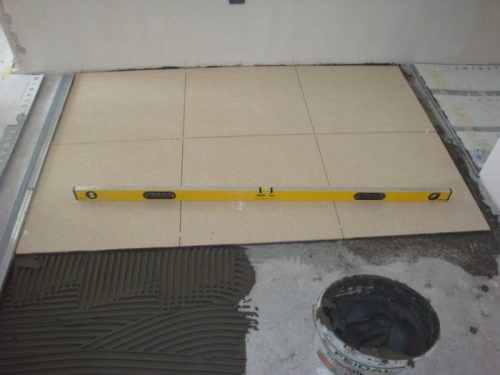
Using the level and corner, we put lighthouse tiles. If the floor is uneven, they are installed at the highest point. Next, a solution or glue is applied to the place where the tiles will lie, the tile is placed on top and carefully launched by a rubber hammer. After that, you can fill the remaining space in rows, periodically tracking the level of laying the tiles.
The tile is perfectly attached to the floor with:
- cement mortar;
- glue;
- cement mortar diluted with plasticizers;
- bitumen mastic.
We lay the tile on the wall
Methods of laying
Experts recommend starting this process from the wall opposite the entrance.
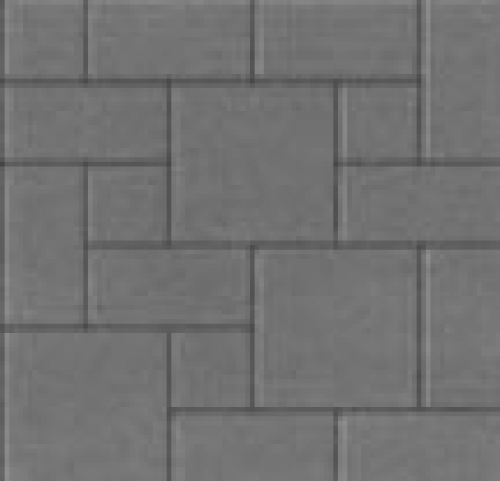
The laying of tiles on the wall can be carried out in three ways: a traditional joint in the joint, in a checkerboard pattern (assigned) or diagonally.
In the first case, you need to constantly monitor the coincidence of vertical and horizontal seams, as well as measure the tile in size.
When using the cladding in the dressing, the middle of the tile from the upper row is located above the joint of the lower row tiles. Laying using this method is greatly simplified, because No need to constantly monitor the coincidence of the size of the tile.
Diagonal styling can often be seen in large rooms. The method is considered quite time -consuming and complex, therefore, if you decide to use the services of specialists, the prices for laying tiles may not please you. The main points that need to be paid to are perpendicular to the seams and the correct adjacent of the tiles to the walls.
Surface preparation
To begin with, the possible deviations of the surface from the axes are checked: horizontally for the floor and vertically for walls. The maximum permissible percentage of deviation is 0.2%, i.e. It should not exceed 2 mm per meter of length.
Using a plumb line or level, check the vertical deviation for the walls. With proper installation, the roller error will be smaller. It is best to hang a plumb line on nails specially driven in the corners of the room. A long ruler is checked over the entire height and width.
The flat plane of the surface is the key to success. Possible gaps immediately become visible if you attach an even beam or level. In the presence of large recesses, they need to be gently subsided. Small gaps up to 2 mm can be left unchanged.
Now, tapping the surface, we carry out its check. The presence of a baking sound indicates a fragile fit of the layer. In this case, the surface is cleaned to brickwork or concrete. During tapping, the sand is also possible: such a layer is removed or enhanced using specially intended tools.
The technology for laying tiles on a wooden surface involves the use of roofing material and a metal mesh. Reiki, roofing roofing, mesh is filled on the wall. On top it is plastered with a 15-mm layer of solution, after which the tile is laid.

In the figure: 1 - stuffed bars, 2 - wooden base, 3 - only or roofing room, 4 - net, 5 - cement plaster, 6 - tile
Fat spots, dirt, the remains of a soap solution, the paint should not be on the prepared surface, otherwise the tile will not be firmly glued. The painted walls cause especially a lot of trouble. Removing the paint is quite laborious, but with the help of a perforator with a spatula or a cutting machine with a card, it can be greatly simplified and accelerated. The tile will be better to hold if the surface is primed.
Statement technology
The technology for laying tiles on the wall involves preliminary laying of lighthouse tiles. To install the beacons evenly, pull a thread that lags behind the surface by 5 mm. It is guided by the installation of lighthouses and leveling the plane. In this case, the parameters of the vertical and horizontal are necessarily monitored. For installation, it is best to use alabaster, because It instantly freezes, and after laying a row, quickly and easily cleans with lighthouse tiles, which is already installed on a constant base.
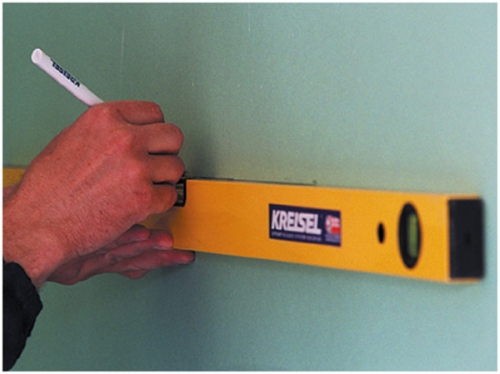
They begin to facing the wall from the center of the wall towards the corner. The center of the wall must be marked by conducting a vertical with a pencil to the floor. From this place they begin laying. If, with a checkerboard pattern in the front row, the central line will pass along the junction of two tiles, then in the second row it will have to be on a whole tile.
Now mark the rows horizontally and carefully lay the tile, starting from the bottom. If you are sure that the floors are even, then the tile can be installed directly on them.
If in the process of laying you noticed that you have deviated from a flat line, the already laid tile can be slightly lifted. This is done using wedges that are knocked down under the tile.
The tile can also be installed on a screwed rail, in the corners of which the hallets with an attached cord are placed. All this is done in order to smoothly lay the tiles both horizontally and vertically. After the tiles are laid, all devices are removed and fluid with a solution.
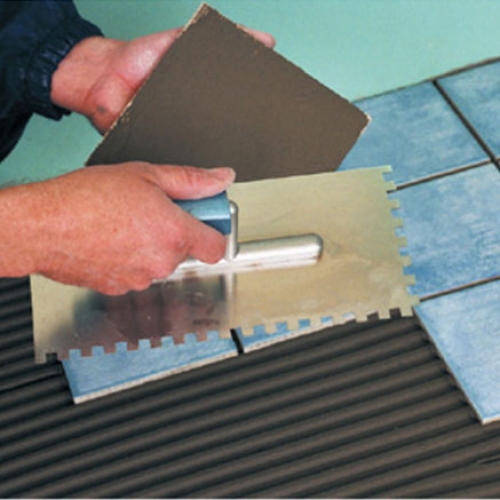
We directly lay the laying as follows: on the back of the tiles with a trowel we apply a solution (cement, glue), distribute it with a comb, tightly pressed to the surface, launch. To do this, use a rubber hammer. The level of the tile should coincide with the level of previously stretched rope. The whole space with the tile and the wall should be filled with a solution, otherwise the adhesion will decrease over time and the tile may disappear. The applied layer of the solution should be from 7 to 15 mm. The remains of the solution that appeared on the seams are removed with a trowel.
Between the tiles we insert special crosses, which will allow you to control the thickness of the seam. After the laying process is completed, carefully clean the seams from the remains of the solution and dust, pull out the crosses.
Tile cutting
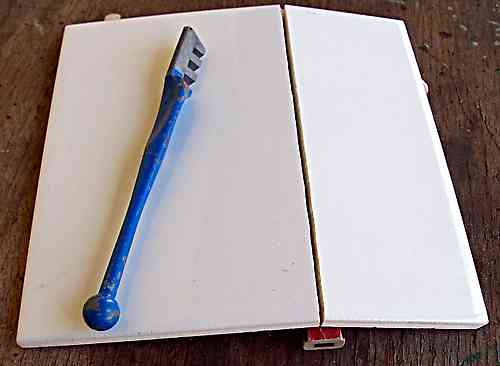
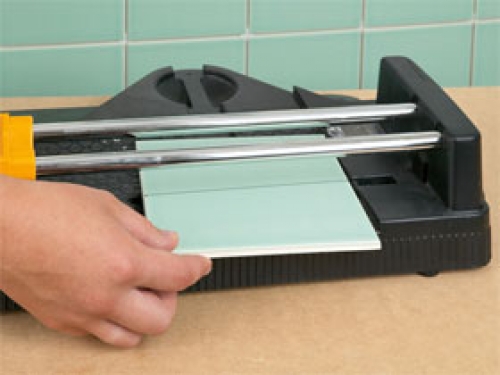
In some cases, if the size of the room requires it, you need to cut the tile. For floor, a cafeller is used, for wall - roller glass cutter or carbide cutter.
Before cutting, the tile is marked. Then, along the applied metal line with pressure, it is carried out with a cutter, after which the tile itself is broken, placing a wooden block under it, or with special forceps.
Grout of the seams
The last stage of the grout of the seams. Their width for tiles, the size of which 10, 15, 20, 25, 30, 60 cm, should be on average 3 mm. The surface will look more aesthetically pleasing if you apply a colored grout to the seams. But even an ordinary white grout will give a wall with a stacked tile a neat and finished look.
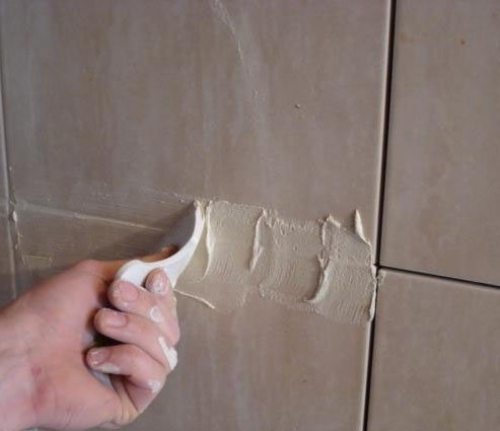
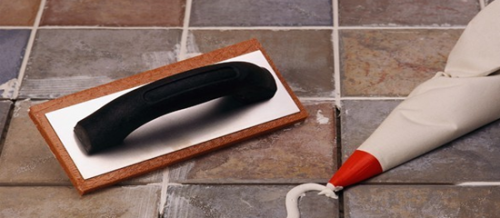
The grout is applied either with a special scrap, a grater, or using a package with a nozzle resembling confectionery. After applying, the grout is evenly distributed to fill all the seams. Then, dry surpluses are removed with a grater, the seams of a sponge moistened in the water are treated.
If the tiles are glazed, then the grout can be carried out immediately after the solution dries. If the tile is matte, then before grouting it is moistened from the ranger.
For grout, use a cement mixture or epoxy resin. Unglazed tiles are additionally treated with sealant. This will prevent spots on both the tiles and in the seams.
The master class on laying tiles (video) is easy to find on the Internet. Are you interested in how much the laying of tile costs? We are sure you can do everything yourself!



Good article! Thanks
Good article! Thanks to the author. There is also a lot of interesting things here-http://stroy-reklama.com/category/otdelka-remont.html
I really liked the article
I really liked the article, so complete, it was written professional, it was moderately diluted with the corresponding topics by pictures, apparently the author of the text wrote an article exclusively for people, which can be said, besides praise for the article, well done. Additional information for this article can be seen http: //rremontkvartir.ru/ru/remont-kvartir-svoimi-rukami/ukladka-kafelno ..., there is something to see.
In principle, I expected that
In principle, I expected that the laying of tiles (http://procom.ua/kafelnaya-plitka/plitka-g-harkov-hpz) would make it much more difficult, especially by female hands in two people. Everything turned out to be much simpler: the tile was placed whole. But they tried to put the “rang”, which seemed to have happened. It is a pity that the article was not found before, because they were very tormented, making one mistake: it turned out somehow to press the tile too much, that a special solution was already acting. Of course, they tried to eliminate this, but it was extremely difficult to clean the tiles in places. Therefore, carefully read this item and try to prevent mistakes that I made. In addition, the tile in any case will fall into the solution “normally”, you do not need to press it, you are not in the gym.
http://stroy-reklama.com
http://stroy-reklama.com http://rremontkvartir.ru http://procom.ua/ - Here, sites where you can download porn, erotica and other spam. Be careful!!!
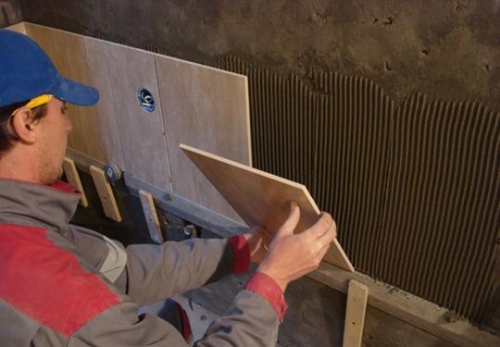
In the photo - glue on the wall
In the photo - the glue on the wall is applied by a crested spatula, and the tile is smeared with glue as it hit.
The author does not understand why the crested spatula is invented.