When the ceiling coating is mounted or plump, it comes time to think about it ...
|
|
Wooden or brick houses rightfully have an army of fans. But with all ... |
Personal water supply, a well or an equipped septic tank can not only take sewage ... |
Installation of a plastic lining on the ceiling
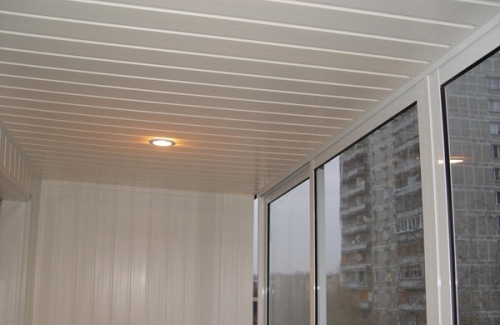
If you are looking for inexpensive and practical material for finishing the ceiling in a household or on the balcony, then the help of plastic will come in handy. Such ceilings have a lot of advantages, except for their low cost, and can be compared in some characteristics even with wooden panels. Let's talk today how to fix a plastic lining to the ceiling.
Content:
- The advantages of a plastic lining
- Disadvantages of plastic lining
- Installation with plastic lining on the ceiling
- Tools for finishing the ceiling with lining
- Calculation of the lining for the ceiling
- Calculation of a wooden beam
- Auxiliary materials for installation
- Ceiling cladding with plastic lining
The advantages of a plastic lining
A plastic lining is one of the most commonly used finishing materials. It is a cheaper analogue of a wooden lining, which is produced in the form of rails by extrusion from PVC mass (polyvinyl chloride). The lining of plastic has many features and advantages, as well as disadvantages compared to wooden lining. Its advantages are as follows:
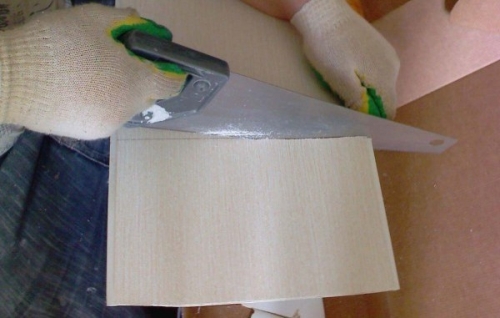
- Simplicity of installation. A plastic lining is easily attached to the ceiling or wall. A PVC Wagon is sawn using a hacksaw for metal or a jigsaw. This material is easily cut, and therefore there are no problems with the fitting to the desired size. In addition, with the help of the lining, you can hide any irregularities of surfaces, and the process of surface decoration itself will not take much time.
- Moisture resistance. Any building materials made on the basis of plastic are characterized by high moisture resistance. The plastic lining is not afraid of water, it does not rot and is not a place for reproduction of mold, so it is ideal for facing bathrooms if you are looking for a budget option for repair.
- Light weight. A plastic lining is produced in the form of a hollow structure with ribs, which allows it to be much easier than wooden, which will have to be by earth when installing a plastic lining on the ceiling.
- High properties. The plastic lining is characterized by good indicators of sound and thermal insulation. Due to the design features, a plastic lining has similar characteristics.
- Price. The obvious advantage of PVC Wagons is its cost. The plastic lining is an inexpensive alternative to other finishing materials, for example, tile, marble, stone, brick or wood. The difference in the price of a plastic lining with a traditional lining of wood is 3 or more times, which contributes to the demand for this material, especially for facing the utility rooms.
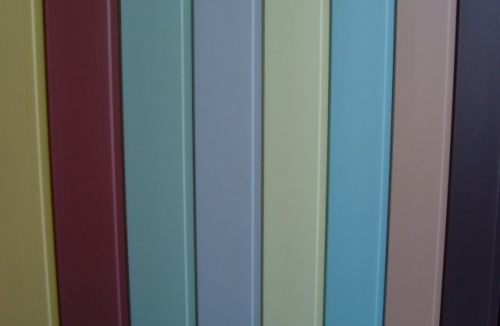
- A rich selection of colors. The wooden lining, as a rule, is not customary to paint in all colors of the rainbow, usually manufacturers are limited to shades of brown and yellow. There are no color restrictions for plastic panels. You can choose the right material from a large number of colors, ornaments and drawings.
Disadvantages of plastic lining
The minuses of the plastic lining include the following:
- Moisture resistance. This drawback is common to all plastic building materials, which is also in many cases a virtue. However, remember that plastic will not contribute to the diffusion of steam and air in the room. The surface will not breathe. Therefore, it is not recommended to faced with plastic lining living rooms.
- Fear of high temperature. A plastic lining under the influence of high temperatures can deform. Therefore, it is not recommended to use it for outdoor decoration. For such purposes, it is customary to use siding. The lining is intended only for interior decoration. In addition, this material cannot be used for cladding near hot objects.
- Low resistance to mechanical stress. In other words, the PVC Wagon is a relatively weak material that is better not to expose excessive loads and influences. For example, if you have to hit the ceiling from a plastic lining, then the material will break.
- Moderate combustibility. By the way, this drawback is fully applied to wooden types of lining.
Installation with plastic lining on the ceiling
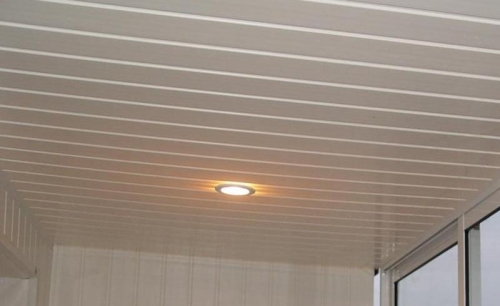
The plastic lining is attached to the ceiling, as a rule, during the finish of bathrooms, loggias and balconies, as well as other non -residential premises, where you need to create a neat, practical and not afraid of the influence of moisture the surface. Normal practice is considered to use the lining for arranging the ceiling on the veranda and porch.
Less commonly attached a plastic lining on the ceilings in the kitchen and in the corridors, giving preference to more attractive outwardly plastic panels. But in the living rooms, bedrooms, children's, living rooms are simply inappropriate. Plus, plastic is not the most environmentally friendly material, therefore it is not suitable for the residential area.
A plastic lining is a fairly common material that is characterized by ease of installation and the practicality of use. To sheathe something lining is the same as folding a children's designer, so there is no need to invite specialists for such work. You can cope with this task yourself. In addition, the plastic lining is mounted in a dry way, there will be no dirt in the room.
The ceiling from a plastic lining is good because it does not need to be primed and covered with paint after assembly, it looks so attractive. It is easy to wash such a surface, and after the procedure it looks completely new. You can wash the ceiling from the lining much more often than the surface, which is painted with water -based paint, even if this coloring substance is even expensive and waterproof.
Tools for finishing the ceiling with lining
The ceilings from a plastic lining are made using this set of tools:
- Electrolobzik or hacksaw on wood. It is better, of course, if that tool is at hand and the second, because it is better to cut the plastic panels along with a hacksaw on a wood with a small tooth for longitudinal cut. If you do this with an electrician, then you can damage the panels by inexperience. But the bars, which are required for the frame when sheathing with a plastic lining of the ceiling, is better and faster to cut using an electrician.
- Perforator. You can limit yourself to a shock drill, but only with a rather powerful tool, and the winning drills are not cheap. If you have to drill reinforced concrete floors, it is better to do this with a perforator. So you can save a lot of time.
- Slate or screwdriver, construction stapler, knife, hammer, alcohol and water level.
Calculation of the lining for the ceiling
The lining is usually sold in the form of separate panels that have a length of 6 meters, but if you know the size you need, in the store the material will immediately cut into the right segments. The width is different, depending on the pattern and the manufacturer. It is better not to buy a lining with a pattern, and if you took it, you do not need to adapt to it, because in the end there will be too many scraps.
The required amount of plastic lining for installation on the ceiling is customary to calculate, based on the area of \u200b\u200bthe sheathed surface, the width of one panel and how you cut these panels. Let's imagine as an example that we have to sew a ceiling of 3 by 4 meters, and the width of one plastic panel is 20 centimeters.
Since we have one side have a length of 3 meters, it means that the panels need to be cut exactly in half. If the width of one panel is 20 centimeters, and the length of the wall is 4 meters, then it turns out that it will be required 20 3-meter panels (400 centimeters are divided into 20 centimeters) or 10 6-meter, which are available in the store.
You can safely order 10 panels to the seller and ask him to cut them in half. Just remember that it is always necessary to take the material more by 20% in case of margin in case of trimming and rejection. According to this algorithm, it will be possible to calculate the number of panels and the cost of a plastic lining for the area of \u200b\u200byour ceiling.
Calculation of a wooden beam
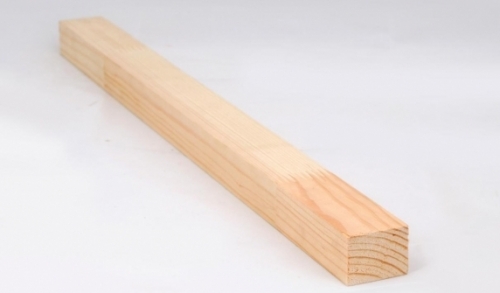
A wooden beam, which is required for the construction of a frame structure, must be selected most often by a cross section of 20 by 30 millimeters. Usually it must be screwed to the overlap perpendicular to the planned location of the lining. The step between the bars should be within 1 meter.
To calculate how much this material will be needed to create a crate, you should again return to our room with sizes of 3 by 4 meters and determine the footage of the beam. Since you will install a plastic lining in parallel with a 3-meter wall in the room, the beam will be parallel to 4-meter. Since the beam will be screwed with an interval of 1 meter, you will need 4 4-meter strips. However, the bars of this length, as a rule, are not sold, so you should buy 8 2-meter bars.
Auxiliary materials for installation
You will need such things as auxiliary materials. Dowels and screws are necessary for the direct installation of such a ceiling. You can’t calculate their size and quantity, because everything is determined by the quality and evenness of the ceiling ceiling. To fasten one 2-meter bar to the surface, 5 dowels and the same number of screws will be needed.
Since the thickness of the wooden bar is 2 centimeters, and the self -tapping screw should enter at least 3 centimeters into the ceiling, it turns out that the length of the screw should be at least 5 centimeters. Since the ceilings are usually curves, it is recommended to purchase screws that have a length of 50 to 100-120 millimeters.

Also, in the process of installing a plastic lining on the ceiling, you will need a decorative ceiling skirting board made of plastic. The length of the baseboard should be equal to the perimeter of your ceiling surface. Be sure to provide a small supply of plastic skirting boards for lining. Instead, the product can be used and ordinary L-profile. Some such ceiling frames with polystyrene foam plinths. Also prepare brackets for the stapler.
Ceiling cladding with plastic lining
Before you start finishing the ceiling with a lining of plastic, you need to prepare the room for work. Take furniture from the room so that it does not interfere. It will not be special mud, as we have already said, but it is unpleasant when something interferes in the process. Yes, and pouring on expensive equipment or new furniture chips are also undesirable.
If lime, chalk or plaster does not hold well on the surface of the ceiling, then those layers that clearly fall off in the near future must be removed. If everything holds, nothing needs to be scraped specially. After that, you can start making crate from wooden beams.
Drill the holes for screws in each bar with a drill, as shown in the video about a plastic lining. This is recommended to do this in a step of 0.5 meters. If you equip the ceiling in a wet room, it is better to protect the bars, painting them with olifa, paint or varnish. Fleet the bars to the ceiling, it is necessary to come back to parallel walls. Lean the bars to this to the surface and translate with a drill, thin barrels or screws from the bars to the ceiling plane.

After that, it is necessary to drill holes in the ceiling with a shock or perforator. Make sure that the diameter of the drill corresponds to the diameter of the dowels. Insert the dowels into the holes, lean again the bars and screw the screws. The remaining bars are similarly attached throughout the ceiling area. Do not forget that the interval between the bars should be close to 1 meter. If you make it more, it is likely that your ceiling surface will walk.
Using alcohol and water levels, you need to set all the bars strictly horizontally in one plane. This, perhaps, is considered the most crucial moment in the entire process of lining the ceiling with lining. If one block floods, and the other will bulge, then it will be clearly visible on your ceiling, as in the photo of a plastic lining. So do not be lazy to put all the bars evenly.
In the process of alignment, you will have to unscrew some screws, and therefore the space between the ceiling and the bars will appear. So that the bars do not jump and sit firmly and in the places of their fastening, it is better to put hard lining under them or score wedges from wood.
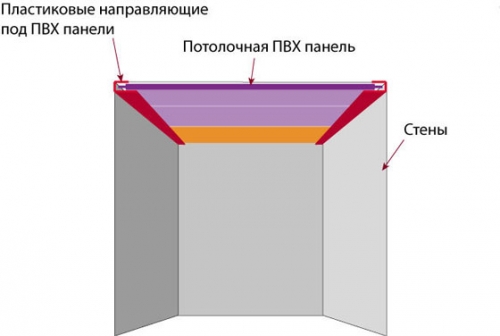
After manufacturing the frame for attaching the lining, you can proceed directly to the installation of plastic panels. However, before that, you need to fix the ceiling skirting board or install an L-profile along the entire perimeter of the ceiling. Next, it is necessary to insert the panel into the skirting board with one wide end at which there is a spike, the other end, where the groove is located, should be attached to each beam with a stapler.
Remember that fastening with a stapler must be performed in the upper part of the groove. After that, insert the spike of the next panel of the lining into the groove of the first and produce mount to the crate from the side of the groove. Similarly, the entire ceiling surface must be sheathed with plastic lining.
The last panel is often required to cut a little on the width, do it, and then carefully insert it into the skirting board on the other side of the plane. Upon completion of the installation of a plastic lining, the ceiling must be thoroughly washed, using a soft sponge and a warm soap solution for this.
Thus, you can’t find better material for finishing the ceiling on the balcony, loggia, in the veranda or bathroom than a plastic lining. And as you can see, the installation of a plastic lining on the ceiling does not represent anything complicated, but it allows you to get a practical, durable and unpretentious ceiling as a result.

