It makes sense to do the owners of apartments with problem ceilings during the next repair ...
|
|
At the entrance to the room in the field of view of any person, one of the first to get the ceiling ... |
The windowsill is not only a mandatory constructive, but also aesthetic, but ... |
DIY glass ceiling

The days passed when the glass ceiling was an exclusively prerogative of discos, concert halls, hotel halls and other entertainment institutions. It was not so difficult to adapt and bring it to the interior of residential premises. Now glass ceilings can be found in bedrooms, living rooms, kitchens and even bathrooms. Glass is a unique material, it not only visually expands the boundaries and allows you to make the room more spacious and create the illusion of high ceilings, but also has other undeniable advantages: light passing through matte glass or stained glass, poured the room with soft magical light. In the interior of residential premises, several types of glass ceilings are used, which differ not only in the material, but also by texture, and the presence of a pattern, and the method of fasteners. We will talk about this in this article.
Types of glass ceilings
Glass ceilings are called products of two materials, different in their characteristics, it is silicate glass and acrylic glass.
Silicate glass The material familiar to us, windows are made from it, it is absolutely natural and environmentally friendly, does not distinguish unpleasant odors and harmful substances. As a material for the ceiling, silicate glass has a number of advantages and disadvantages.
Advantages of glass ceilings made of silicate glass:
- Excellent indicators of light transmission.
- A perfectly smooth surface without scratches.
- Easy care. Silicate glass is not afraid of detergents and cleaners.
- Environmentally friendly natural material.
- For illumination under the ceiling, you can use any devices: incandescent lamps, fluorescent lamps, LEDs and others.
- Not afraid of high temperatures and humidity.
- Do not deform.
The disadvantages of silicate glass:
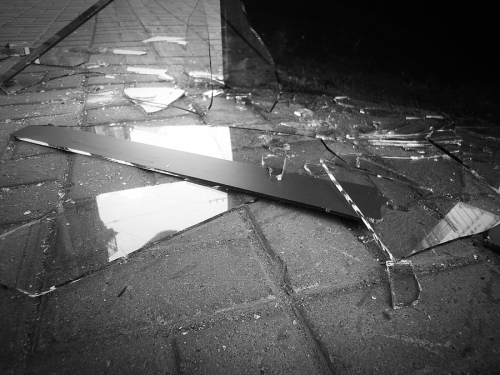
- Very fragile material. From a blow, it can smash to smithereens and fly up. This is also dangerous because the material is under the ceiling, which means that it will fall down to the heads of the inhabitants of the room, which can lead to serious injuries. This drawback is partially leveled by gluing the film on the surface of the glass. But she solves the problem only partially fragments do not fly apart, but remain glued to the film, but the tile of glass still breaks and must be replaced.
- Complex in processing material. For cutting and processing the edges of the cut, a special tool is used. It will also require considerable experience and dexterity to cut tiles of silicate glass and not reject most.
- Relatively heavy material. Although this drawback is controversial. Since the structure of silicate glass itself does not allow it to bend and bend, deform, unlike plastic.
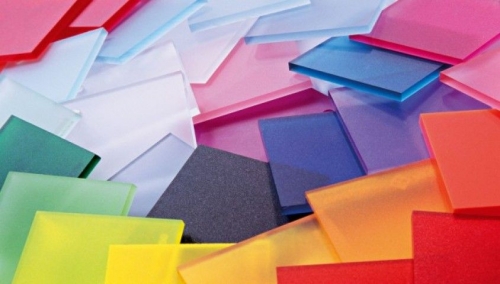
Acrylic glass Relatively modern material, it is also called plexiglass or plexiglass. In fact, this is transparent plastic, which is convenient to use in ceilings due to its strength.
Advantages of acrylic glass ceilings:
- It is difficult to break. Even with a great effort on a fracture or with a strong impact, a plexiglass can crack, but will not split and will not fly apart.
- Acrylic glass is not equivalent.
- Good sound insulation.
- Beautiful heat -insulating properties. Acrylic glass does not conduct heat well, and the air gap between the ceiling and the plates from the plexiglass does not allow the cold from the ceilings inside the room.
- Easy to process material. It is cut with an ordinary hacksaw, a grinder, the edges are wiped with a file, while the acrylic glass does not crack, does not crumble and does not prick.
- Relatively lightweight.
Disadvantages of acrylic glass ceilings:
- Scratches from dust and dirt are often formed on the surface, and even the rags with which it is wiped. The material is afraid of abrasive cleaning agents, and it is also necessary to use liquid detergents with apprehension.
- Acrylic glass is afraid of high temperatures.
- As a backlight, incandescent lamps and other lighting devices that cause a large rise in temperature cannot be used.
- The material is unnatural and at the beginning of operation can highlight unpleasant odors. When heated too.
- When exposed to high temperatures, it can be deformed, the edges of the tiles will bend.
As you can see, acrylic glass has certain advantages over silicate, but its shortcomings are absolutely devoid of the latter. So the choice is complex and ambiguous. There is something to think about.
In their texture, glass ceilings are also different. For example, using transparent glass does not make any sense, since the very idea of \u200b\u200ba suspended ceiling is to hide the flaws. Therefore, glass is processed.
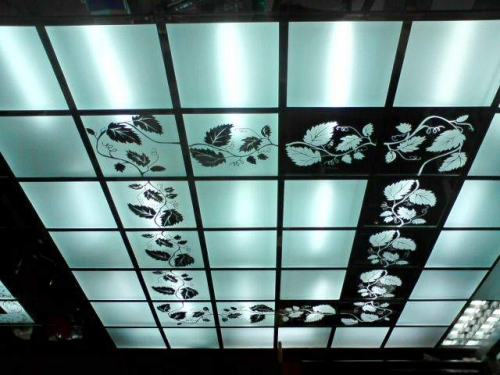
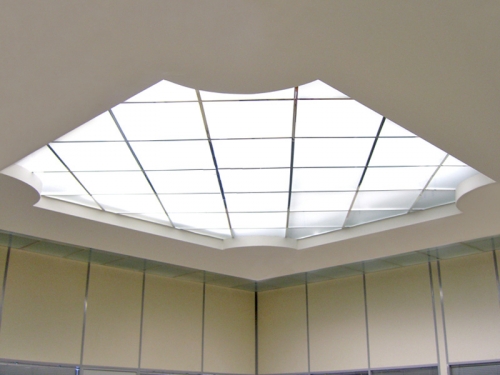
Matte glass ceilingThe most popular option for decorating residential premises. Processed in a special way, with the help of sandblast, the glass becomes matte. Through it, the light breaks through, scattering and filling the room with a warm muffled glow. The illusion of the lack of ceiling is created. In this case, the glass itself can be not only white, but also have shades of pink, blue, green or any other color. This helps to create an unforgettable composition when a drawing or a whole story in various shades is knocked out on the glass.
Matte glass ceilings: photos examples
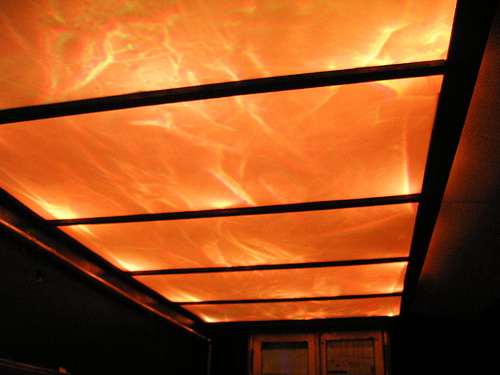
Matte glass ceilings are made both from silicate glass and acrylic. Silicate glass to give uterine is treated with sandblasting, and acrylic is immediately made opaque.
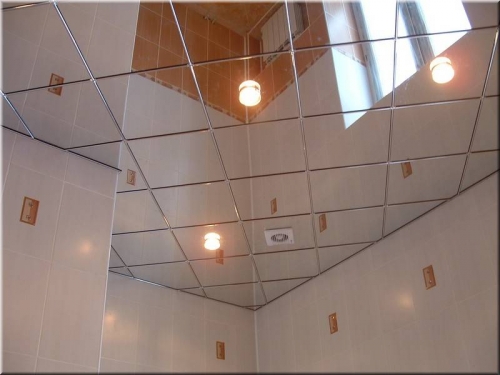
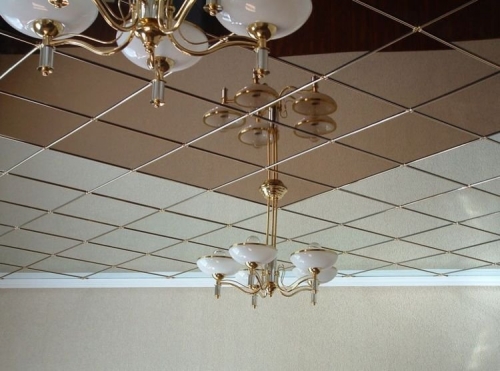
Mirror ceilingit has been in constant popularity since the mid -20th century. Mirror slabs are also made of silicate glass by applying amalgam and acrylic glass by applying a special film. The mirror ceiling is able to visually change the dimensions of the room, expand it, make ceilings above. In this case, the upper backlight is not required.
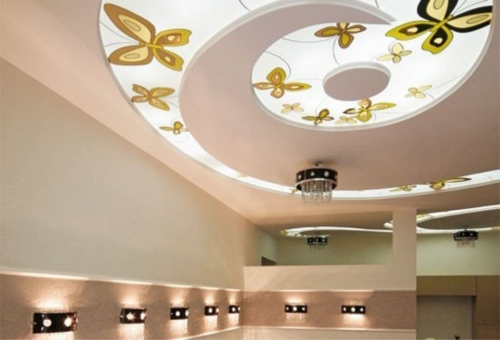
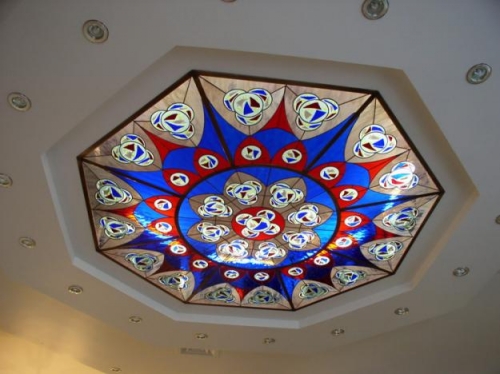
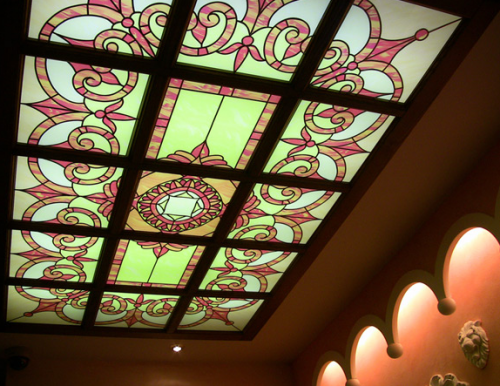
Stained glass ceilingAn expensive elite solution. Applying a multi -colored pattern on glass can be performed in various ways: from extremely expensive, to budget. For example, casting a glass made of glass of various colors and shades, which is called Murmansk casting, is not for everyone. The cost of such stained glasses is colossal, so only very wealthy people can afford them. But the stained -glass window can be created in other ways, using ordinary transparent glass as a basis. The first option to stick a film with a multi -colored stained -glass pattern on the glass surface. One of the most budgetary methods that does not require serious costs and time. The second option to draw the composition by hand with special glass paints. Previously, the contours of the picture must be applied to paper or cardboard, and then transferred to the glass. This method is good for those who like to do everything with their own hands and create individual masterpieces to their taste. There are other options and techniques for making stained -glass windows, but we will not consider them in view of their difficulties.
The stained glass ceiling is able to create an unforgettable atmosphere. A highly artistic drawing or composition combined with well -chosen backlight will help transform the room and create a sense of fairy tale.
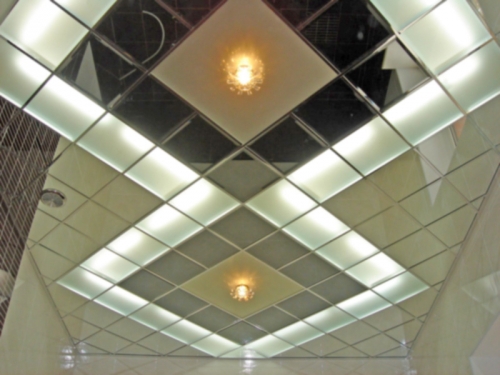
All these types of glass ceilings can be successfully combined. For example, create a composition of matte and mirror plates. The combination of matte glass and stained glass also looks extremely successful. The creation of a non -trivial interior, zoning of the room, the expansion of borders, the feeling of soaring all this can be achieved using glass ceilings and correctly calculated and created backlight.
On glass ceilings, the price depends on the material of the performance and on the complexity of the picture or engraving. There is a difference in the cost of acrylic glass and silicate, but it does not exceed 25 30 %. Moreover, acrylic glass is more expensive than silicate. But taking into account the fact that when processing and installation, part of glass tiles can be damaged, the total cost will be approximately the same. The price is more affected by the color, if it is a mirror coating, and the complexity of the picture, if it is a sandblast to the surface or the creation of a stained -glass window.
Ways to attach glass ceilings
The option of fastening the glass ceiling is selected depending on the type of ceiling and whether the backlight is planned or not.
For example, the mirror ceiling does not need to illuminate from above, so it can be fixed directly to the surface of the floor.
The first way to glue. It is more suitable for tiles made of acrylic glass, they are more impact -resistant, and even if they fall from above, they will not harm health. Since most often the surfaces of the ceilings do not differ in perfect evenness, it is better to glue it not directly to the ceiling, but to the sheets of plywood or drywall, previously fixed on the ceiling. So the surface will turn out even, and the mirrors will not give distortion.
The second way to fix it to rails or profiles. Along the ceiling, you can fill the wooden rails or fix the aluminum profiles and fasten mirror tiles to them with special screws. All these methods are suitable only for those designs in which the backlight is not used from above.
Since glass ceilings are installed to create a unique atmosphere with multiple light, this design requires a backlight that is mounted above the ceiling panels. There are several ways to implement such a design.
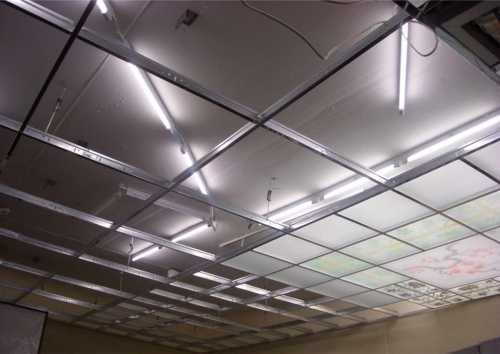
- Suspended glass ceilingswhere glass tiles are laid in the frame of the cassette ceiling system. Such systems are made of aluminum or galvanized steel. They consist of fasteners and adjustable spring suspension. The most common cassette system is the Armstrong system. It allows you to use any tile material with 600x600 mm dimensions. It turns out that glass tiles are inserted into the grooves of the frame and their edges are hidden by a decorative profile.
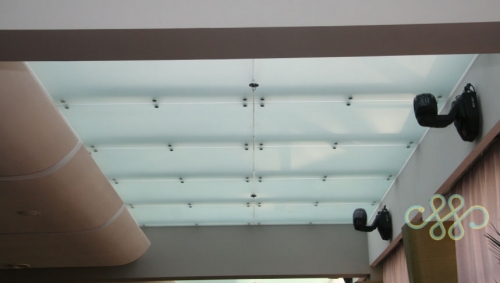
- Fastening glass tiles on decorative screws to the crate. By the way, it is not necessary that it is precisely the crate nailed to the ceiling, it can also be a system of profiles that allows you to fix the tiles from below. It is necessary to drill holes in the glass in advance and extremely neatly, wetting the place where the drill walks.
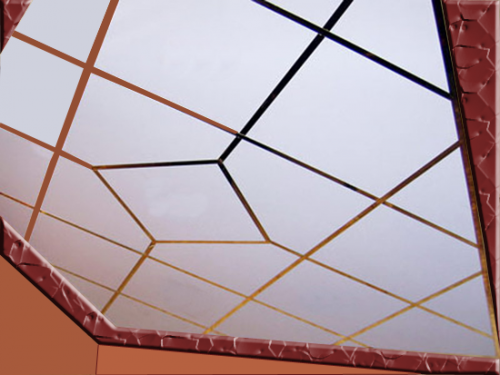
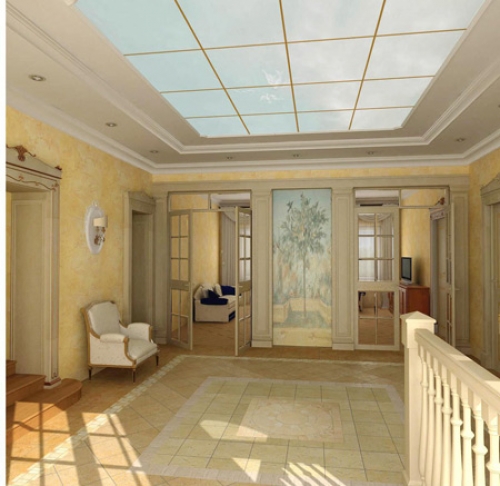
- Laying glass tiles in a suspended wooden crate, fixed to the ceiling. This method immediately performs both a decorative function and fastener. A wooden crate is made of curly, selected in color or contrasting rails. First, a wooden frame is completely mounted, and only then glass tiles are inserted into the cells. Tiles can simply lie on the surface of the crate, or can be attached to it with narrow rails along the edge or screws with a decorative hat. Not only matte glass, but also a stained -glass window with a complex intricate pattern will fit into such a composition. You can use a wooden crate in glass ceilings only in rooms with constant low humidity.
To think over and calculate the method of attaching a glass ceiling in advance. All suspended structures will reduce the height of the room by 15 20 cm at least. This should be taken into account.
DIY glass ceiling
As an example, we consider the option of arranging a matte glass ceiling on the Armstrong suspended system. This installation method is quite simple and convenient, so it can be done on its own, inviting a couple of people to help.
Ceiling marking
The first task is to mark the ceiling, monitoring it in a strictly horizontal plane. First, we plan in one of the corners the lower level of the future ceiling (it will drop by 15,100 cm). Then we transfer the marks to the rest of the corners, checking the evenness of their location using the laser level. Then we connect the marks with the lines and once again check whether they are in one plane.
Lines on the walls a guideline for the installation of an angular profile. Now you need to find the middle of the room.
Important! The ceiling marking with a cassette system is best to start from the middle of the room. So it will turn out more carefully and more beautiful.
Connecting points in the opposite angles with lines, we find their intersection point. This will be the center of the room. Now we measure the walls, find their middle and connect this point with the point of the center of the ceiling.
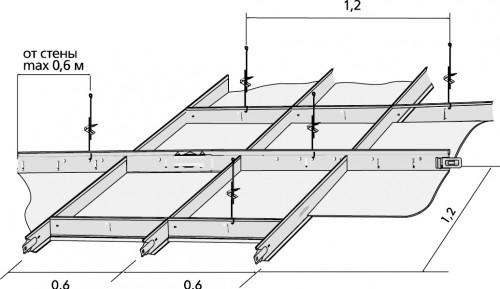
A shorter line connecting points on opposite walls is control The guide profiles will be attached to it. We put off 120 cm in both directions from it and also draw a line. If the room is very long, then from the resulting lines we put down another 120 cm and again draw lines. As a result, the ceiling should be different for every 120 cm. The line closest to the wall should be no further than 60 cm from it.
We plan places for mounting suspensions. To do this, around the point of the center of the ceiling, we draw a circle with a diameter of 180 cm. The intersection with the guides and will be places of mounting the suspension. Next, we expand the circle.
Installation of corners and suspensions for a suspended ceiling
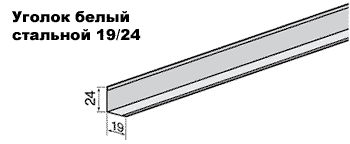
Installation of a glass ceiling begins with the installation of an angular profile. To begin with, we put the holes under the dowel in a pitch of 300 mm in the profile. Then we apply the corner profile to the wall so that its lower edge coincides with the line on the wall. Using the chipper, we plan a place for holes in the wall. Remove the corner profile and pierce the perforator in the wall for the dowel. We insert them into the wall, apply the corner profile and fix it.
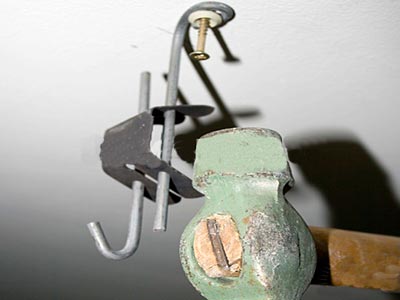
The second step should be fixed by suspensions. For this, clogging dowels are used. The hooks on the suspensions should be deployed in one direction for the convenience of installation and fastening of the profile.
We check that the lower edges of the suspension are in the same plane and coincide with the plane of corner profiles. You can adjust the suspensions using springs.
Installation of profiles of the suspended ceiling
To simplify the installation, you can purchase the Armstrong system, which includes all the necessary profiles. The frame should be assembled, starting with guide profiles, and then transverse.
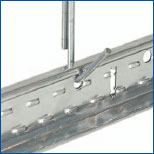
The guide profiles are assigned to the suspensions (hung on hooks) and are firmly laid on the corner profiles.
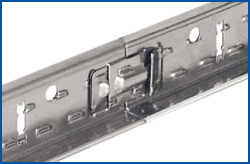
If suddenly the length of one guide profile is not enough to cover the distance from the wall to the wall, then you can connect it with a piece cut from another profile using a special lock, which equip all the profiles of this system.
Important! In places where the installation of lamps is planned, it is necessary to fix additional suspensions.
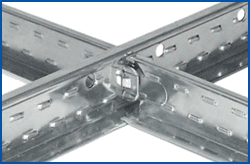
The collected guide profiles are fastened with transverse profiles, which are mounted at a distance of 60 cm from each other.
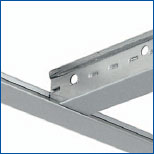
They must also firmly fit into the corner profiles, so if necessary, they should be lengthened. The result should be a grid-frame from profiles. The last time we check the horizontal of the structure and the even location of the cells. All angles should be 90.
Installation of electrical wiring and lighting devices
Before you make a glass ceiling and complete the work, fixing the glass tile, it is necessary to take care of the communications of the electrical wiring and lighting of the ceiling.
In principle, the issue of installing electrical appliances and laying cables can be done before the installation of transverse profiles, so it will be more convenient to perform work. All wires must be fixed to the ceiling or lay along the walls so that they are not visible.
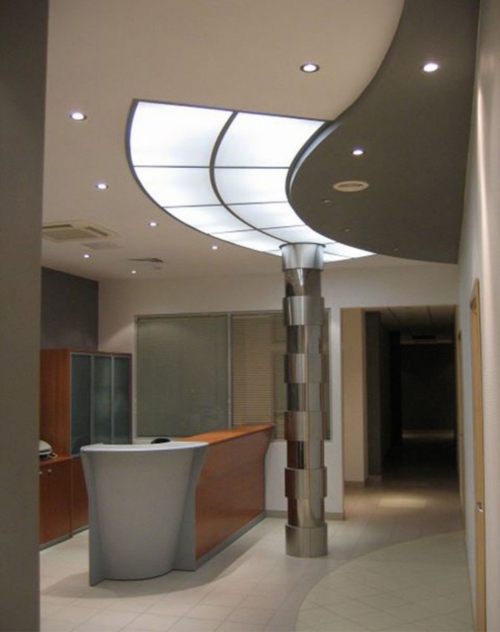
Since we mount a glass ceiling, it will be more rational to place lighting devices along the ceiling from glass plates, but not directly above them, otherwise they will be visible even through the matte glass. Therefore, we make part of the tiles with glass (in the middle of the room), and the part is conventional ceiling or even sheathed with plasterboard (along the edges of the room).
All lighting devices should be hidden from direct visibility for luminous tiles. So the light will be reflected from the surface of the ceiling and gently dissipate. To enhance the effect, the surface of the ceiling can be whitewashed with lime. We fix the lamps for suspensions.
Laying glass tiles in the frame
The last stage is laying glass tiles. It is necessary to pick them up very carefully and inserted into the profile section in the correct sequence. If we do not plan the same tile on our ceiling, but a drawing, then we check with a sketch or sketch before finally fixed the tile in the frame.
The execution of a glass ceiling with your own hands is associated with only one difficult glass to the required size and shape. This work is best entrusted to professionals. Everything else is not very difficult. A sufficiently non -trivial and authentic option would be to equip a glass ceiling not on a standard suspension system of aluminum profiles, but on a wooden frame.

