In the modern interior there is a place not only of non -standard decoration and building materials, ...
|
|
Who had to face the situation of emergency leakage of water, knows how much ... |
Many designs, styles and directions in the interior dictate their rules. Moderate ... |
DIY ceiling in the corridor

It is not news that the ceiling in the corridor is considered one of the most difficult surfaces during repair. Very often in their homes their height, and often evenness wants to wait for the best. In order to correctly disguise the imperfection of the corridor and make a good first impression on guests, you must correctly approach the repair and finish of the ceiling. So how to make a ceiling in the corridor with your own hands? About this further in the article.
Table of contents
- General design of the ceiling
- Types of ceilings in the corridor
- Preparing the ceiling for repair
- Multi -level ceiling in the corridor
- Multi -level ceiling Installation of a stretch ceiling in a drywall structure
General design of the ceiling
Very often, making the ceiling in the corridor with our own hands, we forget to use designer techniques. This is a mistake, since it is they who can not only decorate, but also partially eliminate the defects of the room.
For example, the low ceiling of the corridor is best made in light colors in combination with darker walls, this will visually increase the space. For a higher corridor, on the contrary, you need to select darker tones of the ceiling.
For visual expansion or reduction of the area of \u200b\u200bthe corridor, techniques are also often used using a variety of drawings on the wallpaper or with the correct arrangement of ceiling tiles.
Types of ceilings in the corridor
Well, it is supposed to repair the ceiling in the corridor. First you need to figure out what methods of finishing the ceiling exist and which are the most relevant today.
Pressing the ceiling
This method of decoration is the simplest and most economical, but the least durable and resistant to pollution. The ceiling is white only after plastering and putty, since in this way all the irregularities of the surface can be smooth out. This method is considered the most obsolete and not relevant for decorating the ceilings of modern apartments and houses, but with a narrowed budget and if you do not spend special efforts, this method can become the most optimal.
Painting the ceiling
This method is the second most simplicity. As in the first version, before starting finishing work, it is necessary to put the plaster and putty the ceiling, but for painting this stage needs to be done much better. The reason is that painting is more significant focuses on all the irregularities of the surface, so you need to hide the defects in advance. This option of finishing significantly saves the height of the ceiling, so with a perfectly flat surface and the desire to save time and money for decoration, this method will be the most suitable.
Decorative plaster
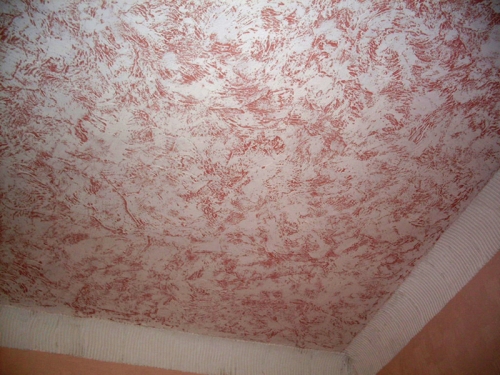
In this method of decoration, the smoothness of the surface is not as important as in the previous two versions. A special relief of decorative plaster perfectly masks all the ceiling defects, so that in the end you can get an incomparable ceiling with minimal physical costs on putty.
Decorative plaster is as follows. Initially, we apply a layer of a couple of millimeters of a decorative mixture on a plastered surface. Then, on the plaster, we make a relief in the form of a variety of points, lines, furrows, waves with a grater, spatula, sponge or other tools. Here, complete freedom of action and a flight of fantasies are injected here. After drying, the surface is stained or tinted.
Grassing with wallpaper
This method of finishing can simultaneously be both costly and quite economical. It all depends on the type of wallpaper themselves.
For the corridor, experts advise using vinyl, non -woven or glass wallpaper. They not only look very attractive, but also have excellent strength. It is also worth paying attention to the wallpaper for painting. This option is very practical, since from time to time you can experiment with shades and change the entire style of the corridor.
The most economical, of course, are considered wallpaper on the paper basis. However, they are less durable and attractive, unlike previous options.
Playing with special slabs
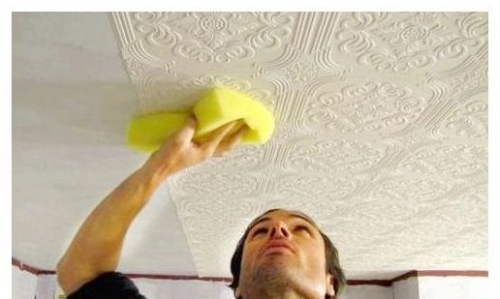
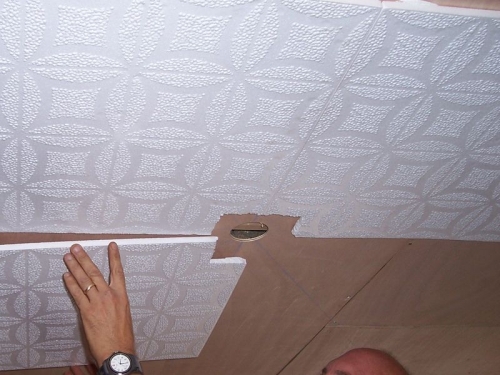
This finish option involves pasting the ceiling with special slabs measuring 50 x 50 cm from foam or polystyrene foam. Ceiling tiles are the most widely used method of decoration among budget options. The thing is that it is very easy to work with this material, it does not require special preliminary preparation of the ceiling (just clean it from the old finish), and the tile looks very attractive and aesthetically pleasing. It is necessary to fix the plates to the ceiling using special glue, and the installation process itself will take only a few hours.
Suspendy ceilings made of drywall
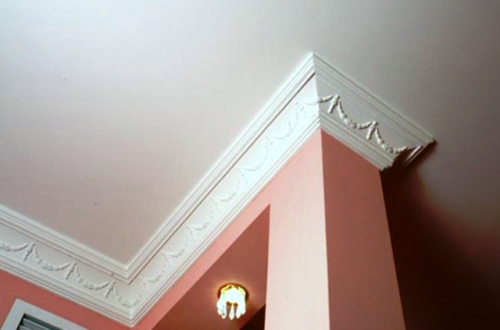
Gypsum plasters ceilings are very popular, since they are able not only to radically transform the corridor, but the installation work itself does not require special efforts and thorough processing of the basic surface, and the ceiling does not require huge financial costs. Plasterboard sheets are attached to the ceiling using a special frame. However, the plasterboard ceiling eats about four or more centimeters of the height of the corridor, so for low ceilings this method of finishing will not be the best.
Stretch ceiling
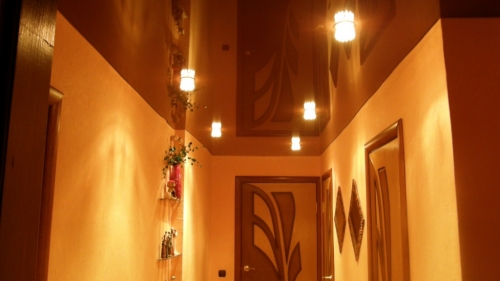
Today, suspended ceilings are the most relevant, since with their help you can bring any design idea, for example, print a picture on the canvas or a photograph of the family. In addition, this method of decoration does not particularly reduce the height of the room, unlike suspended ceilings. In suspended ceilings, a special film made of polyvinyl chloride is used, which is pulled using special locks. Of course, this method of decoration is more expensive from the rest, but as they say the game is a candle.
Preparing the ceiling for repair
Before finishing work, the surface of the ceiling must be prepared. Initially, it is necessary to dismantle lighting devices and isolate the wires. In the event that there is a skirting board on the ceiling, then it should also be carefully removed without damaging the walls. Then, from the surface, you need to eliminate the old finish. After that, the ceiling of the corridor is treated with a primer.
If you plan to paint the walls, then this stage should be treated with special responsibility, since with insufficient priming for high -quality painting you can not count. The soil of the ceiling should be done in two layers, and the second must be applied after the first dries completely, after about three hours.
But the suspended and stretch ceiling in the corridor does not require a mandatory primer, but the surface with an antifungal mixture is best treated.
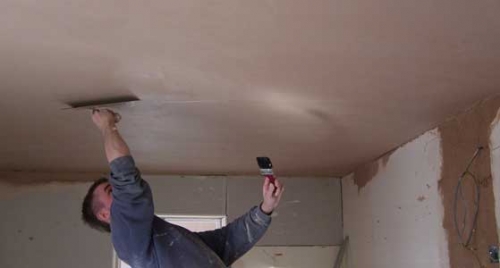
The next stage is the ceiling plaster. At this stage, it is best to attach special small metal stripes to the ceiling and then level the ceiling using a plaster mixture on these beacons. After the plaster completely dried, using putty, we complete the alignment of the ceiling in the corridor.
As mentioned earlier, stretch and suspended ceilings are the least demanding to prepare the surface, but the ceiling will need to be putting on the ceiling under painting and pasting with wallpaper. Now you can proceed to the very finish of the surface of the ceiling.
Multi -level ceiling in the corridor
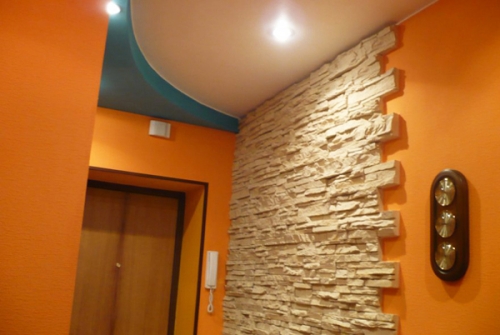
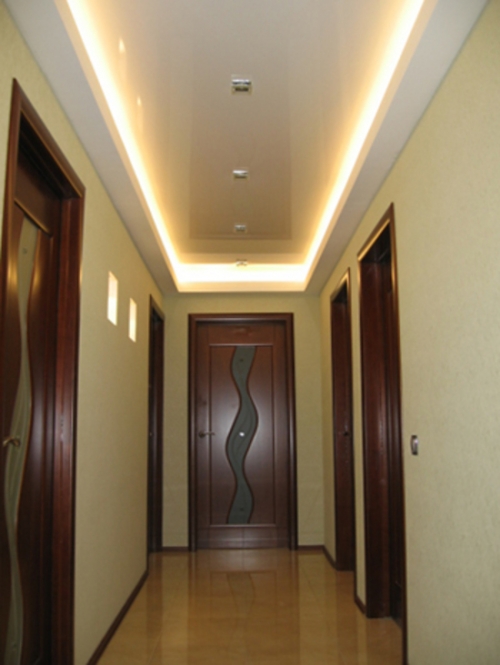
With the help of multi -level ceilings, it is possible to noticeably correct defects in the volume of corridor. For example, in the corridor with low ceilings you can make the effect of a raised ceiling, which will perfectly visually increase the height of the room and eliminate the impression of a pressure low ceiling. If you use a glossy mirror photo printing in a multi -level ceiling, for example, the sky with clouds, you will give the impression of boring, infinity and a very high ceiling.
To restore a high ceiling in a narrow corridor, it is better to use two levels with graphic lines and matte or satin shades. A rectangle or square will visually expand the boundaries of the corridor.
Also, do not forget about well -thought -out lighting, which can make the space more spacious.
Multi -level ceiling Installation of a stretch ceiling in a drywall structure
There are several ways to build multi -level ceilings:
- stretch ceiling;
- dropped ceilings;
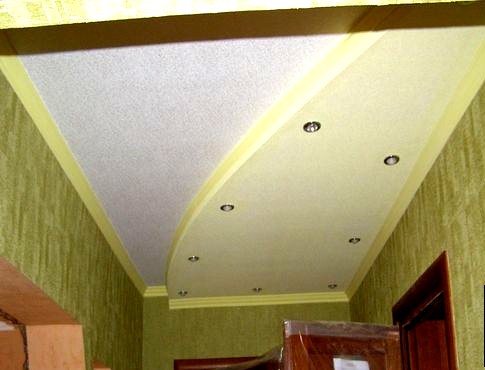
- combining a stretch ceiling with drywall.
More details we will consider the third decoration option, since it is the most relevant and attractive today.
A multi -level ceiling should be mounted in a corridor with a height of at least 2.5 meters, since otherwise it will look too low and not very beautiful. You can install several levels, but most often two are used.
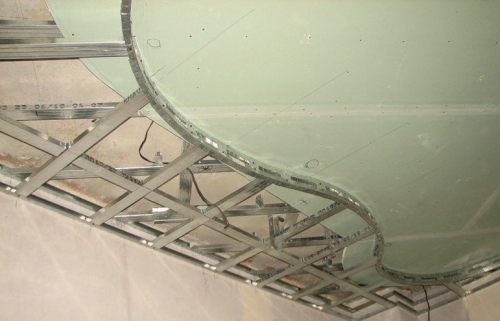
The first stage of installation of a multi -level ceiling is the mounting of the box.
Initially, it is necessary to measure the entire perimeter of the ceiling using a laser level. Then accurately calculate the required amount of finishing material, which will significantly save its consumption, and due to your financial investments.
Together with the measurement of the premises, the places where the guides will be mounted in the future.
After that, in the places of marks using a perforator, make holes, after which dowels will be inserted into these holes and, therefore, screws up with self -tapping screws. The entire frame includes two types of profiles: guides and frame.
The fastening of horizontal guides must be carried out strictly along the marking line.
Next, in these guides you need to fix the rack profile using screws. If you want to produce additional noise or thermal insulation, then this should be done at this stage of installation. Material with these functions should be installed between the ceiling and the frame.
You also need to not forget about lighting devices and attach all the required wires between the ceiling and the frame.
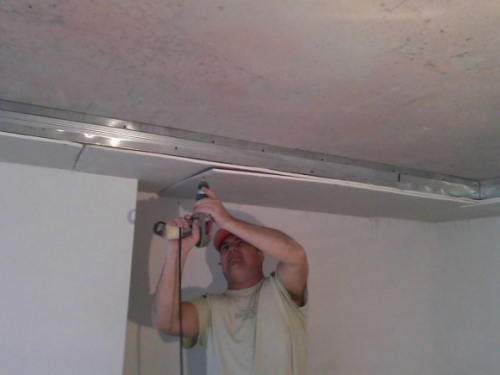
Now you can proceed to the fastening of drywall sheets. This is best done with a partner, since their weight and size are quite large. When installing drywall to the frame, additional nozzles for a screwdriver should be used. This is necessary so that when attaching the screws do not flow into drywall.
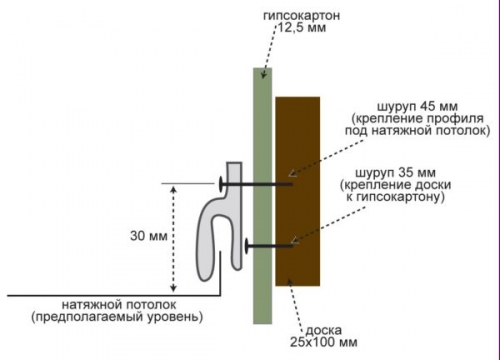
Well, the first level of a multi -level ceiling is set, let's move on to the installation of the second. To do this, we will initially draw a second -level border on a drywall frame. In the marked places directly to the box, we fasten special locks for a stretch ceiling.
After that, using a plastic spatula or other suitable tool, carefully wedge the edges of the canvas into the grooves of the latch.
Before the installation of suspended ceilings, the canvas with a heat pillow should be heated to a temperature of about 60 C. After cooling the canvas, the tension effect is formed, or rather a perfectly flat surface - and that’s it, the ceiling is ready.

