Of great importance in the construction or decoration of the house is the choice of external coating ...
|
|
In order to increase the quality characteristics of the cement mortar, to it ... |
The basis of any house is its foundation. When creating this structural element ... |
Ceiling the ceiling with lining
Facing the ceiling surface is a construction event, to which high requirements are initially imposed. This is due to the features of the materials used and by the fact that in most cases the homeowner who decides to make the ceiling independently requires experience and the availability of specialized tools. Regardless of the type of materials used, the technology of ceiling facing the ceiling is generally similar and involves the arrangement of the frame and its subsequent cladding. However, the materials used in the process of ceilings are different, and their choice is determined by the features of a particular method of decoration. Despite the fact that the conduct of finishing measures using most methods requires certain skills of a specialist in this area, there are those whose implementation is available to everyone, including beginners, and the most common of them lining the ceiling with lining. It is widely used on construction sites, being the material of choice in the process of conducting both external and internal finishing work. The World Wide Web offers a lot of information on this topic, however, this article, being the most complete and structured, will answer the question as effectively as possible: how to sheathe the ceiling with lining?.
Content
- Ceiling from the lining: the main varieties of the material
- The design of ceilings sheathed with lining: Useful tips
- What to do if you purchased a wooden lining?
- Calculation of the amount of material. Necessary tools
- Ceiling clutching lining: step -by -step instructions
Ceiling from the lining: the main varieties of the material
Despite the fact that the construction market provides the consumer with the freedom of choice among the diversity of inexpensive polymer materials for decorating premises that have won the trust of developers, today there are many true connoisseurs of natural wood. The commitment of masters to the use of this material is due to its aesthetic characteristics, environmental safety and ease of use, and legends go about the ceiling, in the literal sense of the word, about the ceiling, in the literal sense of the word. In addition, thermal insulation characteristics of wood allow you to create in a room where the ceiling is sheathed with lining, to create a balanced microclimatic environment.
Wooden lining: the specifics of the material
The lining is a facing board, the specificity of which lies in the pasogical fixation system. In the last century, it was used only for lining of wagons, for and which it got its name, subsequently becoming a material that is universally used for both external and interior decoration of the premises. In the post -war years, being one of the most budget options, the lining was the only available finishing material. Over the past decades, the lining not only has not lost its former popularity, but also established itself as a reliable facing material. Subsequently, along with the advent of new technologies for the manufacture of the lining, the scope of its use has expanded significantly.
The production of the lining is a multi-stage process, including the manufacture of a trim with its subsequent industrial drying, applying a groove-glow compound, thoroughly grinding the surfaces of the material and, finally, sorting finished products. The indicated features of production determines the advantages of the material, such as the possibility of obtaining a strong connection of panels without gaps, an attractive appearance, and therefore, the material does not need additional processing, and its decorative characteristics are much higher than operational ones.
There are various classifications of a natural lining that involve the separation of the lining in accordance with many signs. Among them are the quality of the finished product, a variety of wood used to produce the lining, and the scope of its use, and other, no less relevant parameters. Let us consider in more detail the most common classifications.
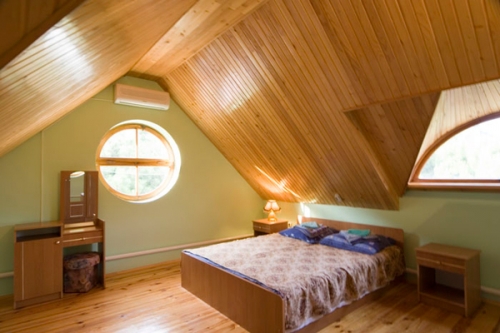
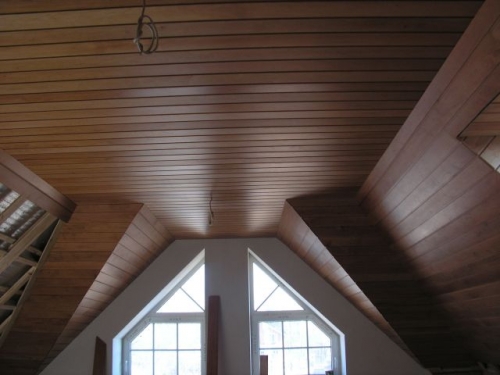
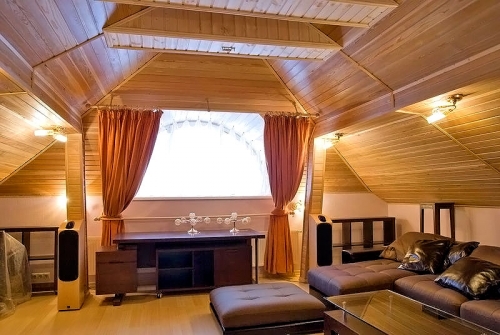
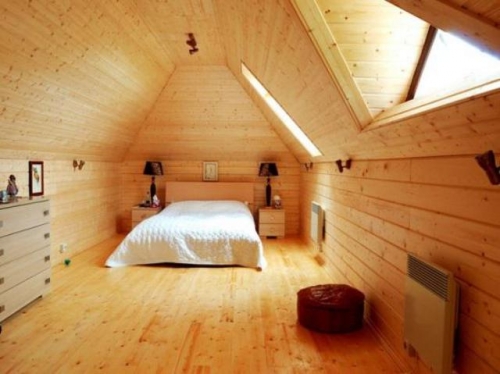
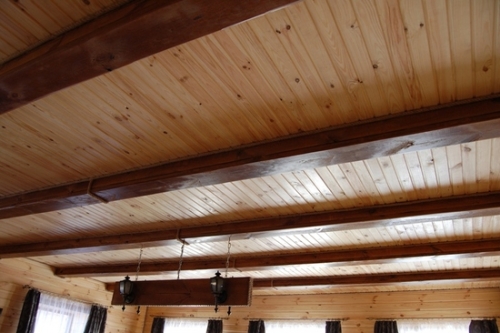
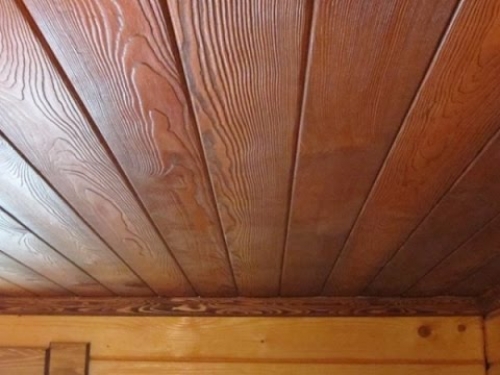
Ceiling from the lining photo
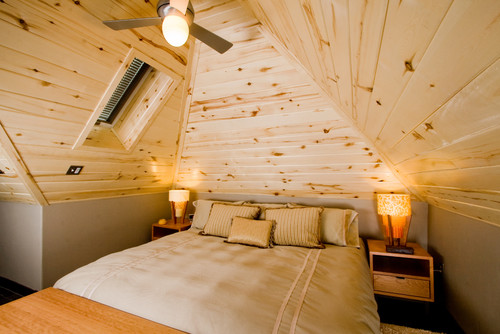
The following varieties of wood are used for the manufacture of the lining:
- Noble wood of wood, among which oak and ash deserve special attention;
- Soft rocks among them alder and linden;
- Universal spruce and pine breeds (the thickness of the profile is 12.0 x 25.0 mm, width 90.0 x 150.0 mm and length up to 6 m).
In accordance with the scope of use, several varieties of the lining are also distinguished:
- EVERTOMENT - a type of lining, often exported to European countries and characterized by a smooth front surface and the presence of an in -depth groove system;
- American - a type of lining, using which you can simulate the laying of overlap, popular in America;
- Lining -panel - a variety of material, the appearance of which has obvious similarities with the beam;
- Block -haus - a profile with external resemblance to a gallected beam.
Another classification of wooden panels involves their separation depending on the quality:
- Extra - panels included in this category are characterized by high quality, the absence of dark spots and knots, which determines the highest cost of the material;
- Category A - on the surface of the panels included in this group, small knots can be found, which significantly affects the price of this material and makes it affordable for most buyers;
- Category B - medium -quality panels most suitable for finishing work in the country, balcony or recreation center;
- Category C is low -grade panels, the surface of which is characterized by a large number of dark spots and knots.
Important! Among the whole variety of wooden panels, experts recommend preference to products made of cedar, aspen or linden. However, for lining the ceiling, you can use not only wooden, but also plastic panels.
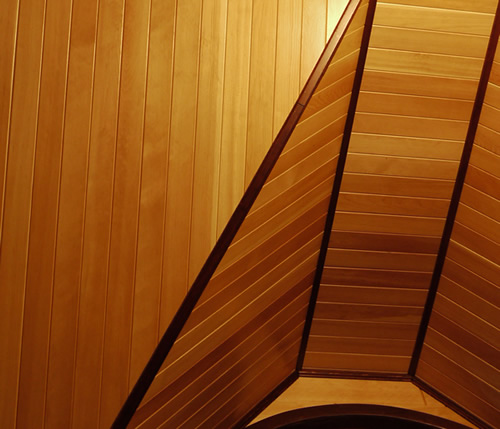
Plastic panels: Brief description
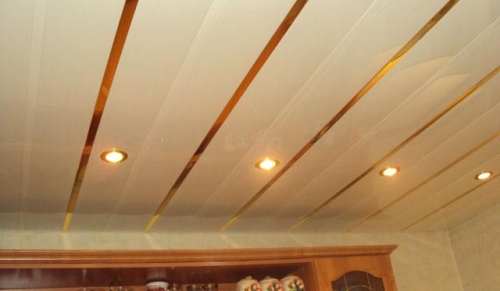
The traditional classification of plastic panels involves their separation into seamless panels and panels with a selected seam, as a result of the use of which the surface of the ceiling is characterized by an appearance similar to a wooden coating.
Important! Unlike a wooden lining, plastic panels do not need additional processing, which must be carried out before or after finishing the ceiling with a lining. This is due to the original practicality of the plastic lining and the variety of its color scheme, which allows you to choose a plastic lining that imitates a wooden surface.
- Seamless plastic liningit is characterized by the presence of a hidden groove system, which allows you to make almost invisible seams after installing the ceiling coating. Also, during the production of a seamless lining, the manufacturer relies on a decrease in the number of joints between the panels, increasing their width, which is five times higher than the width of traditional panels;
- Plastic lining with a selected seam It has external similarities with a wooden lining, differing from it in that, unlike the latter, it does not need additional processing.
Important! When giving a plastic lining, it is necessary to carefully familiarize yourself with the main features of PVC panels:
- Despite the fact that the plastic panels are designed to conceal the existing irregularities of the surface to be cut, and therefore, they are easily bending, excessive voltage that constantly affects the panel can lead to cracks. The damaged panel is not suitable for restoration;
- The plastic panels are moisture resistant, however, ultraviolet radiation, which constantly affects the material, can lead to its fading.
MDF panels: the specifics of use
There is another type of MDF panel lining, which are a lining made of fiberboard. The production of this variety is based on the method of pressing the wood fiber, followed by the material of the necessary shape and the installation of the groove system. If the size and shape of the MDF panels are generally standard, then the color scheme has practically no restrictions. The principle of surface lining using this material is similar to this when using a wooden lining. Due to the fact that one of the shortcomings of the MDF panels is low moisture resistance, and the constant effect of moisture can cause their deformation and collapse, the lining of this type can only be used in rooms characterized by low humidity, and is not suitable for arranging hinged ceilings in bathroom or in the kitchen.
The design of ceilings sheathed with lining: Useful tips
- A wooden lining is a universal material combined with almost any, relevant today, finishing materials. As for the decoration of country houses, saunas and baths, in this case, the lining is the material of choice for finishing events. The owners of the apartments also have a wooden lining in good account, it is used to finish balconies and loggias, as well as for partial or full decoration of the kitchen or living room.
- If you seriously thought about using a tree when decorating a room and, in particular, the ceiling, read this article, where it will be considered how to fix the lining to the ceiling so that it is not only reliable, but also stylish and harmonious;
- The ceiling, sheathed with a wooden lining, should organically fit into a holistic interior concept, combining profitably not only with floor and furniture, but also with home textiles. This advice will be especially relevant if you plan to issue an interior in a classic or rustic style;
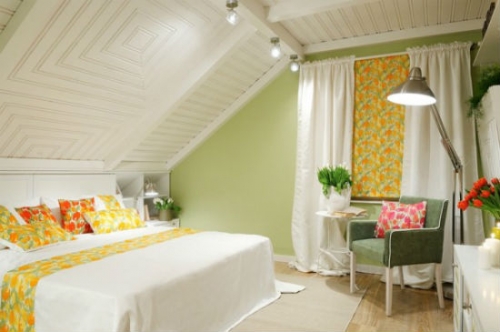
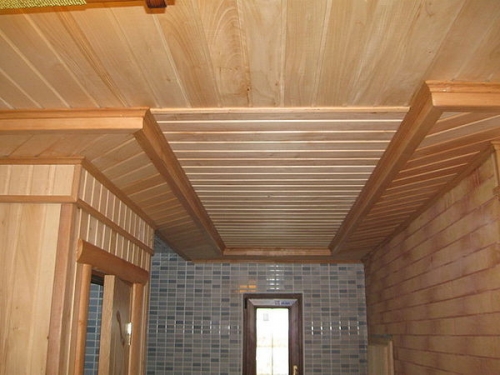
- In order for the surface of the ceiling sheathed with a wagon to be monotonous, it is recommended to be made in different directions, which will contribute to the creation of a certain pattern on the ceiling. To increase the decorativeness of the effect created, you can use rails or decorative beams of a different color;
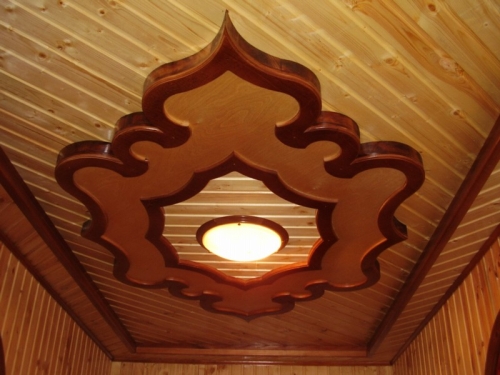
- The suspended ceiling is ideal for the living room. For its installation, you can use not only a long board, but also ready -made modules. The panels used to install a suspended ceiling in the living room can be decorated with carvings, painting or glass stained -glass windows due to the use of modern technologies, manufacturers offer a lot of options.
What to do if you purchased a wooden lining?
After you purchased a wooden lining, experts do not recommend immediately starting the installation of the ceiling. In connection with this, we advise you to get acquainted with the following advice on the preservation of the original quality of the material:
- First of all, it is necessary to free the acquired lining from the packaging;
- Further, the panels are neatly laid on a flat surface, it is better if it is wooden boards;
- Before proceeding with the installation of the ceiling, you will take the time required to complete the lining. It is important to know that the lining must be dried as much as possible, which will positively affect their quality. Drying the panels must be carried out in the room where the installation is planned.
Important! Experts do not recommend rushing with the installation of the lining to the ceiling and let it dry completely. The most optimal time for complete drying of the lining is a time period of three months, however, if you can’t wait too long, the terms can be compressed up to several weeks.
- The importance of this advice cannot be underestimated, since ideally the humidity of the room where installation will be carried out, and the moisture content of the panels must match. Otherwise, non -compliance with these recommendations can lead to deformation of the panels. In this sense, the practicality of MDF panels and plastic panels is much higher, since they do not need preliminary drying. To carry out the installation of a plastic lining on the ceiling, it is enough to leave it for two to three days in a heated room where work will be carried out and safely begin to perform installation measures.
Calculation of the amount of material. Necessary tools
- The calculation of the required amount of material The event is simple, but quite painstaking, and its implementation should be carried out at the proper level. Experts advise acquiring material with some margin so that there are no unpleasant surprises in the process of work.
- First of all, decide on the direction of fastening of the elements, then display this in the drawing. He will become your faithful assistant in the correct determination and calculation of the required amount of material;
- If the area of \u200b\u200byour premises is calculated according to the 2.5 x 3.3 m scheme, purchase a 3 m long material and perform a width of 2.5 m, producing a 50 cm material that will go to waste. If you choose another placement, you will have to get a part of the element, which will be noticeable at the end of the installation;
- In the process of taking into account the width of the configuration, it is important to remember the groove that goes along the edge of each part.
In order to make the ceiling from the lining with your own hands, you will need the next set of tools:
- Drill, screwdriver and punch;
- Hacksaw, as well as scissors for metal;
- A hammer;
- Roulette;
- Building corner and building level;
For the manufacture of a wooden frame, prepare a beam, the thickness of which is calculated on the basis of the features of the chosen structure, but its cross section should not be less than 20 mm. If additional insulation is installed, its thickness must be added to the thickness of the beam.
Important! In case of installation of additional insulation, the material should also be taken with a margin. In the process of installation, you should not excessively press the insulation of its fastening, should be freely, without an additional clamp, since in the case of hard fastening, the insulation of its properties will loss.
If you plan to install the ceiling from a wooden lining for a metal profile, be prepared for the fact that the costs will increase. In addition to the main material, additional elements will be required:
- UD profile, the fastening of which is carried out along the perimeter of the entire room;
- CD profile, which performs the function of the base of the frame;
- Crabs, which are a cross-shaped mount and P-shaped fasteners;
- Self -tapping screws.
Important!Despite the fact that some masters prefer to fasten the lining with a stapler or nails, motivating this with the speed of the method. However, this mount is considered not reliable enough, and therefore, experts recommend using proven screws.
Ceiling clutching lining: step -by -step instructions
Installation of the ceiling frame
In the process of installing the frame, it is important not to rush and follow all the recommendations, since in case of violation of the location of the elements, the geometry of the entire structure is violated, which will subsequently cannot be fixed.
In accordance with the instructions, first of all, they find the lowest angle in the room and, adding the height of the beam and the thickness of the lining to it, put a mark on this place and transfer it to other planes in the room. To facilitate the implementation of this task, it is recommended to use a hydraulic level;
The obtained marks are connected by a nylon thread and beat off the resulting level on the walls in the room.
Important! If you use a tree during the installation of the frame, it is pre -treated with an antiseptic that will protect the material from the formation of mold and genes. This work is recommended to be performed in advance, since the material should dry. The processing method, as well as its terms, are indicated by the manufacturer of the antiseptic composition on the package.
To ensure attaching the lining to the ceiling, prepare a flat basic surface on which the cladding will be mounted.
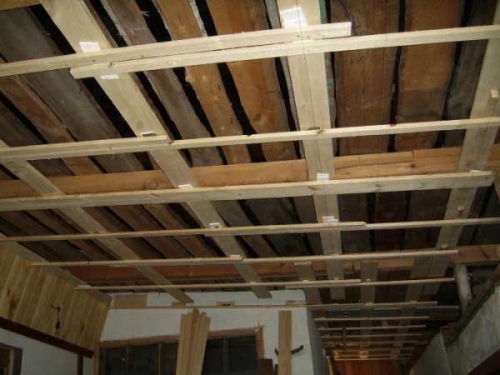
To do this, secure rectilinear bars with a cross section of 40 x 40 mm around the perimeter, carrying out constant control of the water level;
To adjust their adjustment, use wooden plates of various thicknesses, which must be placed in places of attachment of bars to the supporting ceiling panels;
After you screwed all the screws, a strong base is formed on the ceiling, which is limited to the surface of the bars;
If you are dealing with a concrete overlap before fixing the lining, take the following events:
Install the dowel of 8 x 40 mm, for which it is necessary using a carbide drill, drill a hole with a depth of 40-50 mm and insert a dowel. Then, using a drill with a diameter of 5 mm, drill through the bars in the places of installation of dowels;
Using the cord, beat off on the ceiling of the line along which the intermediate bars of the crate will be mounted, which should be located at a distance of 0.6 mm from each other.
Important! Due to the fact that even at the stage of installation of the facing surface there is the likelihood of an error leading to a violation of flatness and the occurrence of noticeable irregularities, it is recommended to use a fishing line stretched along the marked lines. This will abandon the use of the construction level.
To install the inner part of the crate, you will need an assistant who will hold bars as close as possible to stretched fishing lines and, if necessary, lay the adjusting plates. At this time, you will drill and screw the bars.
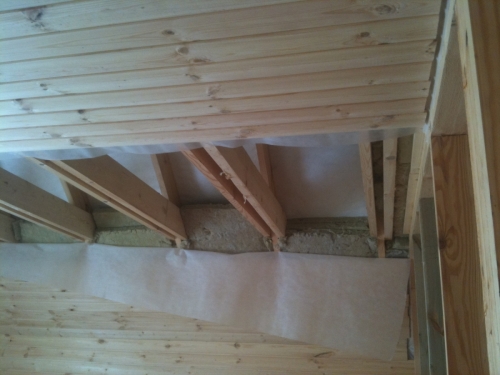
Important! If you are faced with the need for additional insulation, install block and roller thermal insulation materials between the bars of the crate, on top of which it is necessary to pull a vapor -proceeding that prevents the contact of the crate with moisture.
Ceiling Ceiling Laging: How to Fix the Facing Material
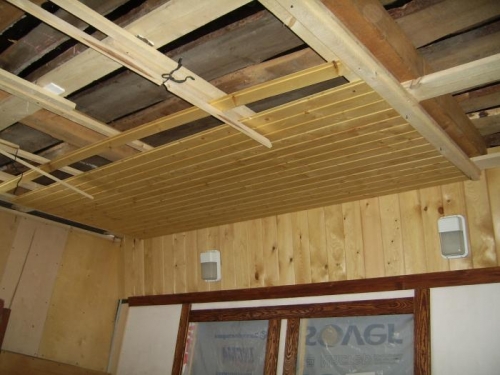
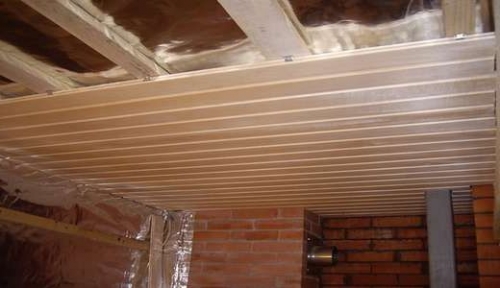
- The next stage is the lining of the ceiling with a lining in a wooden house.
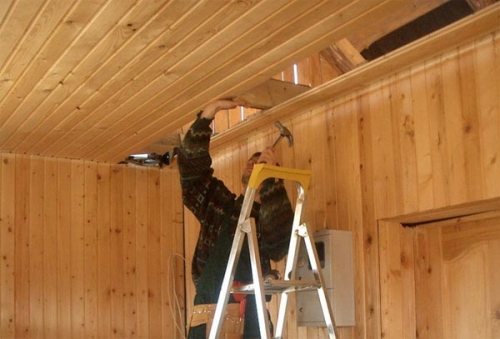
- This stage is not particularly difficult, but despite this you need an assistant. If you use long panels, this is a prerequisite.
- Take the first panel and, applying it tightly to the wall, fix it;
- The next panel is inserted into the groove to the previous one and fixed at the location of the crate;
- If it is planned to install holes for lamps and pipes, they are drilled in the course of work, which allows excluding the likelihood of errors;
- If in the process of lining the ceiling with a lining in a wooden house, you will be able to carry out fasteners at the place of the crest into the groove, you will receive a really harmonious ceiling coating, hiding the hats of self -tapping screws;
- If you make the ceiling with plastic panels, all the necessary holes must be drilled in advance, excluding the risk of surface damage.
Important!Make sure that all communications and wiring are not damaged in advance, since the surface dismantling is extremely undesirable. As fasteners, use those made of stainless materials, which will avoid the appearance of divorces from rust.
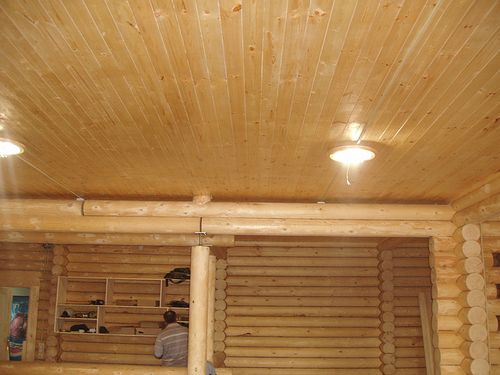
Important! In the process, take into account the temperature and humidity of the room where installation will be carried out. In the case of a temperature below + 10 degrees and high humidity, it is recommended to postpone installation measures.

