The choice of the finish coating for the room is the final step in the repair. Decor...
|
|
Properly made backlight can favorably emphasize the strengths ... |
The arrangement of the garage from the sandwich panels has a mass of advantages, among which ... |
The best putty for the ceiling

A wide variety of putty mixtures for repair work is presented on sale. All of them differ in characteristics of the properties and their purpose. Therefore, before going to the store, you should carefully figure out all types and know exactly which putty to choose for the ceiling. This is what will be discussed in this article.
Content:
- Types of putty
- Tips for putting the ceiling
- How to choose a putty for the ceiling
- How to put the ceiling for painting
Types of putty
All putty mixtures are conditionally divided into two types: starting and finish.
- Starting putty. Designed for primary processing of the ceiling surface. With its help, great bumps are aligned. They have a granular structure, since they are allowed to use additives up to 0.6 mm.
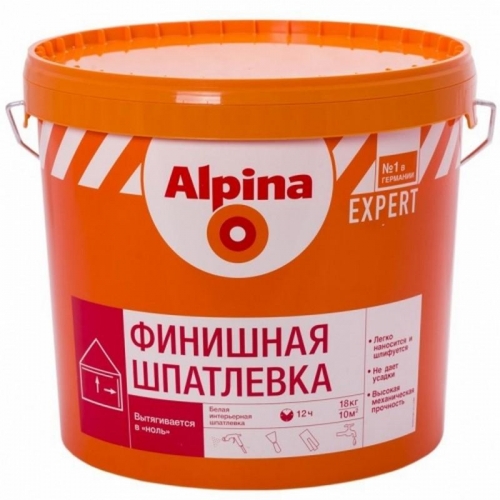
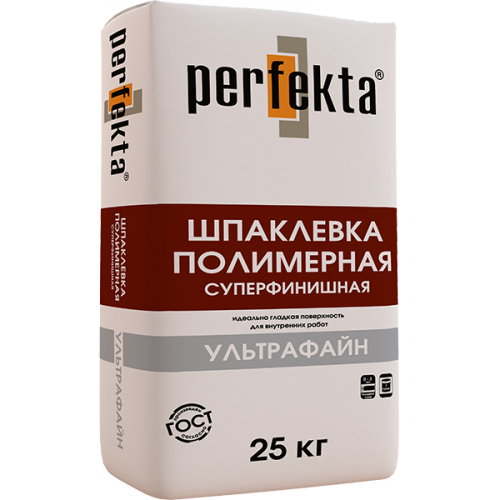
- Finish putty. They are used at the end of the finishing work to align the starting putty. They are made with a smaller filler, which makes the surface smooth. When choosing a finish putty for the ceiling, you need to look at the packaging on which its characteristics will be given. So, the smaller the filler fraction, the more thin the leveling layer will be and the more less bumps will be able to align.
Cement putty for the ceiling
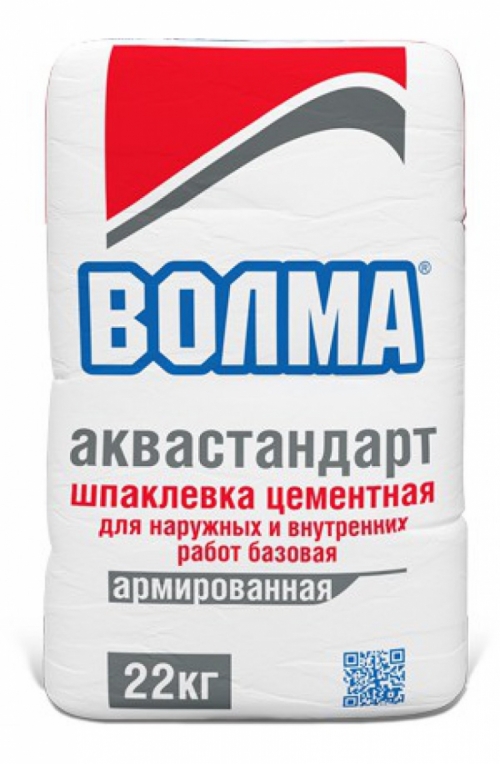
- They are aligned with ceilings in rooms with high humidity or with significant temperature changes, such as bathrooms, pools, kitchens, unheated rooms. When drying, they have white color, which makes them possible to use them as a basis for painting or pasting with wallpaper.
- Cement putty for the ceiling has good adhesion with reinforced concrete floors and cement plaster. But before application, it requires cleaning the surface of dust and priming. The ceiling is applied with a spatula.
- When working, you can apply up to three layers, each of which will be no more than 0.5- 0.8 mm. Which is much less than allowed when putty walls. Most often, it is sold in dry form, and it is required to independently breed before use. The prepared solution retains its properties for three hours, and with a closed lid is much longer.
Gypsum putty for the ceiling
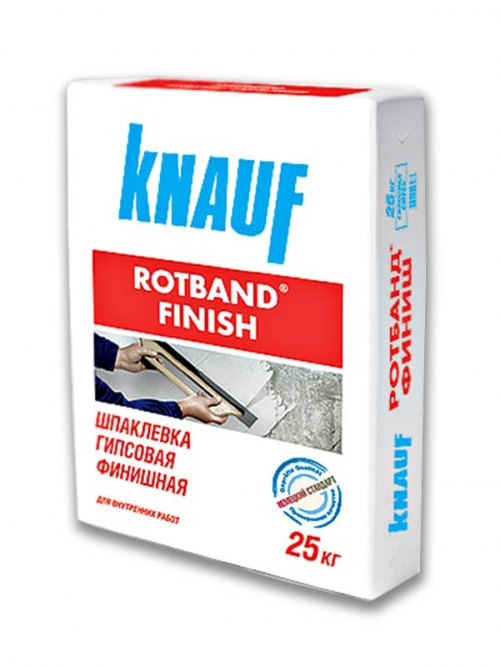
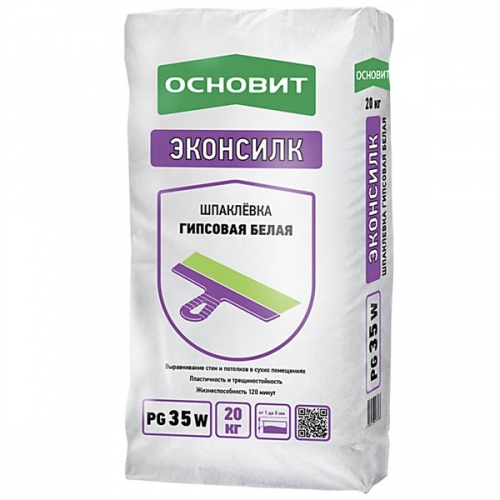
- This is the most common option for putting ceilings in living rooms. It is environmentally friendly, and when applying it does not create a vapor barrier film. On sale, most often, is already sold in finished form in bags or plastic buckets.
- Its versatility allows putty ceilings from drywall, reinforced concrete or wood. And the fine -grained pasty structure allows you to create perfectly smooth surfaces suitable for painting or finishing with any facing materials.
- But it is also divided into starting, finish and universal. Most often, the last option is used to repair apartments. When decorating ceilings in a new house with an unprepared inter -story floor, it is recommended to apply starting, and only then finish at the beginning.
- If a new ceiling from a suspended structure and drywall is mounted, then the joints themselves are sealed with a universal composition. After that, you need to put the entire area of \u200b\u200bthe ceiling with a thin layer of finish putty.
Advantages
- Its advantages are in full safety when using and operating, in the creation of a strong vapor -permeable coating with thermal insulation properties.
- The gypsum itself is quite fragile, therefore, to achieve the desired strength and convenience of working in the composition of gypsum plaster for the ceiling, various polymers are added. In addition, they make the color more white and facilitate the finish grinding of the surface.
Important: forming a porous coating, it is able to absorb excess moisture from the air. This is especially valuable for small wet rooms where ventilation is impaired or does not function. But with an increase in temperature, it begins to give it away.
- It often happens that when flooding on a lit surface, spots are formed. But there is no need to rush with the repair, it is likely that after drying on the gypsum putty, there will be no trace, moreover, the integrity and smoothness of the coating will not be violated. This, undoubtedly, is also its advantage.
- The quality of universal gypsum plaster is so great that after applying it, the use of the finish composition is not necessary. The resulting coating of the ceiling will be not only smooth and white, but also have good adhesion for further painting or pasting with wallpaper. For complete drying the mixture, it will take 4-5 days, at an average room temperature.
- Its consumption is significantly less than that of the cement analogue, so if the ceiling does not have very strong bumps, it will be 1 kg/m2. This applies to universal putty, the finish mixture is spent half as much. In addition, one layer to align strong irregularities, since it is allowed to apply a layer with a thickness of up to 5 cm at a time, without fear of cracks or peeling.
- When buying a dry mixture and kneading it yourself, you must follow the golden rule of all bulk compositions. First, the required amount of water is poured and only then, stirring, a dry mixture is added a little. If this is neglected, then the gypsum will instantly seize lumps and will no longer be able to stir them and make the desired consistency.
- After kneading, the plaster is left for 5 minutes to completely dissolve gypsum and achieve good plasticity.
- When buying ready -made finish putty, you need to look at the expiration date, at its expiration, it is likely to form grains and lumps, which will not allow you to carry out work efficiently. But the universal can be used even with the expired date of suitability.
- It is forbidden to mix cement and gypsum plaster. But you can add sand to the mixture. This is done to increase its volume and only for starting application. In this case, the strength characteristics will not decrease.
- Putting, as mentioned above, you can almost any surface, having previously applied a primer on it. The exception is only lime whitewashing it must be completely removed before the start of work.
Polymer putty for ceilings
- Puttings, based on polymer binders, include latex and acrylic.
- They are characterized by their versatility, can be used in rooms with any humidity and any temperature changes. But for aligning the ceilings in residential premises, latex. This is a strong and plastic composition that has no pungent odor.
- On sale they are in finished and dry form. The advantages of the latter include a lower price and the possibility of long -term storage. The proportions for breeding are always indicated on the packaging. But this is an additional work, which will need to find a suitable container and power tool with a mixer nozzle.
- It is applied in several layers, each of which should not exceed 3-5 mm. It takes 12-24 hours to complete drying of one layer depending on the manufacturer.
- Polymer putty can be applied to all the most popular surfaces of the ceiling: reinforced concrete, drywall, plastered or cement. Every year, more and more varieties appear, so, the compositions suitable for applying for polyurethane grounds have entered the sale. And this means that they can be selected for absolutely any type of ceiling.
- When working with it, it should be noted that the composition grabs faster than gypsum or cement, forms a perfectly smooth surface of the ceiling, does not give shrinkage and cracks, and the diluted mixture can be stored for up to 10 hours.
The only drawback is a higher price than the analogues.
Tips for putting the ceiling
- It doesn’t matter whether the ceiling will be glued with wallpaper or painted, its entire surface requires high -quality putty. The plastic structure of the compositions penetrates even the smallest cracks, filling and strengthening the base. After drying, putty forms a new layer of ceiling, smooth, smooth and durable.
- When working with gypsum plaster, it must be remembered that the applied composition is very quickly grasped and does not give a lot of time to align. The same applies to the diluted mixture, so it is recommended to knead it a little. The putty will not work re -breed.
Tip: all of the above properties of putty compositions will correspond only when they are storage and use. If the work on putting the ceiling is performed in the room temperature, which is much higher or lower than the recommended, the characteristics of the composition when drying can change for the worse.
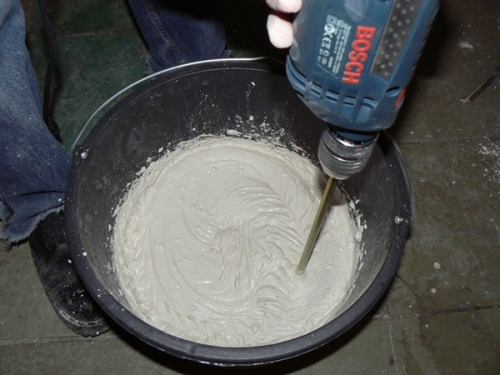
- When stirring dry putty, it is recommended to use a special construction mixer, which can work at low speeds. If it is not, then a drill or a screwdriver with a nozzle is suitable. But the speed should be set a small one, since the finally affects the air bubbles, which are formed during rapid kneading, negatively affects. After the mixture is closed, it is left for 10-15 minutes for ripening. Then they mix once again and proceed to work.
How to choose a putty for the ceiling
For the first time faced with the need for putting the ceiling with their own hands, many are lost before the choice of which putty to putty the ceiling. The best advice in this case choose the composition of a well -known manufacturer. Despite the fact that its price will be significantly higher than a little -known analogue, but this will give a guarantee of quality. In the case of putty, this is a good consistency, high plasticity, durable coating. Its service life will be longer than cheap, which will allow her to pay off during operation.
- Inexpensive and popular brand Osovite. The manufacturer offer their products based on cement, gypsum and polymers. Despite its low price, it creates a strong and thin coating. As for prices: 20 kg of gypsum putty costs 400 rubles, the same bag of cement 450 rubles, and polymer 500 rubles.
- More expensive and famous brand «Ceresit». Over the years in the construction market, it has established itself as a manufacturer of high -quality mixtures of the middle price category. The finish gypsum putty for the ceiling will cost 700-800 rubles/25 kg.
- One of the best putty for the ceiling is the products Knauf. They offer a large assortment of putty: finish, starting, waterproof, gypsum, cement and universal. On sale are available in the form of a finished mixture and dry. By packing, you can also choose the right one. If there is a desire to save, then a bag of dry putty 5 kg will cost 250 rubles.
- In addition to them, such manufacturers of putty for the ceiling as the Volma, Vetonite, Bolars and others are popular.
After analyzing all the above information, it will be easier to determine which putty is better for the ceiling.
How to put the ceiling for painting
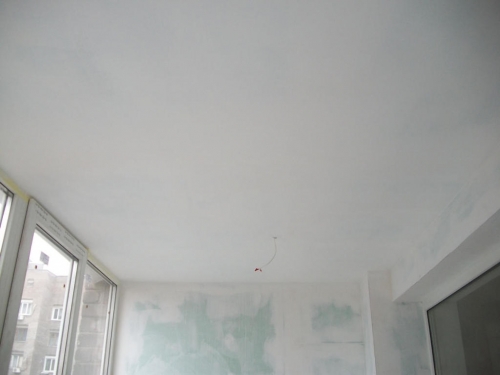
It is precisely for painting that the ceiling must be aligned especially carefully, since, unlike wallpaper, the paint has no texture and is not able to hide even minor defects, on the contrary, it will emphasize them even more.
It is necessary to putty the ceiling if:
- the structure is old and on the ceiling, due to the temperature difference and fluctuations in humidity, cracks formed or the shedding of the plaster began;
- black coating is too uneven or with a rough surface. In this case, it requires its alignment with a thin layer of finish putty;
- the shrinkage of the new house also drives walls and ceilings in motion, due to which cracks requiring repair appear;
- a new drywall ceiling is made.
Stages of work
- For work, in addition to putty, you need to prepare a narrow and wide spatula that reinforcing a tape-grid (if the ceiling from GKL is put off).
- The old coating, if any, is completely removed, the surface is cleaned of dust and primed. When working on drywall, an acrylic primer is suitable, and it is better to choose a deep penetration for a reinforced concrete overlap, and with large irregularities of concrete contact. For a wet room, primers with antiseptic additives are chosen, which prevent mold.
- When everything is prepared, you can proceed directly to the putty. To do this, a putty in the right amount is scooped up from the container with a narrow spatula and is evenly distributed along a wide spatula. And they are already applied to the ceiling, distributing uniformly on the ceiling. It is better to start work from the edge of the ceiling or from the corner. The edges must be immediately smooth out, displaying to zero so that there are no joints. Otherwise, it will be very difficult to clean them with a grater.
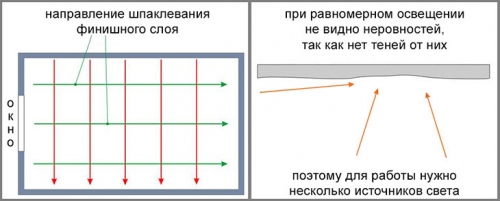
- It is good if during operation the ceiling is illuminated by several sources of light, this will see all the irregularities of the applied layer.
- If there were significant irregularities on the ceiling that did not smell after one layer, you can apply a couple more layers, after the previous one completely dry.
- If a new plasterboard ceiling is put off, then instead of starting putty, joints with a reinforcing ribbon pass by a universal composition. And also self -tapping screws mask with a thin layer.
- The finish putty is applied over the entire area of \u200b\u200bthe ceiling with a layer of 0.5 cm. After that, everything is cleaned with a grater and treated with a primer for a decorative coating.


Not centimeters, but
Not centimeters, but millimeters! Correct cm on mm.
not corrected)
not corrected)