The garage is not only a shelter for the car, but also acts as a second home ...
|
|
Many will agree that the kitchen is the most beloved and tasty place ... |
Recently, the construction of houses with attic is gaining more and more popularity ... |
DIY concrete renovation
Of course, the reliability of the concrete floor has been tested for years. The popularity of this version of the floor is determined by the duration of the service life, high resistance to environmental factors and a relatively low price of the material. But, regardless of this, even such a high -quality coating requires some attention and timely repair. In order for the repair of concrete floors with your own hands to be successful, the properties of the old screed and new concrete should be coordinated.
Content:
The reasons for the destruction of the concrete floor
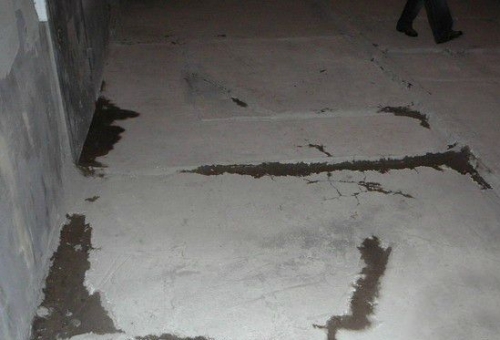
Even if you correctly laid the concrete mixture and cut the deformation seams in the surface, over time you still have to encounter a screed repair. Before engaged in restoration work, it is recommended to diagnose damage to the concrete floor and determine the causes of their appearance. This will correctly choose the technology for eliminating various defects in the concrete floor.
All causes of different defects in the concrete floor are combined into several groups:
- The destructive effect of the soil: swelling of the soil in the winter in poorly heated rooms, low -quality compaction of bulk ground, shrinkage of the structure, washing with soil water. The facial concrete coating in this situation may look attractive and correspond to the operating conditions, but if you find internal defects, you will have to take the necessary measures.
- Internal factors: the formation of cracks as a result of improper surface care in the first hours after pouring a concrete solution, cracks as a result of precipitation, detachment of the upper layer of concrete from the surface.
- External factors: concrete dusting as a result of wear of coating, chips and potholes from exposure to the floor of heavy objects.
DIY concrete renovation
If damage to the screed is local in nature, then you need to take measures to eliminate defects and strengthen the concrete floor with special compounds. If damage to the screed is ubiquitous in nature, then there is not enough elimination of defects, you need to equip a new floor.
1. Crust of the solution
One of the optimal methods for small independent repair is to give a fresh cement solution of rheological and thixotropic properties to a fresh cement solution. In construction stores, all kinds of tixotropic-reward mixtures are offered in a wide assortment for repairing the concrete floor, made on the basis of polyurethane and epoxy resin.
However, for the repair of the concrete floor in the apartment, which is in relatively stable conditions and is weak, you can cook the tixotropic composition with your own hands. To do this, boostilate or PVA glue must be diluted with three and fifthly water and knead a cement-sand mortar in a ratio of 1: 3 on the resulting suspension.
If there is a large amount of work, then it is advisable to immediately purchase PVA putty. But the PVA-Suppies for repairing deep deformation cracks is not suitable, you will have to buy a branded tixotropic primer for concrete and repair composition.
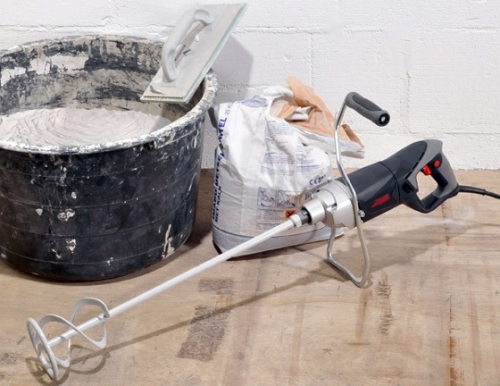
It is impossible to carry out the solution by hand: the finished mass should be as dry as possible, that is, the suspension or water is added in a minimum amount, and it will have to be chopped for such a viscous mixture for a very long time so that it acquires the desired homogeneity. To knead a small volume of repair construction compositions, it is customary to use a perforator or electric drill at low speeds with a nozzle.
The principle of operation of such a nozzle is no different from the functioning of a mixer for cocktails. In stores you can find a rich selection of various mixers, sometimes a fairly bizarre configuration. But you can make a mixer yourself, from an even bar, which has a diameter of 8-10 millimeters and a length of half a meter, the end of which you need to be bent in a ring or simply folded in half.
When kneading, the tool is driven in a bucket in circular movements, transverse zigzag moves are made in the trough. A bucket of water should be at hand, because after a batch, a mixer must be rinsed right there. In addition to the mixer, prepare a wide spatula for the repair of a concrete floor. The rule, on the contrary, should be purchased by factory, it is not worth saving on it.
2. Preparation of the surface
The main preparatory process before repairing concrete floors is as follows:
- Preparation for the repair of a concrete screed begins with the release of the room from furniture and other items.
- Before performing work, it is advisable to dry the floor for several days.
- Large garbage must be raked with a shovel, then the floor should be seized two or three times with a wet broom with spraying.
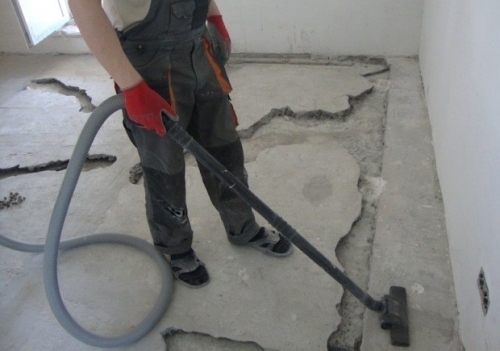
- Cracks and potholes for drying the floor are blown by a household vacuum cleaner.
- Rust, mold and old primer with a metal brush.
- Treat paint and fat spots with special chemicals.
- In the case of the presence of reinforcement, clean it and conduct anti -corrosion treatment.
3. Elimination of potholes
If the technology of arranging concrete floors was broken, and with a high mechanical load over time, potholes appear in the screed that must be immediately eliminated to avoid further destruction of the coating:
- Cut the pothole before repair to a depth of 2 centimeters. For a more accurate and thorough implementation of this procedure, a diamond disk is used.
- From the impaired area, remove the old coating using a perforator and improvised tools and crush all the garbage from the resulting excavation.
- To remove dust from the site, use an industrial vacuum cleaner or sandblasting.
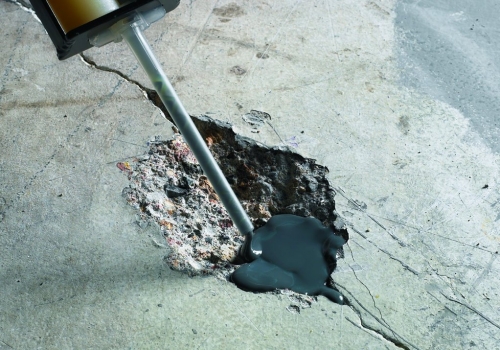
- Cover the resulting cavity with an epoxy primer, and then fill in the repair composition.
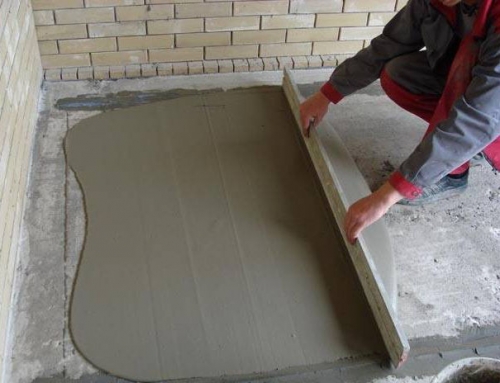
- Then smooth the mixture with a rule or a rail.
- After typing the required strength, grind the site flush on the concrete floor.
- If the depth of the seizure is more than 5 centimeters, lay the repair composition in layers.
4. Clutching cracks
Repair of all kinds of cracks should also be carried out immediately after you find a defect, so that the gap does not increase, the edges do not crumble, water and garbage do not get inside, and the crack in the concrete floor did not damage the flooring:
- The smaller the surface defect, the easier it is to repair cracks in concrete floors. If the crack depth is less than 2 centimeters, cut the recess by 1 centimeter, if more, then 5 centimeters.
- To repair large cracks, it is necessary to additionally make channels along the gap on both sides, and then deepen the recess.
- Then clean and remove dust using a construction vacuum cleaner.
- After this procedure, the edge of the seam is coated with a polyurethane or epoxy primer diluted with a solvent in a proportion of 1 to 10.
- Further, fill the crack with a repair composition, which is a polyurethane or epoxy base and filler - quartz sand.
- After the shrinkage of the first layer occurs, perform another filling in the defect with the same composition and polish the surface after the solution hardens fluid with the floor.
- If you find too wide cracks, then they should be strengthened with metal brackets. To do this, every 25 centimeters in the gap with a grinding machine, cut off a two -centimeter recesses, which have a width of one and a half centimeters. Then add the repair composition to the slot and lay the reinforcement, which is covered with the same substance.
5. Correction of bumps
During the operation of concrete floors, irregularities may appear, which negatively affect the state of flooring and most often arise in new houses:
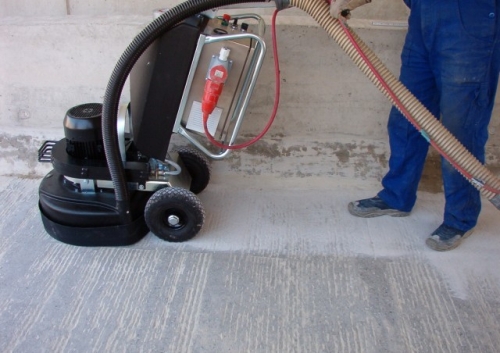
- To eliminate this drawback, it is recommended to align the surface. For this purpose, a milling machine is used, with which the surface is aligned, while deepening by 1 centimeter, and after that the prepared area is polished.
- After removal from the treated dust surface, concrete floor is subjected to impregnation. For this, polyurethane or epoxy primer is used, diluted with a solvent or solvent in a proportion of 1 to 10.
- The processed areas are filled with a solution and aligned with a rule or a rail.
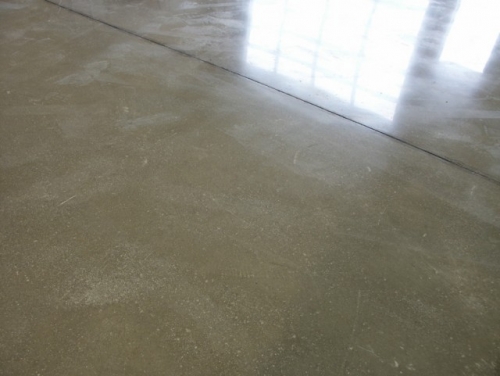
- The final grinding of the floor can be proceeded after solidifying the solution.
6. Grout of seams
Deformation seams, which are in the concrete floor, lose their strength over time, crumble and destroy. Having noticed such violations, it is necessary to immediately repair the concrete screed of the floor:
- The gap is embroidered with a diamond disk, and the edges of the seam are made perpendicular to the floor.
- Garbage, concrete and fragile areas are removed from the recess: free the gap from dust from a sandblasting apparatus or an industrial vacuum cleaner and cover with an epoxy primer.
- At the intersection of the joints and along the crack, at a distance of no more than 3 meters from each other, markers from steel rods are placed.
- The seams are filled with a repair composition, it is advisable to use a cement mortar with a polymer addition.
- After solidifying the solution, make a grinding of the repair areas.
- Remove markers and make a new deformation seam according to the left markings, and then clean it with a vacuum cleaner.
- A cord is covered in the resulting gap, which provides a waterproofing floor.
- On top of the seam is filled with sealant.
7. Dispersing the concrete floor
Concrete floors sometimes begin to dust. Excusion affects people in such a room. In this case, it is not enough just to carry out wet cleaning. Salvation in this situation may be a special coating or painting. For floors in a living room or with a small load, you can make a thin coating with an elaikor, defrainum, neomer.
The concrete floor repair technology in this case is economical and simple. The surface cleaned of dust and garbage is covered with a thin layer of primer, paint or varnish. Modern substances of this type penetrate deep into the surface, prevent the appearance of dust, increase frost and wear resistance, increase the resistance of concrete screed to aggressive substances.
8. Overhaul of the floor
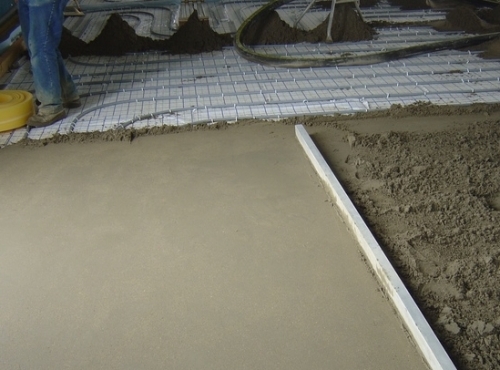
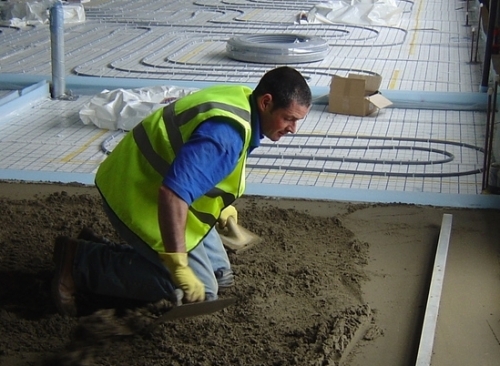
The above methods of repairing the concrete floor are applicable if damage to the screed is insignificant. And if the area of \u200b\u200bthe damaged area exceeds 30% of the total area of \u200b\u200bthe concrete floor, then it is advisable to completely replace the old screed. This option is also chosen when they want to arrange a warm floor or lay it with a finishing, and a moisture test gave an unfavorable result.
The process of overhaul of the concrete floor is not very complicated, but it requires strict observance of some rules:
- If you make repairs in the room, which is adjacent to other rooms, then the floors should be located on the same level. In any case, the new concrete floor should not exceed the door threshold. The calculation of the thickness of the screed should be carried out from the bottom up, because if the level of the base floor is lower, but this can be corrected by increasing the height of the lags or the thickness of the plywood litter.
- The surface must be well cleaned of dust and garbage, special mixtures are called in this, which are designed to clean the concrete coating.
- For maximum adhesion of a concrete solution with a surface, it is recommended to use a primer, which should be for wet rooms of a water -repellent.
- The entire surface before performing the screed is polished using a grinding machine and is thoroughly cleaned of dust and garbage.
- Put the prepared area with polyurethane or epoxy primer.
- Apply self -leveling mixtures to repair the concrete floor to the surface of the base, which have a thickness of 5 - 10 centimeters.
- After that, walk on the surface with a needle roller to remove air bubbles.
- If necessary, apply the second layer of the mixture.
- In time, the concrete coating defects and their rapid elimination significantly significantly increase the operation of the screed.
- Complete solidification of the concrete floor lasts about a month, so at this time any effect on the coating is prohibited.
Thus, the process of repairing a concrete floor with your own hands is not as simple as it seems, and the ordinary perm with a cement mortar will not be able to stop the destruction of concrete, align the floor and block access to evaporation through the concrete floor. In order for the cost of maintaining a concrete screed to be minimal, it is recommended to carry out the process of repairing the concrete floor in case of small defects that reduce the integrity of the entire structure.

