The purpose of waterproofing materials Protecting structural elements from ...
|
|
In professional construction and home repairs, you can not do without silicone ... |
Initially, the design of the frame house is demanding on careful pondering the issue ... |
Clinker tile laying: step -by -step instructions
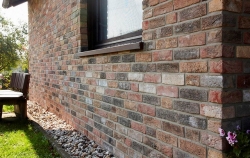
No building material can boast of such wear resistance, strength and frost resistance, like clinker tiles. Its popularity is also explained by the fact that this material proven for centuries, and it is made exclusively from natural raw materials. The clinker, in fact, has no shortcomings. Laying clinker tiles is distinguished by its features and rules depending on the surface on which it is laid, plaster, brick, insulation.
Table of contents:
- Preparatory work
- Preparation of adhesive composition
- The procedure for laying the clinker
- Creation of seams
Preparatory work
The base for clamping with clinker tiles should be made of reinforced frost -resistant concrete or plaster, it should be even and differ in sufficient bearing capacity. The base should be without cracks, hollow pockets that are capable of filling with water, and untouched parts. The base should be cleaned of dirt and substances that reduce the adhesion of fats, dust, lubricants, bitumen mastic, and fragile paint coatings.
When using tiles, to exclude moisture penetration, special attention should be paid to the waterproofing coating. Fragile areas that are constantly crumbling, will have to be removed. Uneven bases should be leveled with repair plaster 3 days before laying clinker tiles.
For laying the clinker, concrete is suitable, the age of which is more than 3 months, and moisture is less than 4%, cement-sand and cement-cement plasters with an age of more than 28 days and a humidity of less than 4%, a reinforced protective layer prepared from mixtures for at least 3 days.
If you are going to lay the tile on the facade of the building, it is recommended to use the heat -insulating base or thermal panels with facade with clinker tiles. So it turns out to save up to 80% of money for heating and increase temperature comfort in the house. Thermal insulation prevents the spread of heat into the external environment, and also protects housing from the penetration of pathogenic bacteria and fungi.
Preparation of adhesive composition
For laying clinker tiles, you can prepare a traditional construction solution using a mechanical mixer: for internal work, you should take 4 parts of sand and 1 part of the M-500 cement, for the street 3 part of the sand and 1 part of the cement.
The mass should contain the required amount of water and be plastic. Before applying the solution, the surface prepared for styling should be wetted evenly. The solution is applied with a thickness of about 4 centimeters and aligned with a rail. Clean cement powder is applied to the wet surface of the solution in order to complete the absorption of excess water. The tile is settled on a layer of construction solution, then it is wetted with water and covered with uniform hardening the solution with polyethylene.
For laying clinker tiles, you can use a special adhesive solution, which is prepared strictly according to the instructions. Make sure that the scope of this glue corresponds to the real area. It is worth noting that the glue adhesive is most often applied to the tile itself, since on the basis you will leave pencil calculations, and the adhesive mass can hide them or grease them.
Clinker laying is recommended according to the recommendation for the use of glue. It is necessary to use not too much glue so that the mass does not have time to bend or dry. Remove the remnants of the adhesive mixture until it has dried out.
The procedure for laying the clinker
The tile must be laid, taking it out of the packages and mixing it first, in order to avoid sharp deviations of color. To achieve a perfectly flat seam line, it is recommended to lay out the tile based on the direction of the grooves from the back of the product. The just laid tile should be protected from moisture. Usually, when masonry, the width of the seam does not exceed 12 millimeters.
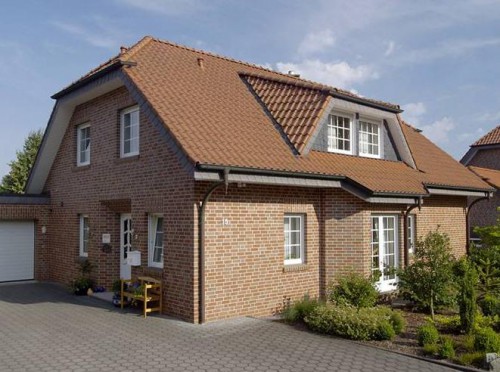
The clinker can be laid on the facades of the buildings if the average daily temperature is within plus 5 - 30 degrees Celsius. When installing clinker tiles, it is necessary to take into account the level of humidity and wind, since these indicators affect the rate of drying of the adhesive composition for the tile.
It is extremely not advisable to lay clinker tiles in the rain. It is recommended to use tents and backgrounds when working with material in raw, cold or too hot weather. But the thermal panel, even if the clinker material is present on its surface, can be fitted in any time of the year when you are more convenient.
Direct laying of clinker tiles begins with the design of doors and windows. To get started, carefully calculate the boundaries of the tile location and apply the appropriate marks with a pencil. Clinker tiles are the basis of the design of your facade, and any mistake when laying the material will be inevitable.
After the doors and windows are tiled, it is worth taking care of the corners of the construction. In order for the laying of angles to become the most convenient process for builders, there are already finished corner tiles on sale, which successfully emphasize the walls and look natural. Most often, for wall cladding, they are divided into squares, the side of which is equal to one meter. If the tile does not go to the square, it can always be cut with a saw. At the final stage, remember the external windowsill.
Dark clinker tiles are not recommended to be used on facades above 6 meters from the ground. Exceptions are those cases where it is planned to design decorative elements with dark tiles, but their width should not be more than 50 centimeters. The area of \u200b\u200bthe facade, which is covered with a dark clinker at an altitude of 5 - 28 meters, should not be more than 20% of the facade area. Such restrictions on the facade facade clan -colored clinker tiles are associated with the prevention of overheating of the building.
Creation of seams
The seams can be filled with a composition, which consists of 1 part of the sand and 2 parts of Portland cement, the density of which is regulated by the addition of the desired amount of water in order to obtain the required fluidity. Currently, there are appropriate grouting mixtures on sale, which differ in different colors and different properties depending on their use.
Distribute the solution with a rubber or plastic spatula. When filling the seams, show special accuracy, observe that the excess mixtures do not get to the surface of the clinker tile. If this happens, try to remove the mass until it has completely dried up.
When the seams dry, wash the surface with a sufficient amount of water and check that it does not stay anywhere. The best effect for washing the dirt and traces of cement mortar is achieved when the water jet from the hose or rampant machines of high pressure is achieved. If a few days later the clinker has traces of cement, it is worth using special substances for this purpose. After cleaning, the surface must be thoroughly washed.
Recently, despite its price, clinker tiles have gained immense popularity. Installation of the clinker is quite a simple process, but you should adhere to some subtleties of the procedure. In order for the clinker material to become a real protection of the structure and at the same time give the structure a unique appearance, you need to treat its installation with particular care.

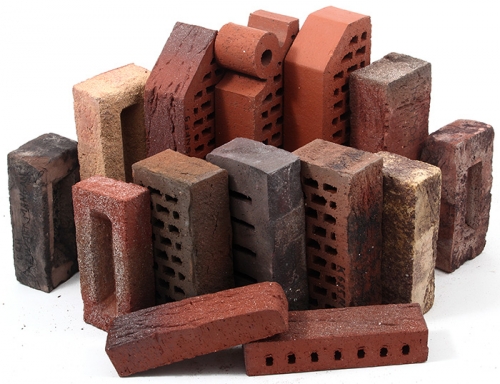

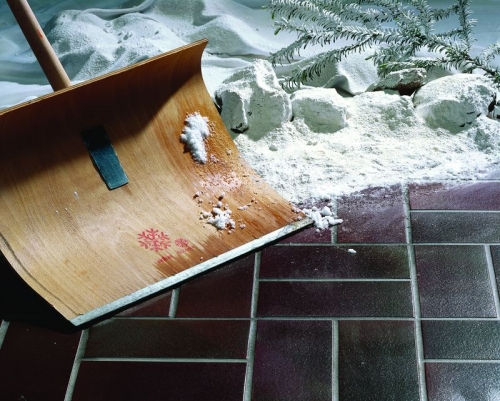
Hello, pushed tiles
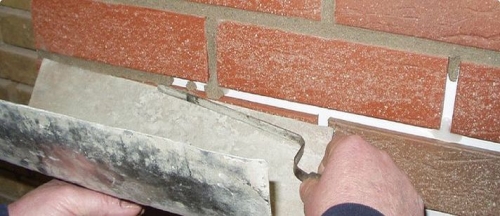
Hello, I pushed the tiles on the flat slate, processing it with concrete contact. Then he applied the adhesive of the elastic consistency and glued the tile. The jet started to disappear some. And what is my mistake?