Time in place is not worth it, technology and science too. Yes, the engineering brethren invents something ...
|
|
Parquet is one of the best, natural flooring and with ... |
If your house like a palace has spacious large rooms with ceilings a meter high ... |
Laying tiles using the alignment system of tiles with your own hands
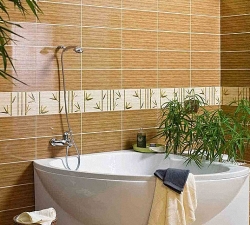
Installation of tiles is quite a laborious process that takes a lot of time and requires special efforts, especially to level the surface on which the tile is laid. Using a special device in the form of a tile alignment system, it is possible to significantly accelerate the installation procedure for this finishing material. We learn about how to put the tile with our own hands.
Table of contents:
- DIY tile laying in the bathroom: Technology and features of conducting
- DIY tile laying on the floor - recommendations for cutting material
DIY tile laying in the bathroom: Technology and features of conducting
First of all, before starting installation work, you should prepare tools and material for work. Prepare several types of spatulas, a level that will help control the smoothness of the surface. In addition, do not forget about the container in which the solution is prepared, the tile cutter, with which the tile is carried out on separate fragments.
The remaining materials are selected individually and are based on the type and features of the work performed. In addition, the required amount of tiles laid in the bathroom should be calculated. To do this, first the surface area that lends itself to tiles is measured. Next, the number of whole and cut tiles is determined, based on this, it is possible to obtain the optimal amount of tile for work. Pay special attention to the evenness of the walls and gender before work, evaluate the complexity of the installation of tiles in the places of passing communication systems. Add at least 10% to the resulting value to compensate for the marriage of tiles.
The tile is fixed on the surface using specialized adhesive compounds. In rooms with a high level of humidity, it is recommended to use compounds with additional moisture -resistant characteristics. Keep in mind that the correct preparation of the surface for work is the key to high -quality tiles.
You should start work on laying the wall tile with your hands with the preparation of the surface. Keep in mind that the glue for tiles will not help get rid of large irregularities, not only do you increase the expenses of adhesive, but also reduce the quality of the decoration with tiles. All tiles should be laid evenly on a small layer of glue.
Before starting laying tiles on the floor, a screed is formed. For rooms with high humidity, such as a bathroom or kitchen, an additional screed is waterproofed. Two methods for the formation of the screed are distinguished:
- dry;
- wet.
The main rule for obtaining a high -quality screed is the strict implementation of all technological standards and requirements. When replacing the old coating with a tile, it is recommended to equip a wet type screed, in this case, a cement composition is used to align the floor.
For wall tiles, the old finish is removed from them, plastering is performed with the mandatory use of reinforced elements. In the process, beacons are used. Keep in mind that the tile does not fit on putty, since adhesion between glue and this material will be insufficient to keep the tiles on the wall. All skirting boards, platbands on the doors and other elements must be dismantled.
Laying tiles in the bathroom with your own hands video:
After performing high -quality preparation of walls and floor in the bathroom, the surfaces should be marked. This will require the presence of supports according to which the tile in the front row is installed. In the lower part of the walls, a corner made of plastic or wood is fixed. They will perform the function of supporting elements to hold the first row of tiles.
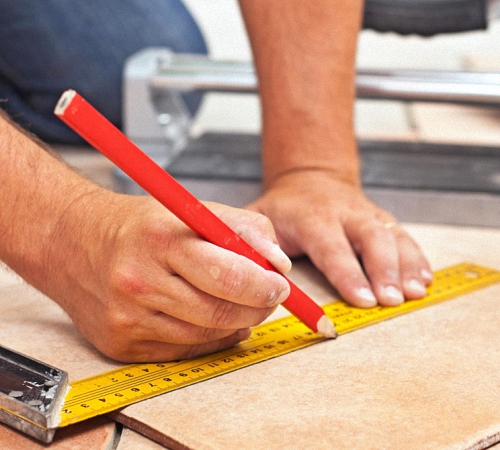
Using a plumb line, control the evenness of the laying of the tiles in the vertical direction. If you are going to lay a mosaic or tile of different colors, indicate with a pencil or chalk of the installation site of the tiles of one or another color.
On the floor, it is also necessary to mark the installation site of the first row of tiles. Place the tiles that differ from everyone else. Put the tiles on the floor from the far corner of the room. Keep in mind that the tiles are combined in such a way that the input part is finished with whole tiles without their cut. When performing calculations, take into account not only the whole tile, but also the seams between its individual fragments.
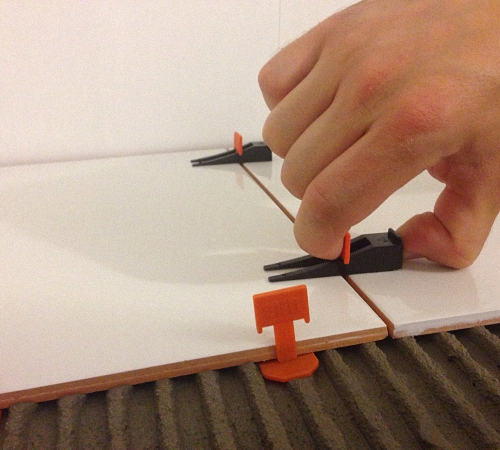
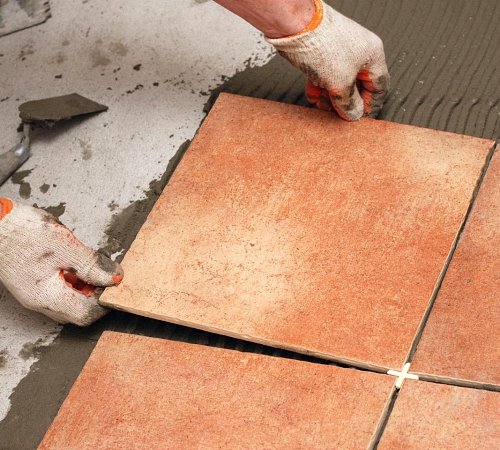
After the marking and installation of landmarks, the tile should be directly laid. To do this, prepare the solution according to the instructions and apply it with a gear spatula on the wall. The surface before laying should be qualitatively leveled. Initially, the tile is based on supporting elements, then already on the solution. Do not press the tile too much, slightly turn it in one and the other side, so the adhesion between glue and tiles increases.
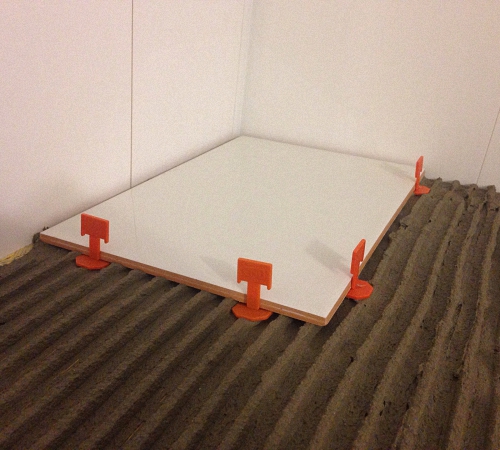
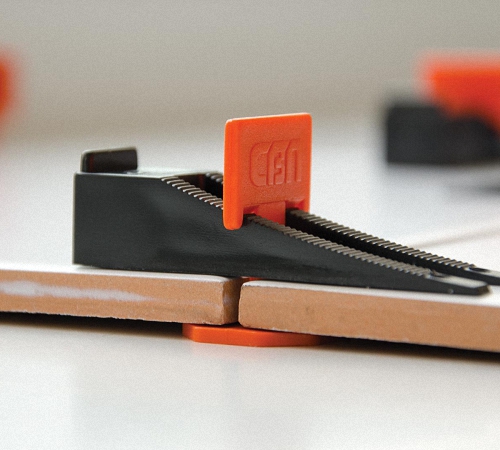
The tile should be located on the wall correctly, since dismantling it from the surface and setting it again, the level of adhesion between it and glue is significantly reduced. To check the evenness of tile installation, use the level. To deepen the tiles, use a rubber hammer if necessary. On the corner fragments of tiles, place crosses that will help form the same gaps between tiles.
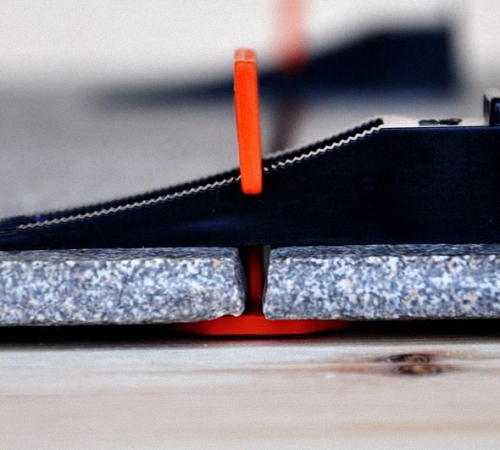
Keep in mind that excessive pressure of the tile to such an extent that the solution begins to appear from under it, it is unacceptable, all the gaps between the tiles should not contain an additional solution. Since they will be filled with an entirety, which not only gives aesthetic attractiveness tiles, but also improves its moisture resistance and muddle.
In the presence of a certain experience with tiles, apply a solution for installing several tiles at once. At the same time, for the installation of tiles in your place, twist it a little in different directions. Next, install crosses between the tiles and check the smooth laying of the level.
After laying the first row of tiles, it is recommended to wait for the gravity of the glue. Thus, the tile will take the position she needs and will not change it in the future. Keep in mind that if there are breaks in work, excess solution should not peep out from under the stacked tiles. Otherwise, the connection strength between the tiles is reduced.
Initially, a wall is filled on on which whole variants of the tiles are located, and then the sliced \u200b\u200btile is installed. For cutting tiles, both glass cutters and a tool in the form of a tile cutter or grinder are used. Using the last option, stock up on a respirator and a protective mask, and also work on the outside of the room. When performing tiles, consider the gaps between individual elements. To form an uneven cut on a tile, it is necessary to have a special device in the form of a manual tile cutter or a special electric machine.
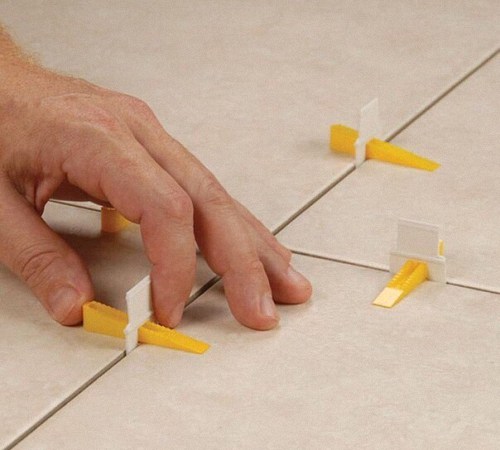
After laying the floor of the tile in the bathroom with your own hands, it is grouting. Keep in mind that before the procedure should pass at least two weeks. Since the glue under the tile should dry completely. All crosses between the tiles are dismantled, and the seam is fugged.
Several options for grouting are distinguished, which differ both in the field of application and the composition. In addition, the grout for the floor should be approached in color to the tile. The cement version of the grout is sold in dry form and diluted with water before application. This grout option dries very quickly, so you need to breed it in small portions. Silicone or epoxy grouts are distinguished by the best performance characteristics and are recommended for use in bathrooms. Such grouts are already sold in the finished form, quickly applied and convenient in work.
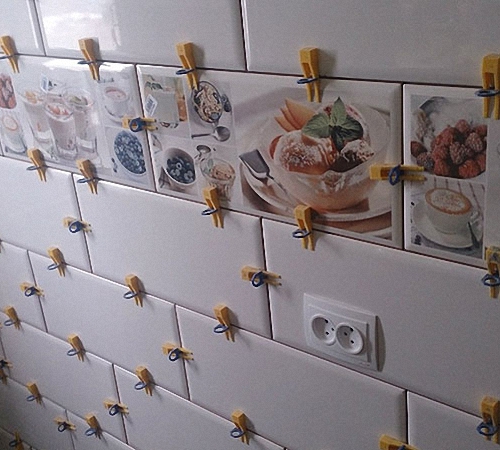
Before performing the fugus, the seams between the tiles should be completely cleaned of the solution. For these purposes, use the vacuum cleaner. Further, when using all, except cement grout, it is necessary to stick a painting tape on the tile. Otherwise, there is a possibility of the composition of the composition on the tile, and silicone and epoxy compounds are not washed off with water.
DIY tile with your own hands video:
For grouting tiles, use a rubber spatula. It allows you to evenly distribute the composition on the surface of the seam. In the presence of surpluses, they are also removed with a spatula. After the grout dries completely, this time is indicated in the instructions, remove the painting tape and wipe the tile. Thus, the laying of the tile is considered complete.
DIY tile laying on the floor - recommendations for cutting material
During the installation of the tile, you can not do without it. For these purposes, a different tool and methods of its use are used. The simplest device with which it is possible to cut the tiles - glass cutter. When using an electric or manual tool, cut the tile according to the same principle as glass. Initially, the marking of the tiles should be made before its sharp. Using the cutting wheel, press on the tile and break it after that. Keep in mind that the aesthetic attractiveness of the cut will leave much to be desired, it will be inaccurate and a little uneven.
The most optimal tile cutting device is a mechanical or electric type tile cutter. This device is characterized by the presence of a special site on which the tile is located. In addition, it has a ruler with which marking is performed. Set the limiters at a certain distance.
Next, install the cutting wheel or folding emphasis on the tile. Install the wheel and draw them on the tile. Such devices allow you to easily cut the tiles both directly and diagonally.

Special difficulties occur in the process of cutting the tiles with a semicircle or a zigzag shape. This is necessary with the wrong shape of the room or when installing tiles around the pipe. Initially, outline the necessary form of tiles. Then, using a tile cutter, cut off unnecessary parts along a piece. The formed edges are polished using sandpaper or file. This process is quite long, however, the tile in this case takes the shape we need.
Laying tiles on the floor with your own hands video:
If the tile is installed along the length of the room without the need to cut it, then install it. In any case, a number of laying the tiles should be shifted in such a way as to lay the last whole tile. If necessary, in cutting several centimeters of the tiles, it should be shifted in such a way that the same distance between the cut tiles remains on both sides.
In the process of laying tiles on the walls of the kitchen, not to the ceiling, whole tiles should be located in the upper part of the wall. At the same time, styling begins with the lower row, which is most often chopped.
During the installation of the tile in the corridor, first fill the space between the long walls, while the gaps should remain between the edges.

When using various methods of laying tiles and during the installation of tiles of different colors, you should earlier on the wall indicate the installation site of one or another tile. The mosaic is recommended to be laid out in advance on the floor, and then transfer to the surface.
To improve the clutch between the tile and glue, it is recommended to pre -moisturize it with water before installed on the wall.
The tile with hands in the toilet is carried out with special accuracy. Since the toilet is often a small room, tiles on the floor and walls should be located proportionally. In addition, special attention should be paid to the pipes from the toilet and other communications.
Some tiles are soaked in water before laying on the floor in the toilet. After installing the tiles, check the flatness of the floor. To cut individual fragments for holes on the toilet or drain pipes, use a grinder. After the glue dries, do the seams of the seams and seal them. For these purposes, we recommend using a silicone -based grout. Since the toilet is a room with a high level of humidity, in order to avoid mold between the sutures of the tile, they must be reliably protected from moisture. Thus, it will be possible not only to improve the presentability of the appearance of the tile, but also the life of it will last.
Laying tiles on the wall with your own hands video:

when laying tiles
when laying the tiles yourself, you should pay maximum attention to the measures to equalize the walls or floor, on which the tile will then be crawled!
For this, with permission
For this, so to say, an article by a grief copyreter probably paid money. Admins, hire normal content managers so that they do not miss such rubbish to the pages of the resource ...
Crosses and filler seams
Crosses and filler sutures for laying tiles with good prices and free delivery. http://got.by/2dryz2
Through the service http://bit.ly/2pqd7ca cheaper by 3-8%