A lot of people who carry out repairs in their house have faced such a problem ...
|
|
The phased technology for the manufacture of arbolite foresaw the preparation of the base, definition ... |
There are a large number of foundations. The choice of one or another option depends ... |
Windows installation technology
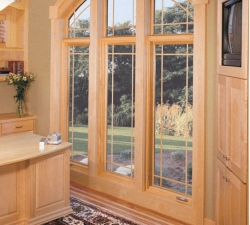
The durability, reliability and stability of the windows depends on the quality of the installation of slopes. The slopes provide tightness, heat and sound insulation. If they are installed incorrectly, the window will not last long and functionally, and soon you will have to replace it. Therefore, it is very important to choose the right type of slopes that is suitable for your windows, and install it correctly.
Table of contents:
- Types of window slopes of their advantages and disadvantages
- Installation of slopes for metal -plastic windows
- Plaster slopes for metal -plastic windows
- Gypsum -plastic slopes for metal -plastic windows
- Installation of slopes on wooden windows
Types of window slopes of their advantages and disadvantages
Depending on the location of the slopes, they are divided into internal and external or external.
Internal slopes are located directly in the room and do not have a special functional role, except for tightness, and also act as the design of joints between the window and the wall. In contrast, external slopes provide sound and thermal insulation, protect the room from moisture, heat and temperature extremes.
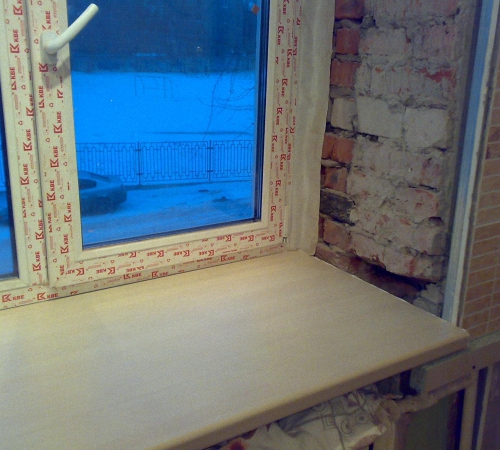
Depending on the material from which the slopes are made, it is highlighted:
- Plaster,
- Wooden,
- Drywall,
- Plastic,
- Sandwich panels.
1. The slopes of plaster are a classic version. It will take at least two days to install such slopes. Since the plaster after application should dry. And then it must be polished to give it smoothness. After grinding, inner slope, it is treated with a primer and stained with water -based paint.
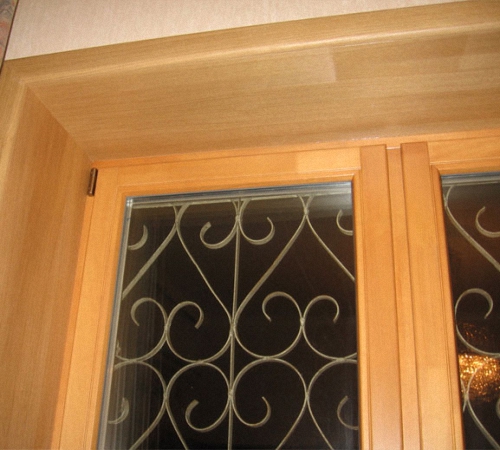
2. Wooden slopes for windows. For windows made of natural wood, wooden slopes are ideal. At the same time, the design of the room will become more aristocratic and refined. For the manufacture of such slopes, the best wood is chosen, carefully dried and processed. Therefore, wooden slopes will last as long as, for example, plastic ones. One of the significant advantages of wooden slopes is their environmental friendliness. After all, the tree is natural material that does not secrete toxic substances, unlike plastic.
3. Slopes for drywall windows. Slopes from drywall are used for significant damage to window openings. They only close the internal openings. Plasterboard slopes allow you to get rid of additional moisture on the windows. First you need to shut up the entire plaster and cover it with a primer. Then sheets of moisture -resistant drywall are installed, and a heater is placed between them: polystyrene, mounting foam or mineral wool. Further, this slope is primed, painted or finished according to the interior design. And at the junction between the wall and the slope glue the corner. The disadvantage of such slopes is that with prolonged wetting, plasterboard slopes are swollen.
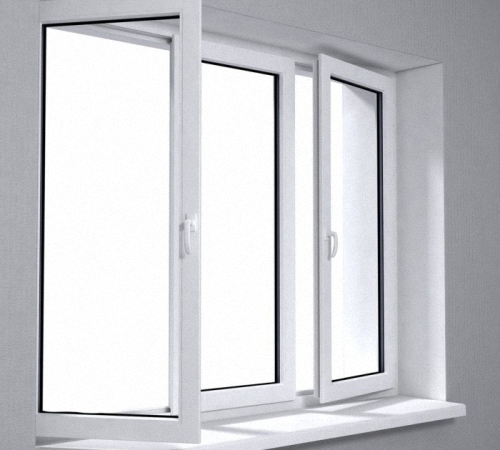
4. Window slopes of plastic. Plastic slopes are more expensive than drywall. Such slopes are ideal for plastic windows, since when temperature changes have the same coefficient of thermal expansion. This excludes the possibility of cracks between the window and the slopes. Plastic slopes are suitable for decoration of both internal and external slopes.
5. Sandwich panels as a type of plastic slopes. Sandwich panels is a type of plastic slopes. Unlike plastic ones, a sandwich panel consist of three layers, two sheets of plastic and a heater between them. Sandwich panels withstand the temperature up to 45 s, thereby providing protection against moisture and cold. Of all the window slopes, they are the most expensive.
Installation of slopes on metal -plastic windows
There are three types of slopes suitable for PVC windows:
- Plastic,
- Plaster,
- Plasterboard.
For decoration of plastic windows, slopes made of plastic or Sentwitch panels are best suited. Plastic slopes are used after installing plastic windows. To better understand the technology of their installation, we will get acquainted with the tools that will be needed in the process:
- Plastic panels,
- Starting strip,
- Corner,
- Profile,
- Self -tapping screws,
- Insulation: polystyrene, mineral wool or mounting foam,
- Silicone gun,
- Screwdriver,
- Scotch,
- Bubble level,
- Putty.

The technology for installing slopes of plastic windows is not too complicated if you carefully figure it out:
- To begin with, from the outside, remove all the excess of the mounting foam. This can be done using a construction knife. Next, you need to plunge all the cracks using any mixture for external and internal work, depending on the type of slope.
- Using the level, measure the size of internal slopes. Install a wooden frame on which our plastic slope will subsequently be attached. The starting strip is installed at the bottom of the window frame.
- Attach the profile to the wooden frame. Using polystyrene, mineral wool or mounting foam, insulate the slope.
- Now we set the plastic base. To do this, just fix it on the profile, and treat the joints with silicone. This technology for installing slopes on PVC windows for external and internal slopes is exactly the same.
Watch the installation of slopes of plastic windows video:
Advantages of installing plastic slopes:
- Lack of serious pollution of the room.
- Since plastic copes with thermal insulation, electricity saving is guaranteed.
- To replace the window does not require repair of the entire room.
- Plastic slopes are easy to wash and do not collect dust.
- The slope performs the function of moisture absorption, thus excludes mold.
- The plastic slope is made of the same material as the window, which means it will last the same lines.
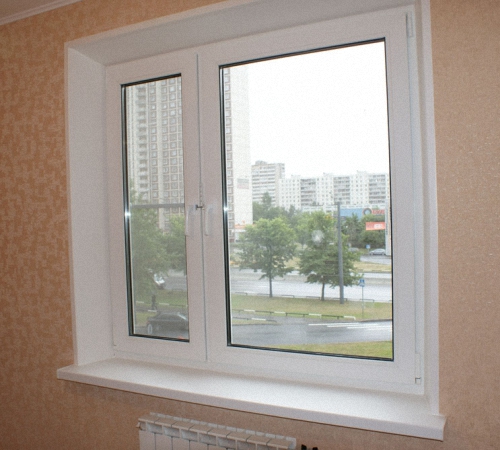
Plaster slopes for metal -plastic windows
Plaster slopes are also installed on plastic windows, but have more disadvantages than advantages. Firstly, they are warmly warm, which means that fogging of the windows is guaranteed. Secondly, plaster slopes will not last as long as plastic ones, because over time they crack. Thirdly, it will take a lot of time to install plaster slopes. Since such slopes are placed multi -layered, and for dried each layer it takes at least two days. The advantages of these slopes are cheapness of work and versatility.
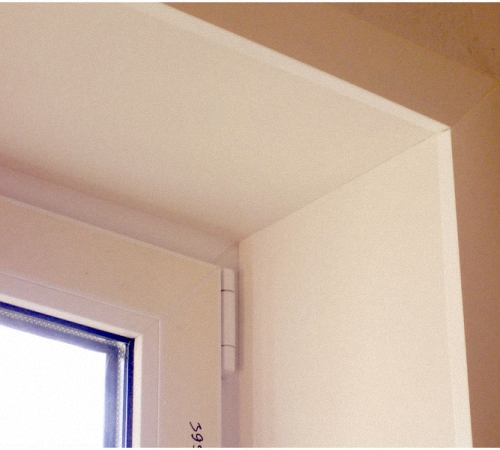
We will need to install plaster slopes:
- Plaster mixture,
- Punch,
- A hammer,
- Dowel,
- Self -tapping screws,
- Screwdriver,
- Level,
- Putty knife,
- CARNITOR,
- Primer.
Stages of installation:
- Before starting work, stick a protective film on the windowsill, do the same with the window if it does not have a special branded film.
- We clean the excess mounting foam with a painted knife. Next, we primer and warm future slopes. Stick the foam along the perimeter of the slope.
- Next, you should install the beacons and dilute the plaster solution. It is recommended to use ready -made cement solutions based on gypsum or cement.
Tip: Before applying the solution, attach the plaster mesh over the foam.
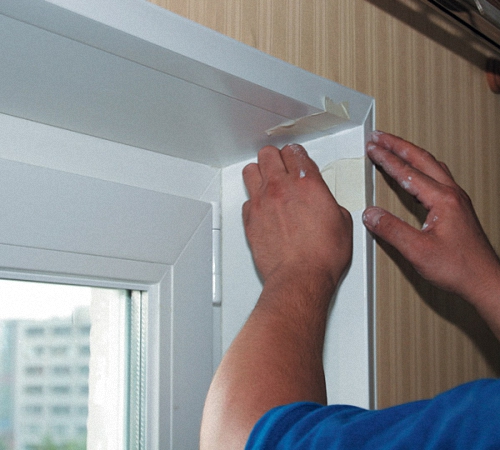
- The plaster should be applied first with a wide spatula at right angles, and then level the surface at an angle of 45-50 degrees.
Next, there are two options for finishing the slope:
- Grind, primer and paint
- Grind, putty and paint
Gypsum -plastic slopes for metal -plastic windows
Plasterboard slopes are installed only indoors, the use of external slopes from drywall is unacceptable.
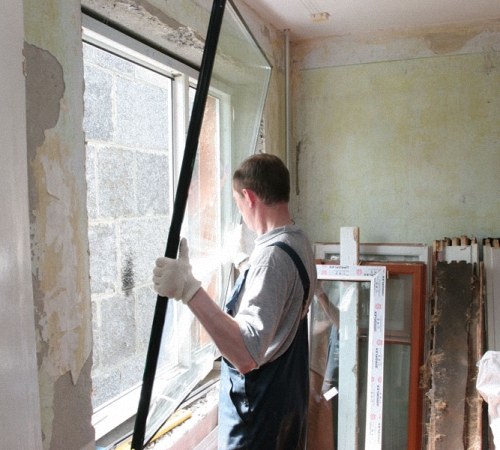
We will need to install plastic slopes on plastic windows:
- Moisture -resistant drywall,
- Profiles and guides,
- Metal screws,
- Installation knife,
- Dowel,
- Level,
- Insulation,
- Screwdriver,
- Perforated corner.
For the correct installation of slopes on the windows, a number of such actions should be performed:
- We measure the distance from the window to the place of the future slope. Consider the width of the drywall, the drywall 12 mm thick is best suited.
- After the distance has been measured, put the marks on the wall.
- Install the guide profile. Its outside should follow the line, and the profile itself should be behind the line.
- Next, draw the lines on the floor and ceiling and nail the next profile.
- When the frame is ready to insulate the slope. As well as when installing a plastic slope, using mounting foam, foam or mineral wool.
- On the displayed profiles, we measure the slope, and cut the necessary dimensions with the installation knife.
- The next step is the assembly of drywall sloping. With the help of screws, fasten drywall.
- Using the perforated corner, check the corners.
- To the joints of the drywall we glue the glass chosen or non -woven.
- Next, we carry out finishing work: putty and paint.
Tip: To install a slope from drywall, choose a moisture -resistant drywall, since moisture is collected in the corners and mold forms.
There is another option for installing slopes from drywall. This is gluing them to the surface of the slope. To do this, first with a knife, remove the excess mounting foam and primer the surface. Then we align the slope with a putty. We measure and cut out sheets from drywall of the desired size. We glue them using special glue for drywall.
Tip: When gluing sheets of drywall, they also use the finish putty, which does not set as glue as quickly, so it is ideal for the one who makes such slopes for the first time.
Installation of slopes on wooden windows
For wooden windows, a wooden slope made of the same tree as the window itself is best suited. It is advisable to install a wooden slope on the second day after installing the window so that the mounting foam has time to dry.
We will need to install a wooden slope:
- Installation knife,
- Primer,
- Screwdriver,
- Self -tapping screws,
- Wooden platband.
You need to measure the future slope in advance, to prepare the platband of the desired size. Next, cut the excess foam and primer the surface. Then we install and attach the slope, connecting the slopes with each other using self -tapping screws.
Another type of sloping is suitable for wooden windows. This cork slopes are made of drywall covered with cork oak bark.
Advantages:
- The installation of such a slope does not take much time,
- Environmental friendliness,
- Great noise and heat insulators.
Flaws:
- Price.
- Very soft, easy to damage.
To install a cork slope, you need to install the profile, and attach the sheets of the required size to it. Next, warm the space between the sheet and the window with the help of mounting foam. Then process the joints with silicone.
For wooden windows, both plaster and plastic slopes are also suitable. The technology for installing slopes on the windows, both on plastic and wooden, is the same in this case.

