One of the advantages of wooden houses is their slight weight relative to brick ...
|
|
The roof roof every day takes on the blows of nature in the form of the influence of various ... |
Today, the ceiling such as whitewashing is almost no one uses. They came to her ... |
Do -it -yourself log decoration

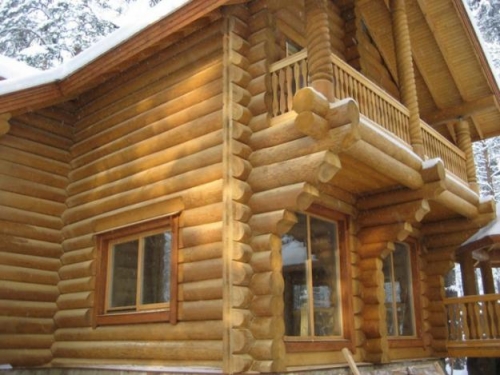
Today, the construction of wooden houses, and especially houses made of galled logs and wild log house, again at the peak of popularity. And even despite the fairly high cost and a long construction period, such houses can be increasingly seen outside the city. If earlier wooden houses were built almost without any decoration, today, thanks to the development of technology and the emergence of new materials, the decoration of a log house becomes the norm. The finish of the log house inside and outside is performed, while everyone decides for himself how the house will look after that. Whether the natural attractiveness of wood will be preserved or the logs will be completely hidden under artificial materials.
- Features of the decoration of the log house
- Interior decoration of a log house
- Exterior decoration of a log house
Features of the decoration of the log house
The implementation of finishing work for a log house has a number of features, many of which are often overlooked when decorating a log house with their own hands is performed. Such miscalculations can ultimately lead to the damping of wood and its decay, the appearance of fungi, mold. To finish the walls of the log house correctly, the following requirements must be observed.
Firstly, all finishing work is carried out after shrinkage of the house. At the same time, it is necessary to take into account from which log the house is. If from the galindowed, then its shrinkage will be less due to preliminary drying. For a wild log house, the term and the strength of the shrinkage will be more due to the natural moisture of wood. The recently built house is left without finishing for at least a year. During this time, the logs will be sustained, and it will be possible to more accurately produce measurements and further installation of windows, doors, as well as decoration of the walls of a log house.
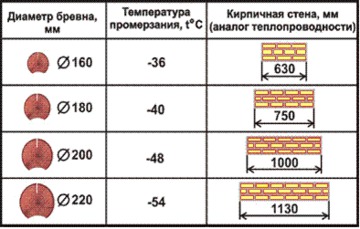
Secondly, it is extremely important when decorating to create the correct heat and vapor barrier. For proper vapor barrier, you must adhere to one simple rule the vapor permissive power of each subsequent layer of finishing towards the street should be higher than that of the previous. The result of a violation of this rule will be the appearance of mold, fungus and decay of logs, and in addition to constant dampness in the house. The thermal insulation layer for the walls of the house may only be required in the case of decoration of the old, already a little dilapidated house. A house from a new timber with a diameter of 26 cm has the same thermal conductivity as a house with a one and a half meter thickness of brick walls. It will be better to perform competently thermal insulation of floors, inter -story floors and roofs.
Thirdly, for decoration of a log from a log choose natural materials. Despite the fact that modern building materials have a number of undeniable advantages, it is much better if the wall decoration of the log house is from the same natural materials. The result will exceed any expectations, since natural materials are much better combined with each other than a combination of artificial and natural.
In the end, it is necessary to note the following. Try to preserve and highlight the natural beauty of the house, instead of sheathing the walls with sheets of MDF or drywall. Thus, turning a country house made of natural wood into the same gray apartment as in the city. The wall sheathing option can be justified only in one case, when the old house is old and the tree darkened and has lost its warm natural color.
Interior decoration of a log house
Wooden houses, and especially houses made of logs, thanks to the natural color of wood, have a beautiful interior, which is desirable to preserve. Therefore, when planning the interior decoration of a log house, you need to carefully consider every little thing. What the interior will be is discussed and planned at the stage of creating a project at home. During the interior decoration, it is enough to only bring everything to life. The finishing of the log house begins after the arrangement of water supply and sewage.
Ceiling
We start the interior decoration of the house with the ceiling. This is dictated by the fact that during the decoration you can stain or damage the surface of the walls and floor, and it is more difficult to redo than to do it again. Performing work on the ceiling decoration is somewhat more difficult in comparison with the walls and gender due to the inconvenience of applying and consolidating materials. But having a certain dexterity, everything can be done in the shortest possible time.
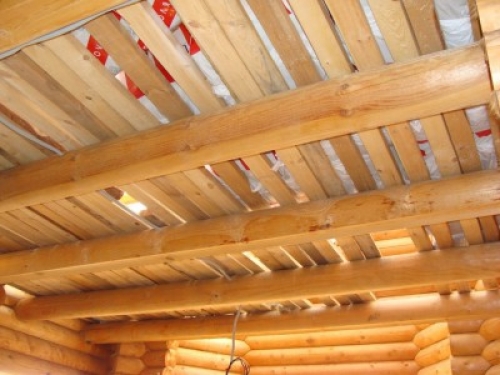
The ceiling in a log house is a design of beams and boards. It is from this that you will have to build on when it is finished. In some way, this greatly facilitates the task. In the space between the beams, you can lay a heater, wiring, and on top of the beams themselves, fix the sheets of GKL, plywood, sheathe linen or make a stretch ceiling or simply polish the tree and cover it with transparent varnish. Consider the options for finishing the ceiling, most organically combined with log walls. This is a lining of the ceiling with lining, veneered panels and varnishing or painting.
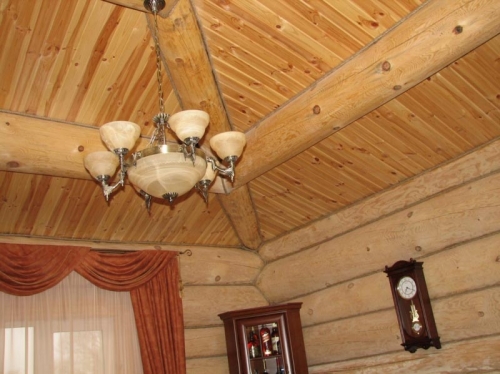
Ceiling the ceiling with lining It is produced quite simple. This is facilitated by the fact that wooden beams are used in the floors of the house, to which the lining will be attached. The wagon strings relative to the walls of the room can be installed both diagonally, or directly, or combining these two methods. The strips themselves are attached using nails or screws, which are placed in hidden in the grooves of the planks. And also with the help of Klyammers, which is much more convenient. We start creating the ceiling from the lining with the laying and fixing of insulation materials, if necessary, and laying the wiring. Then we proceed to the fasteners of the planks. It should be noted that when installing the lining, it is necessary to leave a small ventilation gap of 5 mm near the walls. On the first bar we carefully cut the spike, set in place and fix it in one of the above methods. We set all the subsequent strips in the groove in the previous groove, finish carefully with a kiyanka and fix it in place. At the end, grind the surface and open with varnish.
Openced panels are one of the expensive decoration options. The ceiling they have trimmed will look impressive, showing prosperity and good taste of the owners with its appearance. Installation of panels is not particularly difficult to fasten the spike-paz. In fact, their installation resembles the installation of the lining. The difference lies in the need to create a frame to which the panels will be attached, but this is only if there is a need to hide the beams of the floor. As an option, such panels can be placed between the beams.
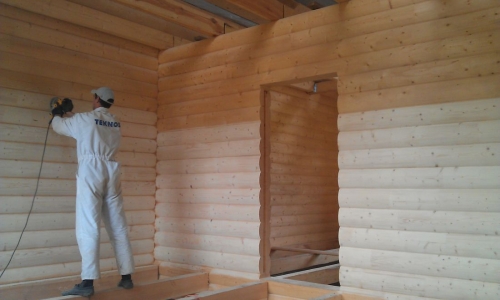
The most simple and at the same time will look attractive ceiling opened with transparent varnish. Of course, the preparation of the surface will require considerable effort. Since you will have to carefully sand and varnish every centimeter, but as a result it will always be possible to admire the natural beauty of wood. To accelerate the grinding process, you will have to use a special tool and several types of sandpaper of various granularity. Initially, grinding is performed with coarse -grained sandpaper, and at the end with paper with small grain. This is done in order to first remove the exfolved pieces of wood, and at the end to make the surface of the tree smooth, without any roughness.
Important! After grinding, the surface of the tree must be impregnated with protective compounds with antipypeis and antiseptics. This applies not only to the ceiling, but by all parts of the house.
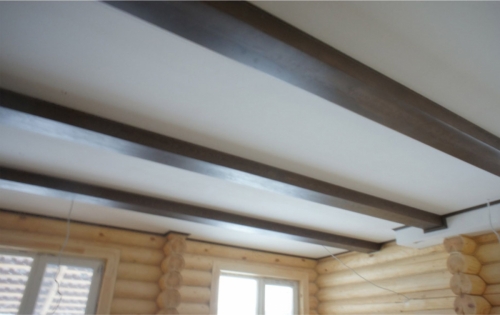
Another small, but at the same time, a wonderful option for finishing the ceiling is its painting. Only one clarification must be made. Paints should have high vapor permeability, that is, breathe. Therefore, any acrylic, silicone and similar colors cannot be used. The best option would be to use lime and water -based paints or it may be ordinary whitewashing.
Walls
The next after the ceiling will be finishing the walls. As noted more than once, a log house has its own atmosphere and it is necessary to approach the wall decoration in a special way. The most optimal option will be grinding and wall covering with special compounds and a hemp with a decorative rope. Simply put, the preservation and emphasis of the natural beauty of wood. But in some cases, lining of a log house with drywall, MDF, tiles and other similar materials is performed.
Grinding and konopatka walls It is carried out both inside and outside the house. For grinding, a special tool and several types of sandpaper are used. If such works have to be done on your own for the first time, it will not be superfluous to practice the workpiece and then move on to the main work. Then the surface of the wood is processed with special compounds that allow you to preserve the natural color of the wood and protect it from the effects of negative factors.
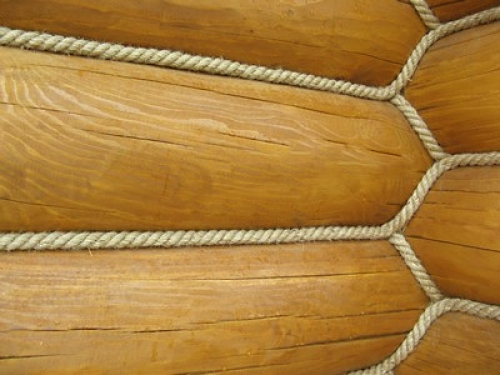
The hemp joints of logs is an obligatory type of work, but using decorative materials, the walls of the house can be made more attractive. To perform work, a special hemp and hammer tool will be required. If you have already performed such work when building a house, then decoration with a hemp will not cause special problems. Otherwise, you will have to practice a little.
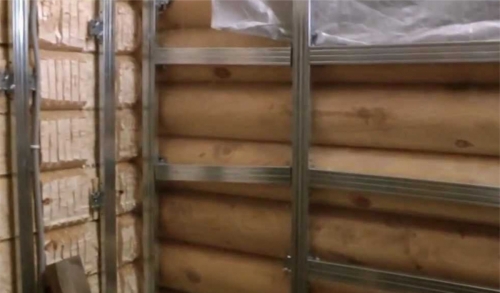
Larking a log house with drywall, MDF and wall panels are used to hide the wiring or create an even surface under the tile or other facing material. And also to protect the walls from the log from the negative effects of moisture. Such a finish is advisable in the kitchen, bathroom or bathroom. For residential premises, living rooms, corridor and hallways, it will be better to preserve the natural beauty of the tree, in extreme cases, you can sheathe lining. Before sheathing a log house with sheets of drywall, MDF or wall panels, it is necessary to create a reliable frame to which the sheets will be attached. For these purposes, you can use either wooden rails or a metal profile. The vertical strips of the frame are installed with a step of 600 mm. The transverse strips are placed in such a way that in one row the bar is at the level of 75 cm from the floor, and in the neighboring one 75 cm below the ceiling. This is done so that the fixed sheets are placed in a checkerboard pattern. The frame itself is attached in places of contact with logs using self -tapping screws. Further work consists in the sheathing sheets, which, if necessary, are cut and attached to the frame using self -tapping screws. The final decoration of the walls sheathed in this way can be performed with tiles, wallpaper, decorative plaster or otherwise.
Important! When performing the walls of the house, very often, insulation and vapor barrier are laid in free space. This has very deplorable consequences for log walls. Therefore, it is better to leave an air gap, and lay a layer of vapor barrier from the outside.
Separately, it should be highlighted wall painting. As in the case of the ceiling, you can use natural paints of lime and water -based paints. This will allow the walls of the house to breathe and save them from mold and fungi. The only drawback is that after a while you will have to update the places of chips of paint, since the house will sit down for some time.
Floor
The completion of the interior of the log house is the creation of the floor and laying the flooring. For the most part, the floor has already been created. The beams of the ceiling, the draft floor and the lags were laid even at the stage of building the house. It remains only to bring what has begun to the end. The design of the floor of the log house is known in advance, so there will also be no particular difficulties when choosing flooring. In such houses, a wooden floor is created on the lags, which means that the finish can be a finish parquet, massive board, carpet, linoleum, vinyl.
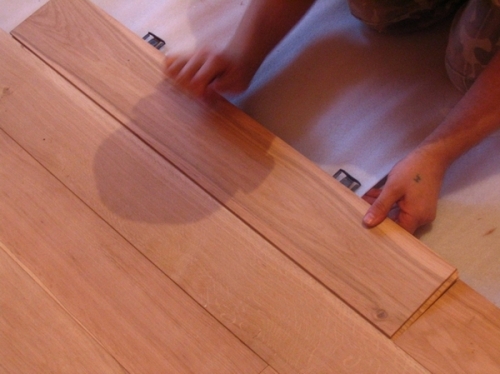
Which of the above will be laid depends on the choice of the owners and the purpose of the room. In any case, you will have to do a certain job of creating the floor. Firstly, it is the creation of the lower draft floor, laying the waterproofing layer and insulation into the space between the lags. Secondly, laying the boards of the draft floor. And only after that you can begin to create a finish coating. If a floor will be from a massive board, then you can lay it directly on the black floor boards. The flooring itself is as follows. A spike is cut off at the first board, then it is laid to the wall. A few 2.5 cm thick are installed between the wall and the board, which are removed after laying the floor boards. We fix the board itself with self -tapping screws in the hid, under which we pierce the holes in advance. Subsequent boards are laid with a spike in the previous groove. For reliable fastening, we finish off with a kiyanka along the entire length and then fix with a self -tapping screw to the lags. In this case, it is necessary to remember about the 2.5 cm of the gap between the boards and the wall, in the future it will play the role of the ventilation hole.
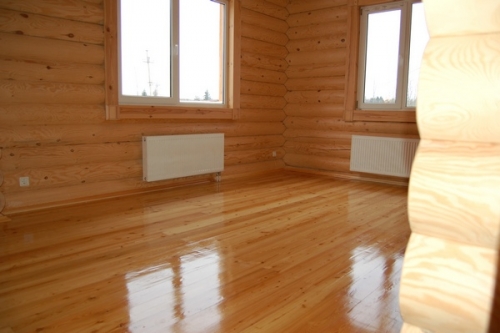
After laying the boards, their surface group and it is opened with varnish. On the perimeter of the room, we install the skirting board.
Parquet laying In some ways, similar to laying a massive board in the Sip-Paz system. The difference is that this work is very painstaking and time -consuming, and the parquet requires an absolutely flat surface, and the strips themselves can be fitted on glue. To create a parquet floor, first we equip a finish -resistant plywood for a black floor. We put the plywood sheets in a run and fix it with screws. Further work will consist in laying and fixing the parquet planks. In conclusion, the surface is polished and opened with varnish.
The laying of such flooring as linoleum and carpet is not particularly difficult. The main thing when creating them is to provide an even surface. This can be done, as in the case of parquet, using plywood sheets.
Exterior decoration of a log house
The finishing work of a log house in addition to the interior includes the facade of the building. In this case, walls and basement are finished. If everything is quite simple with the basement, you can plastered, cover with clinker tiles or decorative stone. Then the walls of the log house will require a special approach.
The easiest option for such a house is grinding logs, decorative hempand surface coating with special compounds that retain the natural color of wood and protect logs. But quite often, especially with old log houses, this is difficult to do. That's why sheathed a log house with siding, lining, make a simple hinged facade with metal or plastic panels.
As already noted, in order to preserve the logs from rot, the fungus and mold are treated with special substances. In addition, the rule of vapor barrier must be observed. With the first condition, everything is simple, but the second must be taken into account when the lining of the log house with siding is performed, the hinged facade is created or the sheathing with other materials is performed.
Before sheathing a log house with siding, you will have to take care of ventilation and vapor barrier of the walls of the house. To do this, we fill on the walls on the walls that will provide ventilation. We take the planks themselves with a thickness of 10 15 mm and install them with a step of 50 cm, as fasteners we use screws. Now we lay a layer of vapor barrier on top of the distance planks, which we fix with the help of thin wooden rails.
The next stage is supporting walls of a log house. But here we must turn to the operational characteristics of the wood, namely thermal conductivity. As a result, it may turn out that the insulation layer will not be at all in place.
If you decide to insulate the house, we create a crate frame for siding panels, between which we lay the insulation and on top of wind protection. For the frame, we use wooden bars, equal to the thickness of the insulation in thickness, and with the help of self -tapping screws we fix them on the previously installed strips.
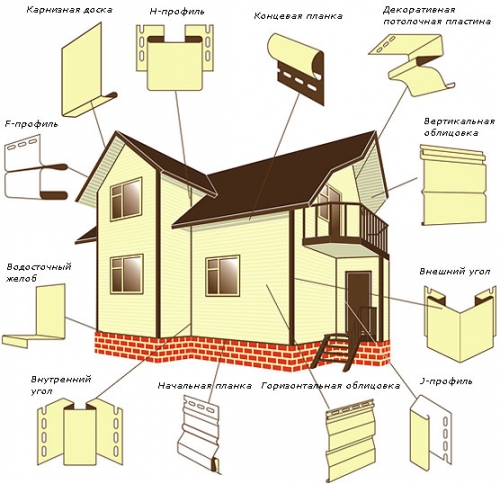
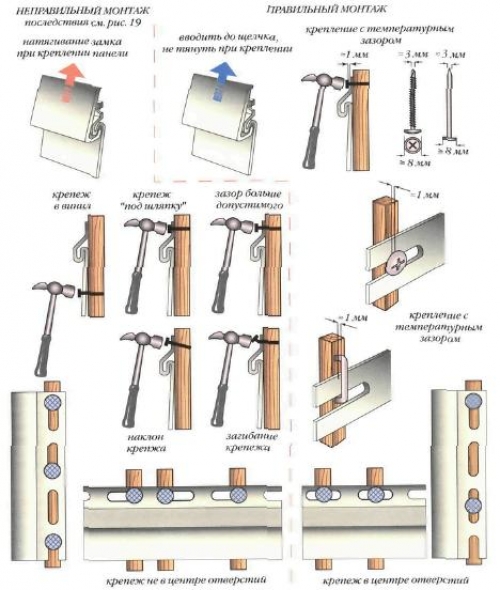
It remains to mount the site of the siding panel. We carry out all the work from the bottom up. The first set the initial profile, fix it with nails or screws. Further work will be similar to the assembly of the designer, since the subsequent panels are started in the previous one and are fixed to the crate. It is necessary to pay special attention to the angles, door and window openings. Siding a certain form is used for them, and when installing it, this should be remembered.
The decoration of the log house inside and outside is a question that needs to be approached with special care. And the point is not that some types of finishing work are complex, but that the wood itself is beautiful finishing material. And the main task when decorating a house from a log is, if possible, to preserve and emphasize the natural beauty of a tree.

