Fashion for plastic fences came to us from the USA. In this country, plastic for a long time ...
|
|
When arranging a country household, a reliable fence and entry gates are very important ... |
Houses from a profiled beam are cozy and reliable. They proved their ... |
Luke for the attic with your own hands
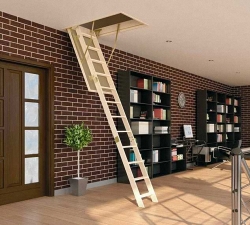
The attic is an excellent place for placing old things, clothes and other accessories on it. However, for its operation, it is necessary to arrange a hatch that will help to easily get into the attic. We will talk about the varieties of hatches for the attic and about the features of their independent manufacture.
Table of contents:
- How to make a hatch for the attic: choosing a place and preparation for work
- Luke for attic: features and varieties
- Luke for insulated attic - manufacturing technology
- Luke installation on the attic: installation of purchased structures
- How to make a hatch on the attic with your own hands
- Luke on the attic photo and recommendations for manufacturing
- Features of fire hatches on the attic
How to make a hatch for the attic: choosing a place and preparation for work
A rather frequent purpose of the attic is to perform the function of the pantry. There are various kinds of things that have seasonal or periodic use. In order to get them, it is necessary to have constant access to the attic. For these purposes, it is recommended to arrange a hatch that will allow you to get any, necessary thing from the attic.
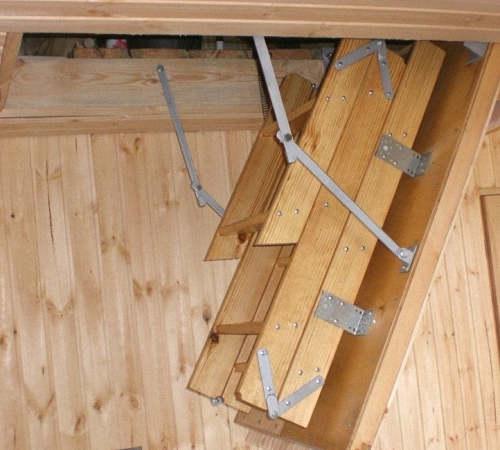
There are two ways to enter the attic. The first implies the implementation on the pediment, a special inlet on which the attic door is installed. This method is good because you do not need to make a hole in the ceiling and violate its integrity. Although, when using the door, it is necessary to install an additional staircase, and this requires material investments. The second, easier to manufacture method is the arrangement of the hatch in the attic, which is located on the ceiling.
In the process of choosing a place in which the hatch will be located, first of all, it is necessary to take into account the fact that the hatch cover should open freely, without any obstacles.
In addition, the design of the hatch should be in harmony with the general style of the interior. If it is planned to use a stationary -type staircase, then it should also not interfere with free movement around the room.
If the beams are located on the ceiling, then make sure that the hatch is not located directly on them, since the strength of the ceiling ceiling is significantly reduced.
Do -it -yourself hatch should be:
- attractive and differ in the presence of modern design;
- differ in simplicity of installation;
- be reliable, durable and safe;
- It is preferable to choose or build hatches of a warm nature;
- Additional fittings: arguments and handles will help to simplify the procedure for using the hatch.
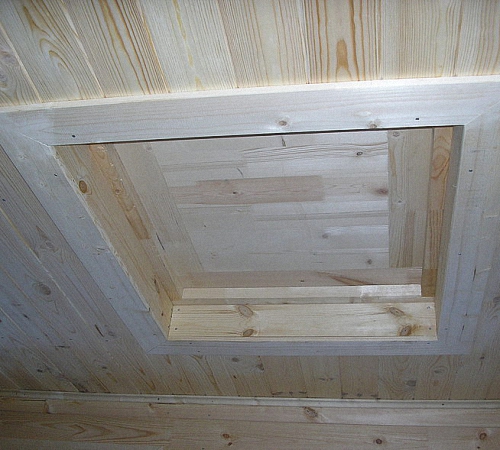
Luke for attic: features and varieties
In relation to the installation site of the hatch and its constructive features, the hatch in the attic is:
- horizontal;
- vertical;
- corner.
The first option involves the installation of the hatch on the surface of the ceiling. Such hatches are characterized by ease of use and ease of manufacture. The second type of hatch is also called a laza. The corner type of hatch is most often mounted on an attic, in the presence of a prudent type of roof.
In addition, hatches for the attic are made of wood, metal, plastic and other alternative options. Most often, a tree is used in the construction of hatches.
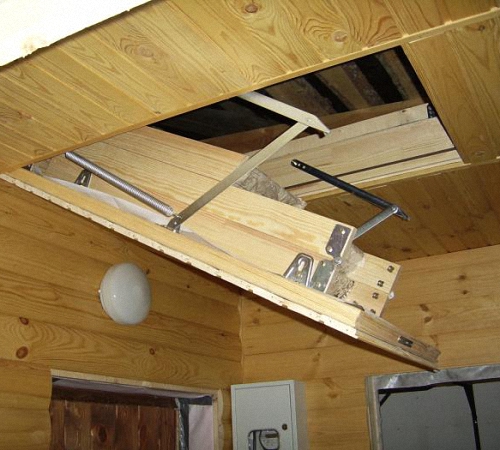
Luke for insulated attic - manufacturing technology
To build a hatch with the presence of insulation, we recommend using this instruction:
1. Before starting the manufacture of the hatch, the hatch should be made to the attic drawing, which indicates its shape, size and additional design features.
2. To build a hatch frame, prepare boards, the thickness of which is at least 2 cm. Try to build a rectangular structure of a previously certain size.
3. Keep in mind that all angles should be absolutely even. Standard hatch on the attic dimensions - 600x1200 mm. Although the determination of the size of the hatch depends on the constitution of people who will use it on the size of things stored in the attic.
4. The next step is to cut the opening on the ceiling, keep in mind that the opening should be 5 cm larger than the size of the hatch. The main function of this allowance is the skin of the opening using a special frame.
5. If the work is carried out in a wooden house, then for the manufacture of the hatch the very tree that is cut out of the ceiling is quite suitable. Otherwise, it is necessary to purchase wood.
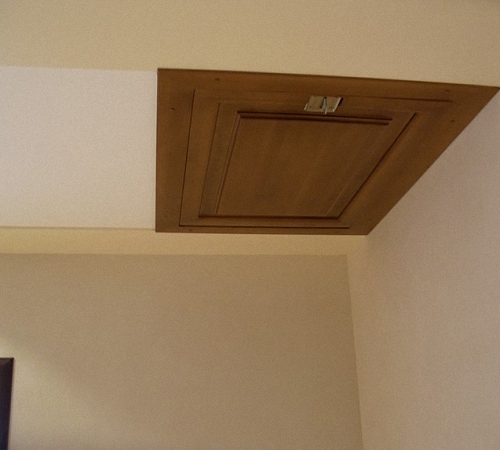
6. When choosing a tree, it is better to give preference to larch, since this variety of wood is characterized by good performance and strength characteristics.
7. The side of fixing the loops on the hatch depends on the individual preferences of its owners.
8. In order for the cover to acquire additional strength, it is necessary to take care of the installation of a diagonal strut, for the fixation of which self -tapping screws or steel corners are used.
9. In order to ensure the thermal insulation of the hatch, the use of insulation is recommended. Most often, the same material is used as when warming the attic, for example, polystyrene or mineral wool.
10. Keep in mind that vapor barrier should be previously installed at the bottom of the lid, since these types of insulation are susceptible to moisture.
11. At the next stage, accessories are installed in the form of latches and closers. Installation of the sealant around the perimeter of the hatch will prevent cold air from the attic to the room.
12. From the inside, the frame is sheathed using the platband, thus, the appearance of the hatch improves.
13. The installation of the stairs completes the work that will help to rise and go down to the hatch.
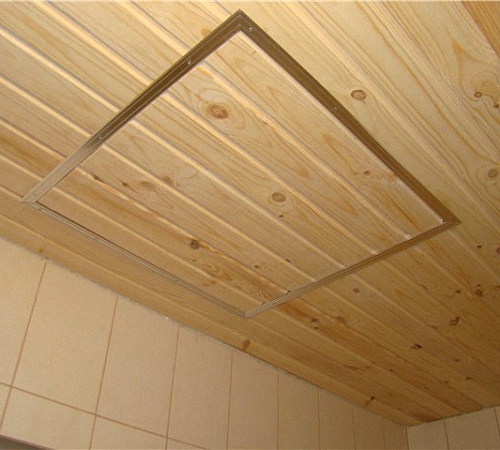
Luke installation on the attic: installation of purchased structures
Installation of a hatch purchased in a store is a little easier than its independent manufacture. However, there are nuances in this matter, which should be adhered to.
The cost of a purchased hatch directly depends on the material from which it is made. The price of metal hatches is much higher than for wooden ones.
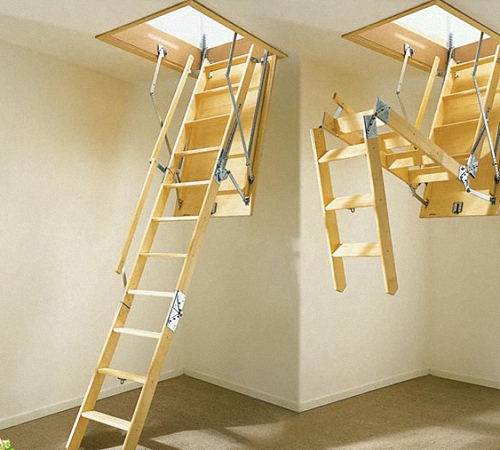
Before buying a hatch and stairs for the attic, pre -measure the height of the ceiling in the room, the optimal size for the hatch, the place of installation of the stairs. Among the advantages of purchased sliding stairs for hatches, they note:
- compactness and ease of location even in a small room;
- multifunctionality;
- simplicity of installation;
- Attractive appearance.
To lay out the attic staircase, you do not need to make too much effort. It is because of this that purchased models are more common than homemade. The assembly of the hatch and stairs will require at least two people. One of which is in the attic, raises the structure to the top.
Before fixing the frame, two boards are installed on the bottom, it is on them that the hatch is laid. Next, the design is laid on them and is aligned with wedges. To control the evenness of the corner structures, use the level.
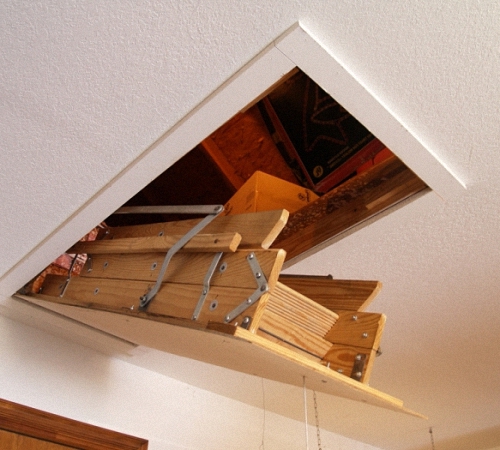
Thus, it will be possible to avoid the deformation of the hatch in the process of its installation. After the staircase is fixed on the frame, the hatch is fixed on it with screws. When forming a small gap, use the mounting foam to fill it. Next, remove the boards that insured the hatch from the skew, keep in mind that while the foam is completely hardened, the operation of the hatch is not possible.
The side bolts on the stairs are weakened and it is laid out to the desired size. If there is a skew, the stairs should be adjusted so that it becomes flat, this is done by twisting the bolts.
How to make a hatch on the attic with your own hands
If you plan to arrange a hatch for an attic on an overlap from reinforced concrete, it is recommended to equip the hatch at the junction of two plates. Thus, it will be possible to prevent the weakening of the entire structure.
For the manufacture of standard or fire hatches, a hole should be made for a concrete slab, work will take at least an hour and a half. To make a hole, you need the presence of a grinder, with nozzles for working with metal, perforator, scrap and sledgehammer.
First of all, make markings, the size of the hole on the concrete should be a few centimeters larger, the size of the hatch itself. To get strictly vertical end sections of the hatch, it is necessary to have a punch and drill in it, the length of which is much larger than the thickness of the plate.
Make sure that the punch is strictly vertically in relation to the surface. In each of the corners, previously marked the slab, drill one of the holes.
Using a diamond disk, cut first one of the marking lines. Make sure that the disk does not contact with the armature, since there is a risk of its damage. After preparing the slots, with the help of a perforator, find empty sections of the stove, drilling it through.
Taking advantage of the sledgehammer, break the stove, in places of touches of concrete with reinforcement, use scrap. After tugs at all concrete, carefully cut the reinforcement, using the leveling of the leveling, burn all the irregularities that occur on the surface of the metal. Keep in mind that the accuracy and quality of the installation of the hatch depends on the evenness and smoothness of the opening.
Tip: If you plan to use the purchased device, then the dimensions for the opening should be indicated in the technical characteristics of the hatch. With the independent manufacture of the hatch for the attic, at least one centimeter should be left on each of the sides.
In order to build a lamp, a staircase into the attic, you should initially build a frame that is fixed in the opening using anchors. To ensure smooth closing or opening the hatch, it is necessary to purchase closers. In addition, the surface of the cover should be similar to the ceiling. The best option is the use of polystyrene stoves, which are sheathed on top.
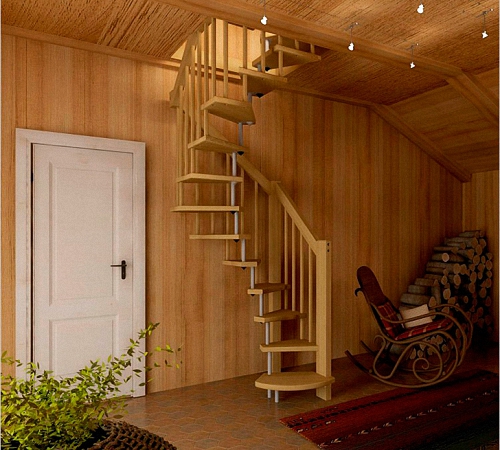
Luke on the attic photo and recommendations for manufacturing
The finished hatch should be equipped with seals and facial planks. Therefore, the hole for its installation should be made with maximum accuracy.
To carry out work, it is better to climb the attic and start with this part. In the ratio with the external dimensions of the casing, it is necessary to mark the floor on which the hatch will be installed.
To remove the upper layer of ceiling, it is best to use a grinder. In the presence of waterproofing and insulation on the ceiling, they should be carefully removed and corrected with a knife. To see the perimeter of the hatch in the room, it is necessary to make several control holes.
Next, take the hatch and attach it to the floor surface in the attic, compare its dimensions with the perimeter of the holes made. The hatch frame should be located in the opening as tight as possible. If the cracks are present on it, then use the mounting foam for the seizure. Work with it needs to begin only after thoroughly aligning and determining the layout of the hatch.
In the presence of each side of the rafters, fix the hatch between them. A high -quality attic staircase requires the arrangement of a special framing that helps to protect people living in the house from an accidental fall.
If there are rafters on only one or two sides, it is necessary to install the beam on which the hatch will be fixed on the third side. Keep in mind that the installation of the hatch requires special responsibility from the person who performs them. The minimum load on the stairs and hatch is 200 kg.
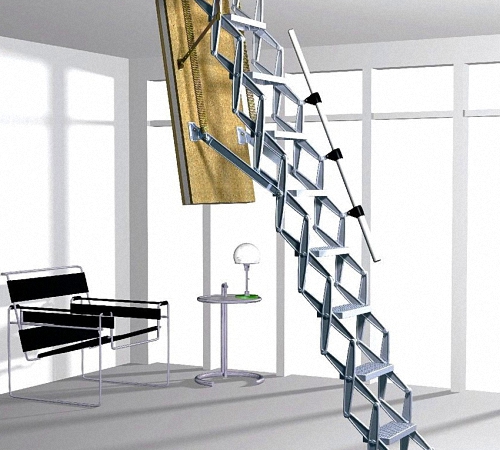
Direct installation of the hatch, requires the performance of such actions:
- assembly of the frame and its installation in the hole;
- fixation of the rim on the surface of the rafters from above, in their absence on the beams;
- fixation of the rim from the lower part of the room;
- fixing the lid on the hatch;
- connection of the stairs to the hatch;
- Checking the performance of the entire system.
Features of fire hatches on the attic
Such hatches have very simple design features, they consist of a steel frame, as a seal for which the material of non -combustible origin and steel door is used, which automatically snaps after closing.
There is a retractable staircase to enter the attic on the hatch. Before installing such a hatch, we suggest you get acquainted with the features of his choice:
1. Fire resistance from 40 minutes to one hour.
2. The minimum thickness of the steel from which it is made 1 cm. Possesses of the hatch is possible with the same material as the decoration of the room to ensure its complete harmony in the interior.
3. The presence of a non -combustible thermoactive seal, which, when expanding, blocks the ingress of smoke into the attic or into the room.
4. Internal content - mineral wool or any other fireproof material.
5. The presence of closers, pens, locks - high quality.
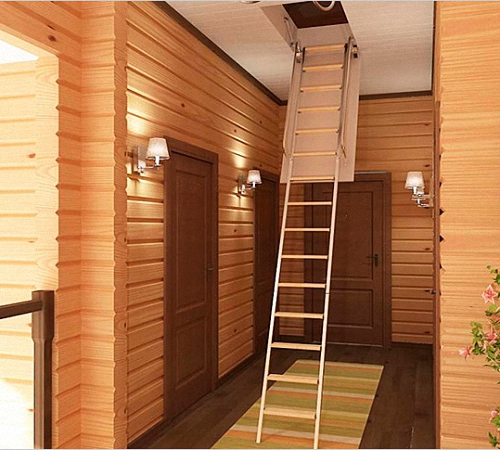
6. If it is planned to install a hatch for wood overlap, then it is necessary to additionally purchase the materials installed between the hole for the hatch and the hatch itself.
7. Next, the hatch is mounted in accordance with the above recommendations. In addition, if a purchased device is installed, then the features of its installation are described in detail in its technical characteristics.
Luke to the attic video:
