Installation of tiles is quite a laborious process that takes a lot of time and requires ...
|
|
A reliable and durable house is not only strong stable walls and non -flowing ... |
The height of the ceilings is usually designed even before the start of construction, but what ... |
With your own hands alignment
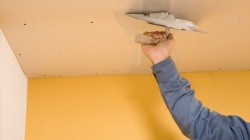
Uneven ceilings are an urgent problem of both old and new houses. If the differences in the level of the walls can be visually hidden with spotted wallpaper or decor items, then you can’t stick wallpaper on the ceiling and you can’t hang the picture. We have to align the ceiling, the cost of which, as a rule, is several times higher than the cost of leveling walls. Only trusted masters can be trusted with such work, so that later they do not have to redo it. And, if you do not have the opportunity to hire a serious highly paid company, it is better to learn this yourself. In most cases, the alignment of ceilings with your own hands is better than that of an inexperienced handyman. In any case, you will treat your ceiling with greater responsibility and accuracy than a stranger. And the new skill is undoubtedly useful to you in the subsequent repair of your housing.
Table of contents:
- The reasons for the irregularities of the ceiling
- How to identify and determine the size of the difference?
- Ways to align the ceiling
- The technique of aligning the ceiling in raw methods
- The technique of aligning the ceiling with dry methods
The reasons for the irregularities of the ceiling
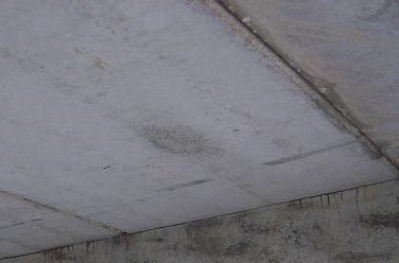
Significant changes in the level of the ceiling are most often the result of incorrect laying slabs. Often, plates are not only laid at different levels, but also set to include, which further complicates the task. In addition, the cracks and irregularities of the ceiling sometimes appear due to the shrinkage of the house or the washing of its foundation. Minor recesses can be formed due to poor cementing the seams between the ceiling slabs, as well as due to laying the wiring on the ceiling. But in any case, after the ceiling alignment, the price of which depends on the technology, you should first determine the size of the difference.
Determination of the size of the difference
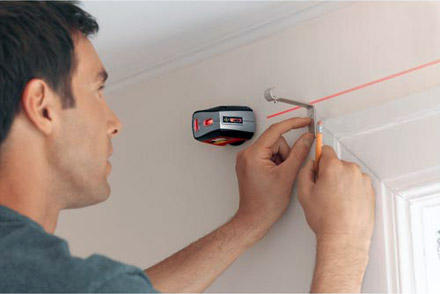
On the size of the difference between the highest and lowest point of the ceiling, it depends on which method of alignment should be selected. For this measurement, it is most convenient to use a water or laser level (level). But, if you are not a professional builder, and do not have such a device, the usual building level will be made. By applying it to the lowest point of the ceiling, we measure the distance vertically from the opposite edge of the level to the highest point of the ceiling.
Ways to align the ceiling:
- Raw methods. They are called so because dry mixtures in this case are diluted with water. This includes plaster and putty walls. They are used if the height of the difference is not more than 5-7 cm. With a difference from 5 to 7 cm, the ceiling is first plastered. And then puts it down. In case of a difference from 2 to 5 cm, putty on the reinforcing grid immediately applied. And if the difference is completely insignificant (up to 2 cm) only a layer of putty without a grid is enough.
- Dry methods They suggest not so much the alignment of the ceiling as the disguise of its irregularities with the help of various dry materials:
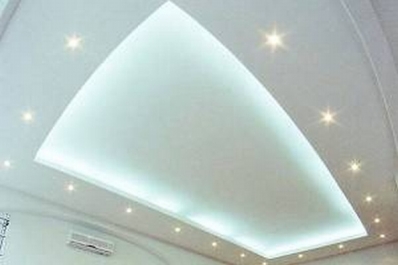
- Drywall sheathing. GCL allow not only to make the surface of the ceiling perfectly smooth, but also to realize their design decisions about multi -level ceilings with point lighting. If your main difference in height does not pass through the center of the room, then using drywall can be made along the perimeter of the room of the box. In this box, firstly, it is convenient to hide the pipes of communications, a. Secondly, the main height of the ceiling in the center of the room will remain almost unchanged. In addition, drywall is also moisture -resistant, so it can be used for ceilings in the bathroom, kitchen and attic.
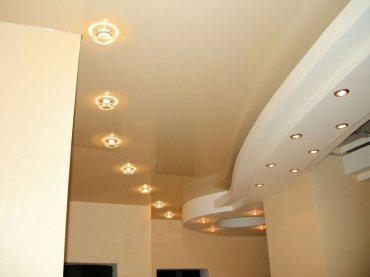
- Stretch ceiling. They also open the spaces for the riot of designer fantasies. The design of the paintings can be so different that the same material looks qualitatively differently. For example, glossy PVC-fraudulently resembles a mirror surface and visually increases the height of the room. Exactly the same PVC canvas, only with a matte spray, looks like an ordinary perfectly painted discutated ceiling. Tissue stretch ceilings can generally be ordered with a certain pattern or photo, stretch ceilings are amazingly beautiful and functional in combination with a box of GCL.
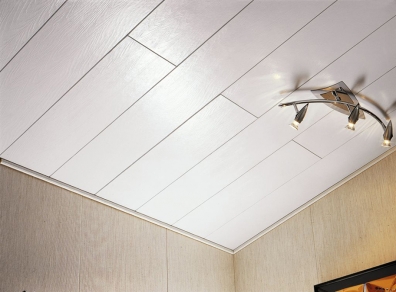
- PVC panels and siding. The most durable and durable option, although less attractive. This material is particularly highly moisture resistant, due to which it can be used even in very raw rooms. And its installation is so simple that the technology of aligning the ceiling with siding is available to everyone. Learning how much the ceiling leveling costs, you will see that PVC and Siding panels are also the most budget option.
The technique of aligning the ceiling in raw methods
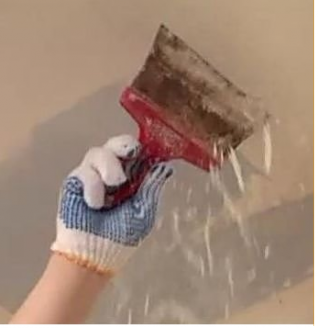
First, the dismantling of old paint and plaster is carried out. To do this, soften it with a wet roller and knocked down with a sharp spatula. If you have a drill or punch, they can be dismantled faster. Special mixtures are also sold for washing off old paint, and in the old days, an iodine solution was used instead of them. If after dismantling, you found mold on the floor slabs, you should treat it with antifungal aerosol or copper sulfate.
Next, the walls of the walls are marked. To do this, using the level (laser. Water or ordinary), the lowest point of the black ceiling is determined, by which it will be equal to it. It is noted with a pencil on the wall, and a line is drawn along the entire perimeter of the walls of the room, which will serve as a guide for the lower boundary of the future ceiling. But keep in mind that even the most correctly set with the help of the laser level of the horizontal will seem not horizontal enough if you have an uneven floor.
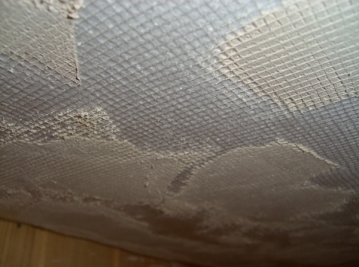
After marking, the ceiling is treated with a primer for concrete 2 times, and let it dry. For wet rooms, moisture -resistant soil is used. If there is a need for plastering (a difference of more than 2 cm) use gypsum or cement plaster. Gypsum plaster has more pronounced insulating properties, but not resistant to moisture. In raw rooms, only cement plaster is used. With a significant difference, it is additionally reinforced with a painting or metal net. The painting mesh has a sticky inside, and is easily glued to the ceiling. The metal mesh is attached to nails or screws.
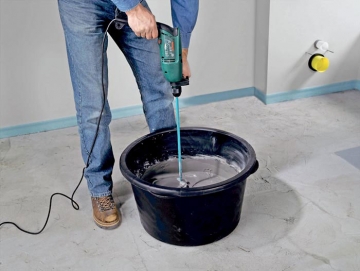
The plaster is kneaded by the proportion of the manufacturer in a large container using a drill. Two spatulas are used to apply it. With one spatula, the mixture is smeared in the second, and the second - directly on the ceiling. If necessary, plaster is applied in several layers, each subsequent after the previous one has completely dried. Next, the ceiling is put on first with the basic, and then finish, finely amacular putty. After its drying, the walls are wiped with sandpaper. Alignment of ceilings, video:
The technique of aligning the ceiling with dry methods
Regardless of the chosen material for lining the ceiling, the technique of their fastening is very similar. The dismantling of the old ceiling in this case can not even be carried out, except to remove what is crumbling by itself. Then, in the same way as described earlier, the walls are marking, but somewhat retreat from the lower point of the black ceiling. If this is a stretch ceiling, retreat for at least 3-4 cm, and if siding or drywall is 10, and sometimes 15 cm. This is necessary so that the starting profile, all the necessary communications are placed under the ceiling, and at least the minimum remains the minimum The gap for ventilation.
Further along the lines marked on the walls, the profiles, or the so -called crate, are installed. For drywall, metal is soldered, and for siding - wooden profiles. After that, the ceiling coating itself is mounted, and in the case of stretch ceilings their PVC, it is previously warmed up by a heat gun. Alignment of ceilings with your own hands, video:

