Panel housing construction is widespread during the construction of multi -storey ...
|
|
Almost the only roofing material that can be covered with a flat roof ... |
The front door is a remedy that separates the personal space inside the house from the external ... |
DIY drywall ceiling
As a rule, when it comes to the need to form a high -quality presentable surface above its head in one or more rooms, the absolute majority of drywall comes to mind. And this, indeed, is a good option, given that the cost of the material itself is not just called the tongue. True, the price that construction organizations are requested for the installation of such a design immediately crosses out apparent benefits. Stop! Why not build it with your own hands? Moreover, it is not at all difficult.
Content:
- Drywall ceilings and their advantages
- Preliminary work
- TECHOL TELIVERY TECHANTING HIPSON
- Finish - all in your hands
Drywall ceilings and their advantages
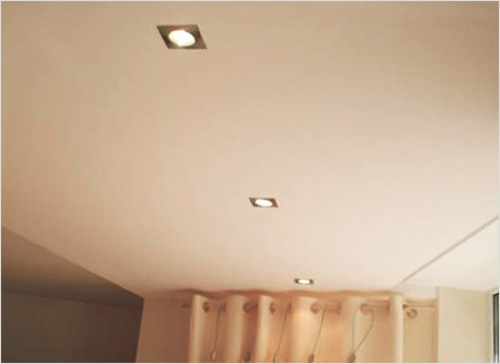
Plasterboard ceilings have a lot of undeniable advantages. First of all, this is an opportunity to hide all flaws (irregularities, cracks) of the corresponding area. In addition, it is convenient to hide communications (all kinds of wires) under drywall ceilings. This means that if you decide to experiment with the nature of the lighting in the destroyed room, the design of the GCL will not be an obstacle - the location of the lamps is now in your hands.
Such ceilings will become a worthy functional decoration of each room - even the bathroom. True, in the latter case, you will have to treat the material with a special water -repellent agent.
Preliminary work
Give the preparation of the maximum attention, since the miscalculations at this stage can cost you expensive: and lost time is only the smallest.
Planning
Without a clear plan, you should not start any repair actions. Start with the project, discuss it with relatives and with specific people who will live in this room; and even your mother or grandmother, who are absolutely ignorant in matters of construction, they can have their own design preferences, which, perhaps, costs Listen). Decide on the number of levels - after all, the calculation of the material directly depends on this figure. Designate the design of the future ceiling, be sure to mark the places in which lighting devices will subsequently be.
Necessary tool and inventory
When installing GKL-Polokov, you will certainly need:
- bulgarian;
- scissors for metal;
- electrician;
- construction knife;
- punch;
- dawn for drywall;
- screwdriver;
- rasp;
- needle roller;
- square;
- level;
- rule;
- roulette;
- pencil;
- self-tapping screws, dowel-gvo;
- suspensions;
- profiles;
- well, of course, the GCL itself.
Preparation of the premises
If the installation of the ceiling structure is carried out in the already renovated room, then it is necessary to take out furniture, equipment, etc. from it - it is no secret that the ceiling finish with drywall implies a large amount of dust. The floor and everything that cannot be taken should be closed with a film.
TECHOL TELIVERY TECHANTING HIPSON
Now that all preliminary work is completed can be proceeded directly to the installation.
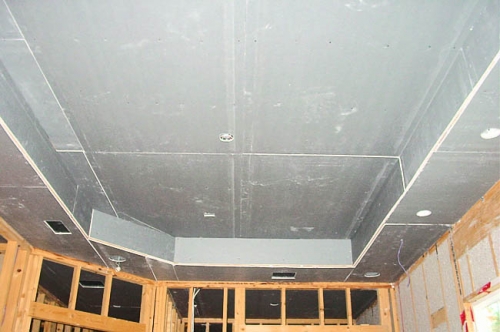
The easiest way, of course, to mount a single -level ceiling. First of all, it is necessary to mark for the guides of the entire structure - using a laser level, at a distance of about 20 centimeters from the ceiling (it is possible and less - it all depends on the number of communications). Having managed with the entire perimeter of the room, they are fixed with dowels, observing a step about half a meter.
Then proceed to mark the ceiling. Parallels for the supporting guides are planned with a pencil - the optimal distance between them should be slightly larger than half the length of the GKL. This is required so that subsequently in the gaps between the sheets it is possible to freely impose an anchor mixture.
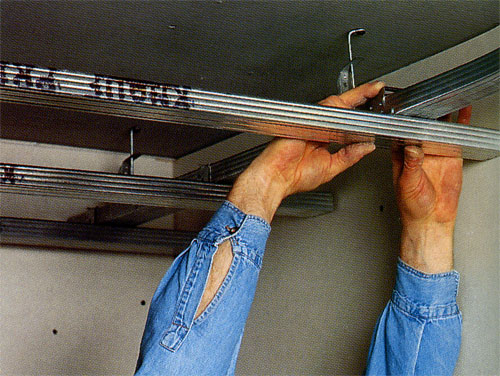
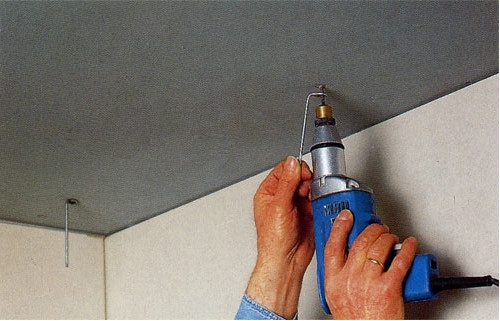
According to the lines obtained as a result of marking, the suspensions are attached to metal anchors (with a step of 40 centimeters).
The horizontality of the frame is checked using a laser. Now you should make markings for longitudinal profiles. Their fastening is made using special crabs.
When the frame is already completely ready, it is necessary to pull the entire wiring to its places and fix it with tape on the black ceiling to prevent it from knocking down or damage during work.
What finally the time has come for the sheathing itself. The sheets should first be chopped on the floor with a clerical knife or a jigsaw (for curved blanks). It’s not difficult to work with GCL at all - they made markings on the sheet, led out with a knife along the line, took up the cut off, broke it. If you carry out all preliminary manipulations correctly, drywall will burst exactly in a given place. This process partly resembles work with glass. The uneven edges, inevitably formed in the places of breakdown, should be leveled with a rashpil or a ruban.
To improve the waterproofing properties of the plasterboard structure, it is recommended to unrest each of the mounted elements before installation with a special composition.
The technology of finishing the ceiling with a drywall involves fastening the sheets to all (!) Installed profiles using metal screws. The recommended step is 20 centimeters. The gap between the sheets in a couple of millimeters is required.
Note! The hats of self -tapping screws can not be shed in any case! In order to accidentally happen, it is better to use a screwdriver with a screwing depth limiter.
After the entire frame turns out to be hidden under a new ceiling, it is necessary to carefully check the flatness of the resulting surface in all directions, if necessary, correct the flaws and cut holes for lighting devices.
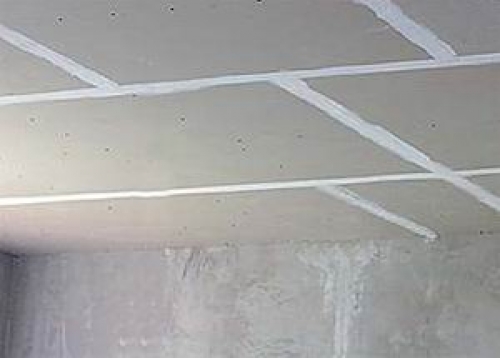
Do you think the dusty work ends on this? But not! Ahead of you will find putty ceiling. It is carried out in several stages. First of all, the joints between the sheets are closed. Remember, there are not enough to smear them - you must remain sure that the putty will not fall out of them in a week or a month. In order not to subsequently crush about the shortage, experts recommend using the strips of a reinforcing mesh or a special paper base to strengthen the seams.
How is the reinforcement process? The joints are filled with a layer of putty, a mesh is applied to it, followed by another layer of the product. The same processing should be subjected to gaps prudently left between the GCL and the wall. After drying, these areas must be treated with a small skin.
Do not ignore the places of unsuccessfully screwed self -tapping screws - and should also be thrown. If necessary, treat the entire ceiling with putty.
The completely dried surface is primed with special compounds.
The ceiling finish with drywall is completed.
Finish - all in your hands
With the ceiling prepared in this way, you can do the ceiling, as the soul wishes - drywall can be done with wallpaper or use it as a base for adhesive ceilings, because the cardboard surface of the GCL is undoubtedly a reliable basis for any adhesive composition.
But most often, the finishing of the ceiling made of drywall is painting. For these purposes, almost any tool can be used. If your choice fell on water -based paint, we strongly recommend that you pre -cover the ceiling with the thinnest layer of putty.


