Whatever reliable operational qualities, building materials may have, ...
|
|
The device of the domed house will give warmth and comfort in the winter season, freshness and ... |
The arrangement of plywood floor is primarily by strength and stability before ... |
How to update the old ceiling

Sometimes, in the process of internal cosmetic repair of an apartment or a suburban cottage, home masters notice that the ceiling coating has lost their original appearance and needs restoration. Sometimes the ceiling is still suitable for operation, but when you look at it, there is a desire to give it a presentation, in the process of which it is not necessary to resort to ultramodern methods. To the question: how to update the old ceiling? There is no exact answer, since the algorithm for the repair of the ceiling coating depends on the type of design, the degree of its wear and premises in which it is located. In most cases, the renewal of the ceilings is carried out as part of the cosmetic repair of the room, however, there are situations when it is necessary to return the life only to the ceiling, making it even more attractive. There are several ways to repair the old ceiling, the peak of the relevance of which falls on different time intervals. These include gluing the ceiling with wallpaper, and the installation of foam tiles, and restoration with PVC panels and drywall, and more modern options for the arrangement of stretch and suspended ceilings. The choice of each of them depends on many factors, as well as the capabilities of homeowners who restore the ceiling coating. For all repair options, their technological features are characteristic, which will be considered in this article.
Content
- Preparation of the ceiling in the old house for repair: Procedure
- Painting and whitewashing the ceiling is an unlucking classic
- Adhesive or tile ceiling: repair features
- Arrangement of a stretch ceiling Universal repair method
Preparation of the ceiling in the old house for repair: Procedure
Do -it -yourself repair is impossible without preliminary measures that must be carried out before plaster and painting work.
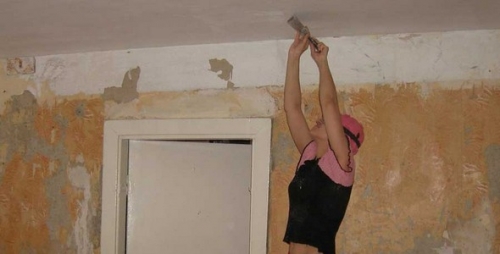
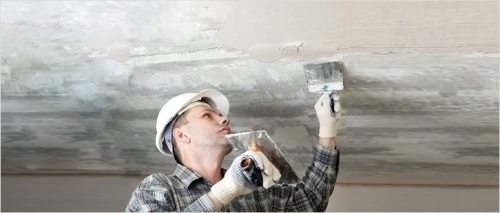
If the restored ceiling has previously been turned white, the following preparatory work must be done:
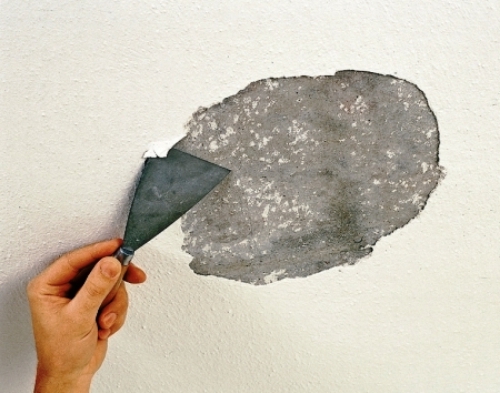
- To remove the old whitewash, a section of the ceiling with an area of \u200b\u200b1 square. meter must be moistened with warm water using a roller, brush or foam rubber;
- Leave until the water is absorbed, which will take no more than 3-4 minutes;
- Using a spatula, carefully clean the ceiling from chalk.
- If the ceiling surface in need of repair was previously painted with water -based paint, it is necessary to remove its residues as follows:
- First of all, it is necessary to moisturize the surface to be repaired;
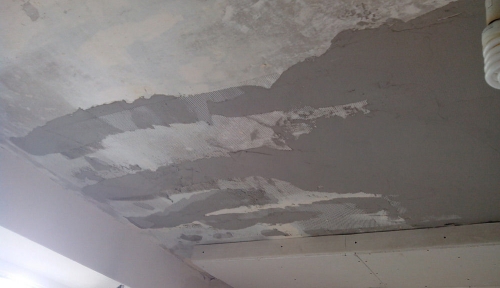
- In the presence of exfolved pieces and films of paint, remove them;
- In the plastered areas, where pieces of plaster are not strong enough, remove them.
- The next important stage of preparatory work is primed for the mounting surface. Often, masters neglect this stage, underestimating the significance of the primer, which helps to remove dust from the surface to be treated and increased adhesion between the concrete slab and the layer of plaster.
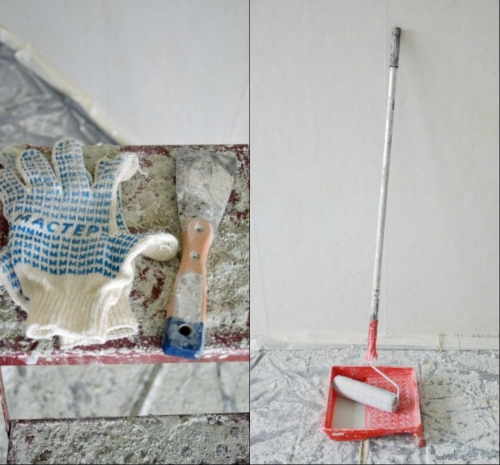
- To apply a primer, a roller, brush or spray gun is used. Experts recommend applying primitive compounds in two layers, after which it is necessary to wait for it to dry for an hour. Due to the fact that the primer is a transparent liquid, after its drying, problems may occur with detecting application defects. To solve this problem, experts recommend adding a small amount of tint to the primer.
Important! The modern construction market offers customers primer compositions of increased efficiency, but some of them contain PVA glue. To save money without prejudice to the effectiveness of the material, experts recommend purchasing PVA glue and dilute it with water, and in order for such an impromptu primer to acquire antiseptic properties, copper sulfates are added to it.
- The next step in preparatory measures before applying paint is putty and plastering.
- Deep cracks, irregularities and other flaws are filled with plaster solutions based on gypsum, which is much easier to work with ordinary cement plaster. An excellent example of such a composition is the plaster mixture of Rotband, produced by KNAUF, which is successfully used by many finishes.
- Having prepared the working solution, the largest potholes and cracks are closed, as well as cracks, both in the plates and between them. They are wetted with water and filled with a working solution. This event must be performed in several stages, since a large amount of wet plaster can slide, delivering a lot of troubles. After that, a general leveling of the ceiling is carried out, for which they take a rule on which a solution is applied with a small spatula and press it to the aligned surface, slightly pressing it and stretching along the direction to itself. This contributes to the rapid setting of the solution. Often, after the first application of the plaster, noticeable furrows and irregularities remain, which do not need to be immediately wiped, as this can lead to spoilage of the appearance of the ceiling surface. Due to the fact that it is still necessary to make the finish leveling of the surface, which will eliminate all existing defects.
- After the last layer of plaster is completely dry, it is necessary to grout the seams with sandpaper. Then the ceiling is cleaned of particles of plaster and wiped with a damp rag, after which a layer of primer is applied using a spray gun.
The final stage The finish alignment of the ceiling, involving several layers of putty, followed by grinding and primer of the final layer.
Important! Application of putty during the finish leveling of the ceiling is recommended to start from the wall adjacent to the one where the window is located. This contributes to the creation of a good review. It is not recommended to apply a layer of putty thicker than 5 mm, as this worsens its drying and contributes to the appearance of cracks.
Painting and whitewashing the ceiling is an unlucking classic
Floor whitewashing: main technological nuances
The whitewashing of old ceilings is a classic version of the repair that does not lose its relevance throughout its existence. Moreover, it is one of the most budgetary and simple ways to restore the ceiling surface, which can be carried out with your own hands. If you prefer this option, you should know the following nuances:
- If on the processed ceiling surface there are traces of the lesion with mold or fungus, it is necessary to clean it and smear it with an antifungal agent, waiting for its final drying;
- At the next stage, the priming of the treated surface is carried out using a primer characterized by deep penetration;
- To make the ceiling as smooth as possible, they are plastered and putting the surface. If the surface was quite even initially, it can be refused plastering;
- After the implementation of the above measures, you can proceed to staining the ceiling surface.
Painting of ceilings: the choice of materials and application technology
A more modern way of repairing the ceiling in the old house is the use of water -based paint, which replaced chalk and lime. There are several varieties of water -based paint, including acrylic, latex, and silicate all these types before use are subject to breeding water. The choice of a particular variety depends on the interior of the room, the taste preferences of the owner and his creative plan.
However, there is also the technical side of the issue that must be taken into account when choosing a water -based paint:
- Try to give preference to paint with great covering ability;
- If you plan to repair the ceilings in rooms with high humidity, choose the water paint, in all other cases you can give preference to the paint with conventional parameters;
- Experts recommend purchasing paint with a margin, since even in one batch can be paint with a slight tone difference, noticeable at the end of the repair.
Important! After drying, water -based paint becomes several tones lighter, which must also be taken into account during the repair process.
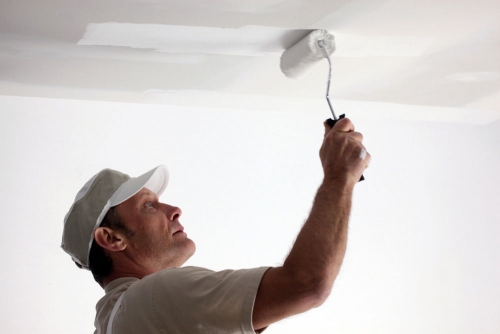
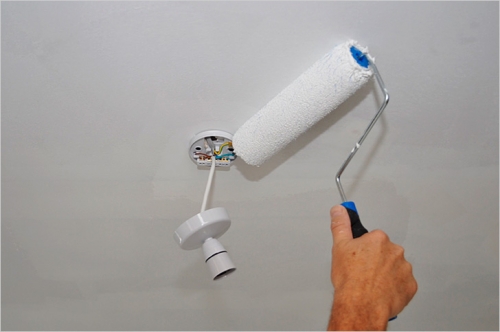
How to paint the old ceiling?
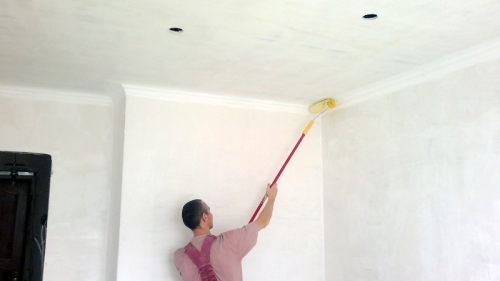
Experts do not recommend painting the ceiling on the old paint and, in this regard, before proceeding with the staining of the old ceiling, it is necessary to clean it from whitewashing or paint. If the first is removed only by mechanically (the surface is wetted with water using a painting roller and, using a spatula, remove the whitewashing), then the second removal can be carried out in several ways.
- Mechanically, involving the removal of paint with a spatula or a metal brush;
- A chemical way, the essence of which is to use a special solvent to remove paint. After surface processing with this composition, the paint will easily move away from the ceiling surface.
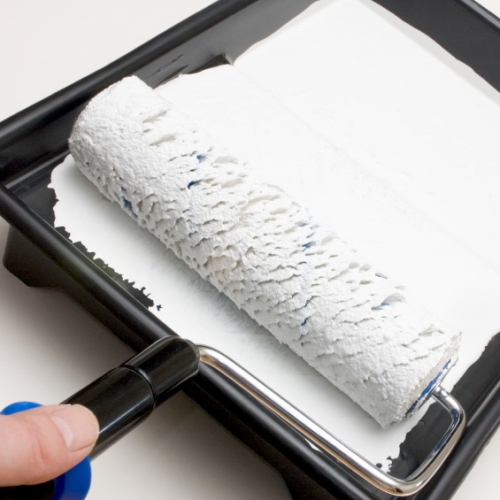
- Before opening a can of paint, it must be shaken and, opening, mix again;
- Pour a small amount of paint into the bath, which will prevent its premature drying;
- Remote the angles with a brush. The width of the layering should be at least 5-6 cm;
- Touching the roller slightly to the surface of the paint and leaving it along the bath, dial it with a small amount;
- Remove the excess paint and, making W-shaped movements, make several rolls with a roller;
- After a small amount of paint remains on the roller, making light movements, take them on the painted surface, which will remove the sinks and paint the remaining stripes;
- When after applying the first layer of paint it passes for 12 hours, you can start applying the second layer and waiting for its drying to make sure that there is no need to apply a third, finish layer.
Disadvantages of painted ceilings:
- The main drawback of painted ceilings is moisture permeability, in connection with which, it will have to be periodic tinting;
- If the ceilings are painted in a recently built house, there is a high probability of cracks on the ceiling during the shrinkage of the construction.
Repair of the old ceiling photo
Adhesive or tile ceiling: repair features
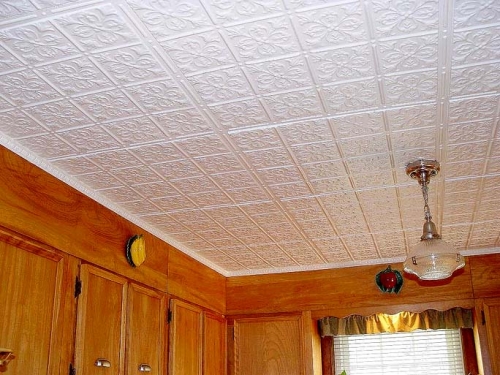
How else to update the old ceiling? One of the current methods is the use of ceiling tiles characterized by various texture and made of polystyrene, polyurethane and other famous polymers.
Tile or so -called adhesive ceiling is characterized by a number of advantages:
- Due to the fact that the construction market offers a large number of varieties of ceiling tiles, you can design the interior of the room in any stylistic and color solutions;
- The arrangement of the tile ceiling is one of the most budget repairs, which is due to the democratic cost of the material used;
- The preparation of the surface for the arrangement of the tile ceiling does not have specific features and involves the performance of a standard set of actions: stripping, leveling, putty;
- The adhesive ceiling has moisture resistance, and therefore, can be equipped in rooms with high humidity.
Important!It is not recommended to install the tile ceiling in the bedrooms, since it is necessary to carry out frequent ventilation of the rooms with tiles.
Plastic tiles are unpretentious in care, and is easy to clean and washed, however, situations often arise when there is a deformation of individual tile elements, and therefore, they need mandatory replacement.
Important!Before starting updating the tile ceiling, it is important to remember that the tiles of not all varieties can be painted.
- If the ceiling tile you use is made of plastic, which is not designed for processing with coloring compounds, the only way out in this case is a partial or complete replacement of the damaged tile element.
- Foam tiles can be stained, which is carried out in the same way as painting a concrete or drywall ceiling. The only thing that does not need to be carried out in this case is plastering and alignment of the tile surface.
Important!For staining tiles made of foam, it is recommended to use water -based paints that do not leave stains and contribute to the creation of a flat and smooth surface. The application of paint is carried out with the help of a brush, since the painting roller can deform the tile.
Important!For staining ceiling tiles, the perfect option is the use of water -dispersive dye. If the tile is laid with rhombuses or squares of contrasting shades, their coloring must be carefully done with a thin brush.
Arrangement of a stretch ceiling Universal repair method
The arrangement of a stretch ceiling cannot be called a budget option, however, it is not the most expensive. At least 10-15 thousand will require the installation of a stretch ceiling, which is explained by the inability to carry out installation with their own hands and the need to attract specialists, in the arsenal of which there are specialized tools (heat gun).
Advantages of a stretch ceiling:
- Aesthetic appearance, quick installation and the lack of the need for efforts from the hosts;
- Due to the moisture resistance of stretch ceilings, it is recommended to install them in rooms where leaks are possible.
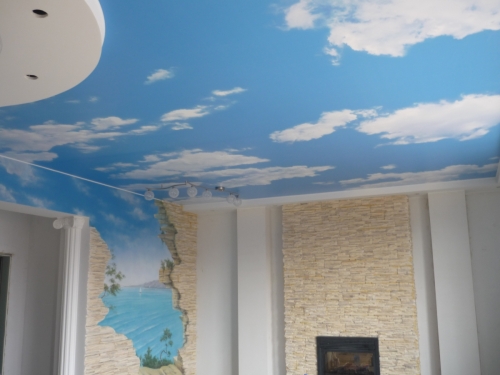
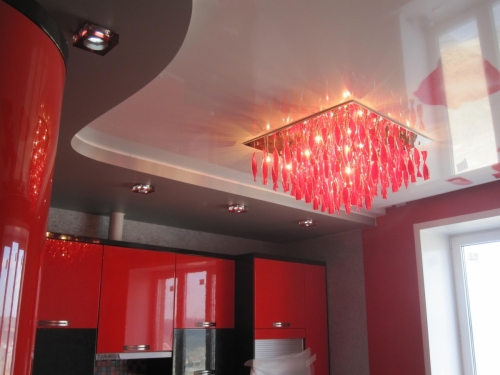
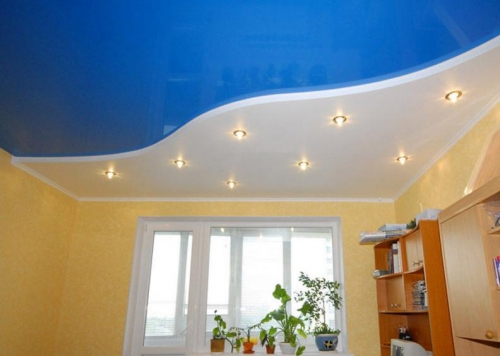
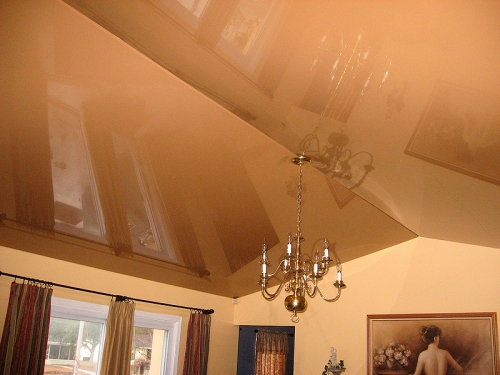
The stretch ceiling is a canvas made of polymer materials, which is pulled and fixed using special fasteners. The ceiling canvas can be both glossy and matte, and modern production capabilities made it possible to manufacture a stretch ceiling with a pattern.
In short, the installation of a stretch ceiling looks as follows:
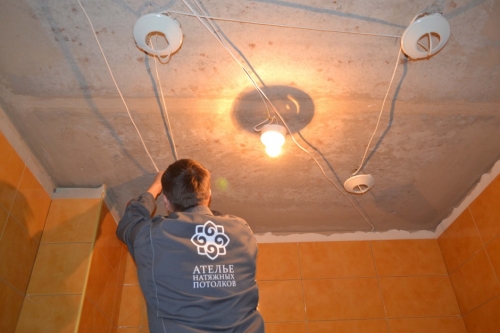
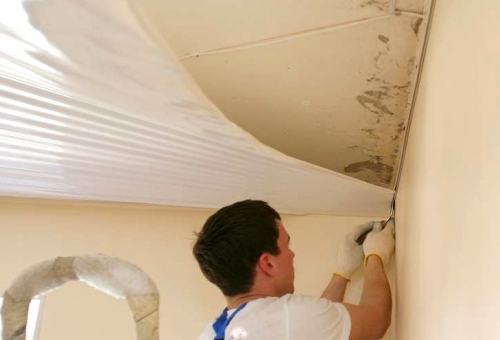
- Along the perimeter of the room, special fasteners of baguettes are installed;
- Using a heat gun, the canvases are heated, as a result of which it acquires elasticity;
- With the help of a special tool resembling a spatula, the canvas is seasoned with fasteners around the perimeter of the ceiling;
- After cooling the material, it acquires the necessary strength and is evenly pulled, without forming folds. After the installation of the stretch ceiling is finished, the holes necessary for the installation of lighting devices are made in the canvas.
During the operation of a stretch ceiling, situations arise when it needs to be repaired, which involves the correction of defects and breaks. To make such situations as rare as possible or, if possible, to avoid repair, during the operation of the stretch ceiling, it is necessary to adhere to the following rules:
- It is necessary to avoid the heating of the ceiling above 70 degrees, as this can cause the melting of the edges that hold its surface, which leads to sagging and ruptures of the canvas;
- It is impossible to allow a temperature below 0 degrees (in winter it is not recommended to abuse the ventilation of the room). This is due to the crystallization of the material at low temperatures, which causes breaks of the canvas;
- It is necessary to avoid contact of the canvas with sharp objects, since in cases of damage to the stretch ceiling with acute objects, the repair is a mandatory event;
- If in the case of leaks of the stretch ceiling, the weight of cold water can stand, then hot water will lead to ruptures of the canvas.
- In most cases, spoiled stretch ceilings are subject to replacement, but situations arise when timely partial repair can prevent the complete replacement of the canvas.
Cuts and tears of the canvas of the stretch ceiling
Despite the fact that the canvas of the stretch ceiling is characterized by sufficient strength, it is impossible to exclude its cuts and punctures.
The canvas made of PVC film is practically not amenable to independent repair, however, if a small break, you can carefully seal it with your own hands;
If ruptures of significant sizes, partial repair of the canvas is inappropriate.
In the case of ruptures of the canvas of a seamless ceiling made on a fabric basis, the following can be undertaken:
- Using a piece of glass -wallpaper or tissue tape, carefully sealed the existing gap;
- After that, a paint is applied to the cut, the color of which is similar to the color of the stretch ceiling;
- If a section of small sizes, you can try to sew it with kapron threads to the color of the canvas and tint it, which will make the seam almost invisible.
Ceiling leakage: elimination methods
If a stretch ceiling is equipped in your room, you will most likely be able to avoid flooding of furniture and other items of the situation, as well as it will be possible to avoid damage to the walls, which is due to the unique ability of the stretch fabric to withstand the weight of the water without breaking through.
In case of flooding to prevent damage to the ceiling, it is necessary to act especially carefully and follow the recommendations of specialists:
- First of all, it is necessary to drain accumulated water to prevent the ceiling deformation. For this, the dismantling of one of the angles of the ceiling is carried out;
- After you have leaked water, you must carefully dry the canvas and tuck it into the baguette using a heat gun;
- Also, drainage of water can be carried out by making a small hole in the film of the stretch ceiling.
- If the weight of the water that has accumulated during the leakage of the ceiling exceeded the established norm, most likely, the baguettes from the walls will occur, which may be associated with the inaccuracies allowed during the installation process. Most installation companies consider the ceiling leakage to be a warranty case, and therefore, you do not need to worry about the consequences.
Important!If you are faced with a leak of the ceiling, check the temperature of the water: if it is cold, then after drying the canvas it will not change its operational properties, and if hot, it will most likely stretch, and therefore, partial repairs will not be possible.
Slowing the canvas can occur if its operational period exceeded 10 years, or during its installation, the canvas was stretched unevenly. The effect of high temperatures can also cause sagging of the canvas. Method for eliminating this defect, clipping.
Repair of the old ceiling video



there is an interesting article -
there is an interesting article-http: //etodom.com/remont/kak-sdelt-potolok-v-komnate-svoimi-rukami-uch ... about how to make a ceiling yourself. It turns out in this matter there are many nuances, such as taking into account the height of the ceiling, humidity in the room, etc.