The installation of the gate in the country allows you to provide reliable protection of the main building from ...
|
|
The tradition of covering the living room with carpets seems to have gone the past, because it appeared ... |
In a modern city, it is difficult to imagine roads, the territory of organizations and enterprises, ... |
DIY floors replacement
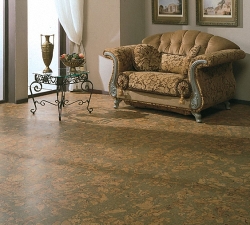
If the old floor is not amenable to restoration, then there is only one way out - its replacement. This process requires a considerable amount of time and physical effort. However, as a result, a new flooring is obtained, which will last its owners for more than a dozen years. We will consider how to replace the floors with your own hands.
Table of contents:
- Features of the replacement of a wooden floor
- Redevelopment, floor replacement: initial stage
- Replacing the old sexes: preparation of the base
- Replacing the wooden floor with concrete: arrangement of screed
- Replacing floors in a wooden house: arranging a screed with expanded clay
- DIY floor replacement in the apartment: Features of the construction of the screed
- Flooring: dry screed arrangement
Features of the replacement of a wooden floor
If the old floor is not amenable to restoration, then there is only one way out - its replacement. This process requires a considerable amount of time and physical effort. However, as a result, a new flooring is obtained, which will last its owners for a long period of time. We will talk about how to replace the floors with our own hands further.

If the old wooden floor constantly creaks and causes discomfort while walking along it, then you should take care of its replacement. The procedure for measuring a wooden floor consists of several stages, the first of which involves dismantling the old flooring.
To do this, you should prepare a special tool with which it will be possible to get rid of the old boards. It is best to use Fomka or installation. These elements have the form of steel scrap, which is characterized by the presence of a bent edge on one side of the bent to a small lever. It is with its help that the dismantling of the boards is carried out quickly enough. Keep in mind that before removing the old coating, you should carefully inspect the floor for the presence of communication channels so as not to damage the wiring, pipes or ventilation system.
The time to perform this process depends on the wear of the boards, if the floor is quite old, then it will not be difficult to remove the boards. If, but the flooring is quite strong, then for it, it should be carefully dismantled.
All garbage, boards, lags, if any, should be removed and removed from the room. Thus, you get an even base, most often from sand or soil. The option is possible on the floor of an old screed that has certain defects, slopes and irregularities.
For the manufacture of a high -quality new sex, the old flooring should be completely dismantled. The field of cleaning of the floor of the floor, it should be aligned or filled with a new screed.
Before this, the floor must be treated with a primer that will improve concrete adhesion with the surface and have an antiseptic effect. Further, with the help of bitumen mastic, waterproofing work on flooring is carried out.
Keep in mind, proceed to the next stage of work exclusively after the bitumen mastic is completely dried. In addition, it is possible to carry out additional waterproofing work in the form of laying additional flexible waterproofing. It will help to qualitatively protect the room from moisture.
After the rolling and laying of roller material, all its butt areas are processed using the same mastic, on a bitumen basis.
In order to reduce the amount of concrete solution to arrange the screed, work should be done to warm the new sex. In addition, the insulation is able to protect the room from extraneous sounds from below, for example, if the floor is built in an apartment in a high -rise building. In addition, such a floor will be warmer and safe.
As thermal insulation material, slab insulation in the form of mineral or basalt wool, foam, etc. is used.
Next, the beacons are installed on which the reinforcing mesh will be recorded. Its installation is carried out by welding the rods between themselves or binding them using wire.

After fixing the reinforcing mesh, the solution is prepared and the concrete screed of the floor. For these purposes, we recommend ordering a concrete solution of factory preparation, since its quality is much higher than that of a regular solution prepared at home. In addition, it is possible to use self -leveling mixtures that allow you to make a high -quality floor screed. In order to calculate the amount of solution, in the process of arranging the screed, you should calculate the length and width of the room, as well as the height of the screed, change all these indicators with each other and you get the amount of solution in cubic meters. For example, if it is planned to equip a screed in a room, the length of which is 4 m and the width is 2 m, while the thickness of the screed is 5 cm, that is, 0.05 m, it follows 4x2x0.05 \u003d 0.4 cubic meters of the solution.
Next, the solution is laid to the floor surface, its alignment. After that, you should wait at least 4 weeks before the screed hardens. In order for the floor to be perfectly even used, a self -leveling mixture is used, which is laid after drying the concrete screed. After drying it, the floor is ready for finishing, laying linoleum, laminate, parquet, installation of lag, black floor or tiles. The finish option is completely dependent on the preferences of the owners of the room.
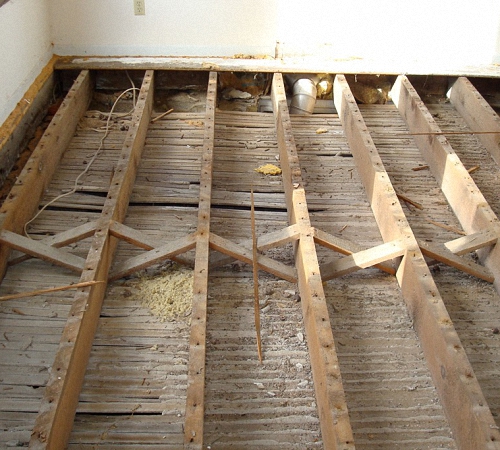
Redevelopment, floor replacement: initial stage
There are many reasons that provoke the replacement of the floor in the apartment or in a private house. This is the wear of the old flooring, the repair, the discrepancy between the floor with the general style of the interior, etc.
The process of replacing the floor and the complexity of its execution directly depends on the type of flooring. The first and very important stage in the replacement of any gender is the installation of the old flooring.
We offer to familiarize yourself with the procedure for its implementation using the example of different floors in material:
1. Paul made of wood.
The process of dismantling the old wooden floor is the simplest, since it will require only an ax, a hammer, a screwdriver and mount. In addition, an electric jigsaw or saw may be required.
All work is carried out in the following sequence:
- First, the skirting boards installed around the perimeter of the room are dismantled;
- If it is planned to re -use the boards, then the procedure for their dismantling should be extremely neat, with the help of a guard, the fasteners are removed, and if the fixation of the boards was carried out using screws, then in this case, you can not do without a screwdriver;
- If the boards are too worn out and unsuitable for further use, a saw, mount and a jigsaw are used to dismantle them, as the boards are dismantled, take them out of the room so that garbage does not accumulate in it;
- Next, you should dismantle the lags, keep in mind that they are most often attached too much to the old floor, so in the process of dismantling them, show special caution;
- After removing the entire coating, take in the room and get rid of excess garbage.
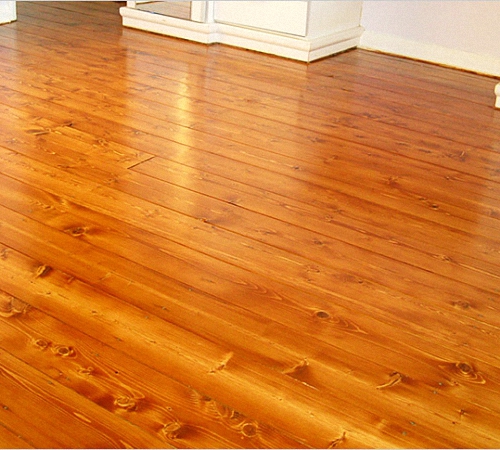
2. Replacing floors made of concrete is a more complex process. The dismantling of the old concrete floor is carried out very rarely, since in most cases, such a floor is only restored using special repair trains.
However, if the old coating does not lend itself to repair, it contains a large number of abrupts, cracks, then it should be replaced. In addition, the old screed often has on its surface the cluster of the fungus and mold, which adversely affect the health of the residents of the house. This is one of the first reasons for her dismantling. Another reason for replacing the concrete screed is the presence of too low ceilings in the room, and it is precisely replacing the screed that helps to solve this problem. Thus, it is possible to reduce the thickness of the screed using sound and heat-insulating materials.
In order to quickly and quickly remove the screed, it is recommended to use a punch, it is with its help that it is possible to partially remove the screed.
After the screed is removed, you should remove in the room and get rid of excess garbage formed in the process of these work.
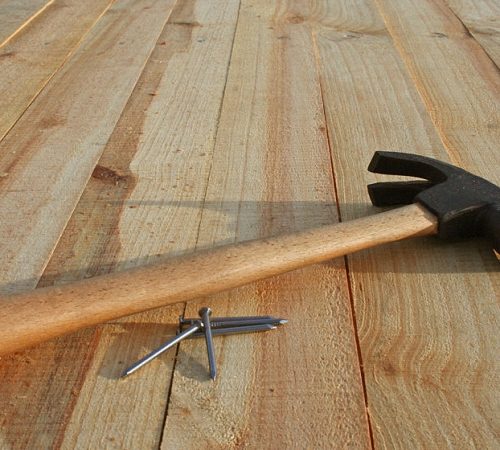
Replacing the old sexes: preparation of the base
To improve the quality of laying a new gender, you should carefully prepare the base for its installation. To do this, it is recommended to perform a number of actions:
- Clean the base of the dust as thoroughly as possible, thus, it will be possible to detect on the floor, small defects in the form of cracks, chips, holes or cracks;
- If any, you should take care of their location with the help of special compositions, since these areas will significantly worsen the heat and sound insulation of the room;
- For these purposes, installation foam is used, a solution based on cement or sealant;
- The choice of one or another composition determines the type of defect, its value and quality of damage;
- If a fungus or mold is observed on the surface, then these areas are treated using a special antiseptic;
- After the base has dried, the base is prepared, this stage of work depends on what type of finish coating is chosen for the floor;
- please note that if after the deformation of the old concrete floor, it is necessary to install a floor of wood, then the arrangement of a new small concrete screed will still be required.
Replacing the wooden floor with concrete: arrangement of screed
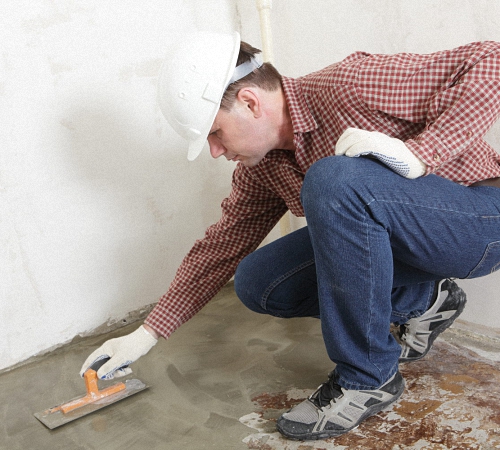
Instructions for the manufacture of concrete screed:
- Using a bulk coating, it is possible to hide small surface defects, if they were present on the floor, for these purposes you will need to purchase a ready -made dry construction mixture, which will have a self -leveling effect;
- Please note that all work should be carried out in accordance with the instructions indicated on the package;
- After the solution is ready, it is applied and aligned on the floor surface, in order to distribute the composition, it is necessary to apply a wide spatula, and with the help of a needle roller it will be possible to get rid of excess air;
- The floor, aligned in this way, should be left until the composition is completely dry, since it should gain the desired strength.
After the floor dries, the following work is carried out:
- installation of insulation and installation of the main flooring;
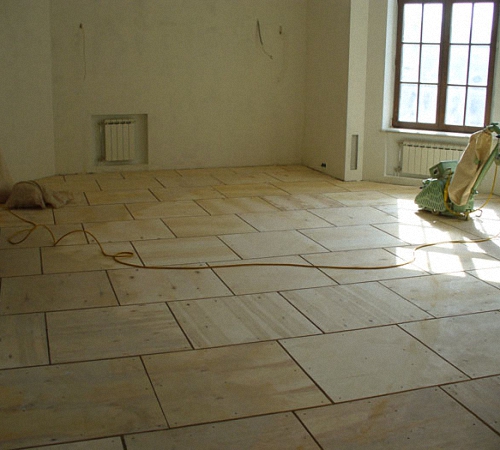
- arrangement of plywood black floor;
- installation of a wooden floor.
Replacing floors in a wooden house: arranging a screed with expanded clay
Another option for arranging the screed in the process of replacing floors in the house is the arrangement of the floor with expanded clay. This material is distinguished by good heat and soundproofing characteristics. Also, expanded clay is a fairly light material that does not load the building, especially relevant for apartments or floor insulation on the second floor.
The construction of a screed with expanded clay requires the performance of such actions:
- If it is planned to arrange the screed on the ground floor located above the basement, then a number of works aimed at arranging waterproofing should first be carried out;
- There are several ways to perform this process: flooring, plaster, casting, pasting using special materials;
- Keep in mind that waterproofing should be applied not only to the floor, but also to the wall, which are in contact with the floor;
- On the prepared surface, a waterproofing roll material is laid, it goes 21-25 cm to the walls of the walls, and the joints between the sheets are 10-15 cm, a special adhesive tape is used to connect the joints;
- A damper tape is installed on the film, along the perimeter of the room, with its help, even with significant temperature changes, the screed will not lose its strength;
- On a film, beacons are installed, which are mounted in accordance with the level, it is recommended to use the concrete composition for their fixation;
- Lighthouses must have such a height that it compensates for the height of the screed from expanded clay and concrete;
- Next, expanded clay, which should be thoroughly tamped. After that, expanded clay, poured with a concrete composition, which is leveled in relation to previously installed beacons;
- After drying the screed and its small shrinkage, it is recommended to apply a small layer of self -leveling solution, which will give it the perfect appearance;
- On this type of design, finishing material of any type is laid.
Replacing floors Laminat photo:
DIY floor replacement in the apartment: Features of the construction of the screed
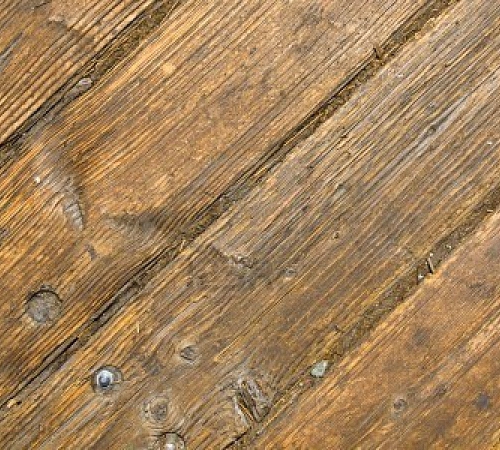
Another option for making the screed screed in the apartment, a screed without insulation. This type of screed is also used in the process of installing a wooden floor on it.
To make this type of screed, perform a number of actions:
- on the main floor, lay the waterproofing material in the form of a film made of polyethylene;
- Along the perimeter of the room, stick a dampfer ribbon;
- Place a mesh of metal or fiberglass for waterproofing;
- Install the beacons that will help make the screed as smooth as possible;
- Pour a concrete solution and smooth it on the surface using the rule;
- The maturation time of this type of screed is 3-4 weeks.
Next, lags are laid on the screed and wooden floor is mounted.
Flooring: dry screed arrangement
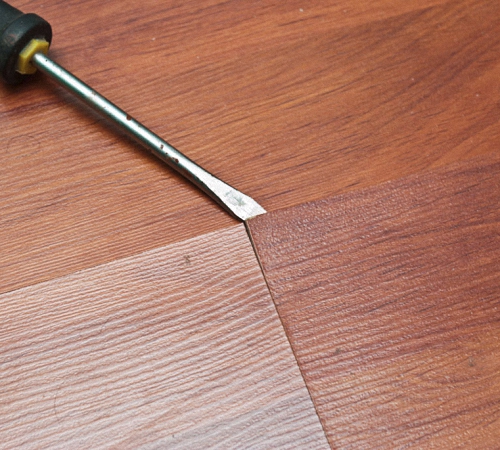
Another option for the restoration of the floor is a dry screed. For its manufacture, it will not be necessary to use wet concrete solutions, but sufficiently dry materials that level the base of the floor. Most often, this type of screed is equipped in an apartment. In order to replace the floor covering using a dry screed, a number of actions should be performed:
1. Cover waterproofing in the form of a plastic film to the floor. Try to lay it with a margin near the walls and with an overlap in the butt areas.
2. In the doorway, put a limiter in the form of a wooden board, which will help prevent the rash of dry composition from the room.
3. Take care of the tight preparation of pour to the floor surface.
4. Next, lightaks are installed on the base of the waterproofing film. In accordance with the lighthouses, the screening will be stuffed.
5. Keep in mind that the beacons should not be fixed on the floor, since after the screed equipment they must be removed. To check the evenness of the beacons, use the construction level.
6. Pour the material in the form of a filler to the surface of the film, for example, expanded clay. Using the rule, align a dry mixture.
7. Special plates based on fiberglass are laid on the surface. Thus, a dense base is obtained. To glue the plates, the presence of glue and self -tapping screws will be required.
Replacing floors of video:
