Of course, not every real estate owner can afford to equip the ceiling from ...
|
|
Humanity has been trying to find ways to reduce for several decades ... |
When building a house, it is important to choose a material that can combine in yourself as ... |
Taking the concrete floor with your own hands

Regardless of the finish coating in your house or apartment, it is necessary for a high -quality even base. Very often this is the concrete floor. In many new buildings, as in the secondary housing market, the quality of the main concrete floor wants to be better. The difference in height can be 5-10 cm, sometimes more. Let's look at how to align the concrete floor and spend the minimum effort and means.
Table of contents
Determination of the zero point and floor marking
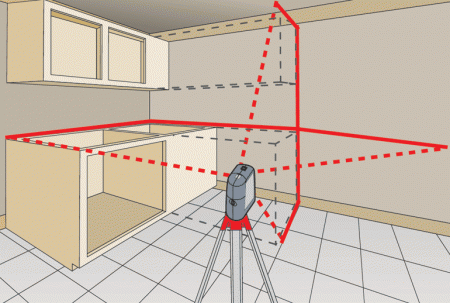
Before any method, leveling the concrete floor is necessary to carry out measuring work. In this case, you can use a long level of 2 m or more or a water level, but it is still better to use a laser aspect builder. It automatically leases, and in the horizon mode will create an even strict horizontal plane.
After that, using the ruler or roulette, measuring the entire room around the perimeter and calculate the minimum distance to the floor from the horizon. It is this point that will be a zero point of your gender.
If you have a panel house, you need to take measurements only around the perimeter. In this case, the factory -made panel is even and in the middle there cannot be a tubercle or influx. If your house is built using monolithic-frame construction technology, it is advisable to take several measurements on the area of \u200b\u200bthe room. In this case, small waves are possible on the floor.
The floor is measured, the zero point is found. It came to choose a way of leveling the concrete floor. Technologically, there are several ways to align the concrete floor. The alignment method is selected depending on the height necessary for the floor extension. Consider them.
Methods of aligning the concrete floor
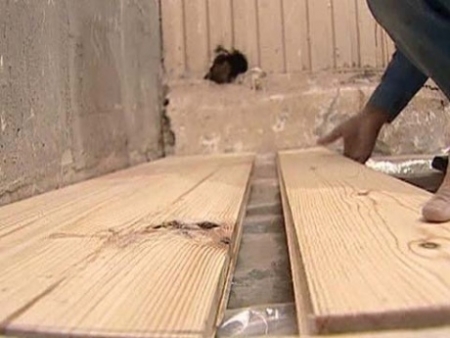
Paul on wooden adjustable lags
If the floor difference in the room with neighboring rooms will be 8-10 cm, it is easiest to align the floor with a wooden lag. This can often be found on the loggia, which must be attached to the apartment.
Basically, the floor on the lags serves as a black floor under the carpet, laminate or parquet, it must be equipped below for the thickness of the coating. If you install a dodgy board on the lags, it can serve as the main coating.
Before starting the installation of the lag, it is necessary to carefully clean the room and take out all the garbage.
A wooden beam 50x50mm or 50x70mm is installed as a lag. The height of the beam needs to be selected, given the height of the floor. If possible, the bars are installed in two rows. The first row is mounted on the concrete floor, the second row is the plane of the floor.
Installation begins with fastening of transverse lag to the concrete floor. Lags are recommended to be fixed with frame anchors with a length of at least 112mm. It should be noted that the depth of the hole should be 25-30mm more than the length of the mounting element. The first row of lag is installed with 40-60cm steps. Formation of the beam must be done every 60-70cm. The lag must be tightly pressed to the concrete base and fixed. There is no need to align in terms of level.
The installation of the second row of the lag must be made from the highest point. We fix the beam in this place and align it in level. Special mounting wedges are used as linings for the beam. For accurate and reliable fixation of the wedge beam, it is necessary to install on both sides. Then we install the beam from the opposite side and align it. We install intermediate lags with a step of 40-50cm. Installation of the floor frame is completed.
If desired, you can insulate the floor. Mineral wool, ecowata, polystyrene foam are used as insulation. It all depends on your choice. The frame is installed in the frame. It can be black or immediately finished with a finish coating.
As a finished floor, downstot boards are mounted on the lags. The coating is ready for the finish.
For the rough floor, you use plywood or chipboard. When installing sheets of coating, you should leave a gap between the wall and a sheet of 10-15mm, between the neighboring sheets of 2-3mm. This compensates for the linear expansion of the material with changes in humidity and temperature in the room.
It is not necessary to treat the beam with an antiseptic and impregnations in a city apartment above the first floor. After all, in order not to be approved by their manufacturers about the purity and environmental friendliness of these materials, they cannot be like that by nature. In a private house or the first floor, it is advisable to make impregnation, this will reduce the probability of a fungus and insects in conditions of high humidity.
The advantage of using the lag is a minimum weight of the floor in comparison with other types of alignment of the concrete floor, as well as the ability to mount the finishing floor immediately after laying the lag or black floor.
Dry screed
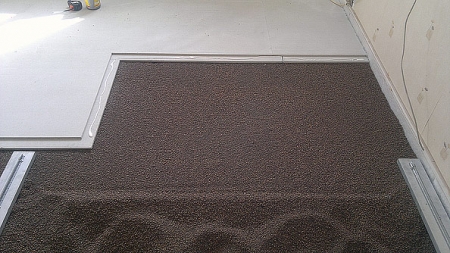
The material for laying dry screed is finely dispersed bulk material: sand, expanded clay fractions, slag, expanded clay sand. The material is leveled according to the beacons and the DHW plates (gypsum-fibrous slabs) or plywood sheets are laid on top. The simplicity and speed of installation, not completely freeing the room from the furniture occupied, the ability to level it in parts made this screed a good friend of the owners with a small budget repair. You can safely lay laminate, parquet, lay linoleum and carpet on sheets, lay the tiles.
It also allows local potholes and irregularities without much effort. The thickness of the screed is from 1-2mm to 25-30mm.
Cement-sand screed
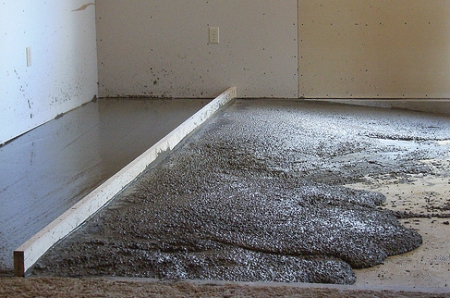
The material for the screed, as can be seen from the name, is a mixture of cement and sand sandbatton. When choosing a cement-sand screed, it should be remembered that the minimum coating thickness should be at least 30 mm. For greater thickness, up to 10cm, a clayamzite filler is added to the sand concrete. You can use any other filler to reduce the weight of the future screed.
The main disadvantage of the screed device is its prolonged drying, which is 28 days. It is after such a time that the concrete will give all the moisture and will be completely dry. Installation of the floor on a non -dried screed can lead to oversaturation with water and damage. The use of various additives and plasticizers reduces the time of drying the screed by several days.
Burning self -leveling floors
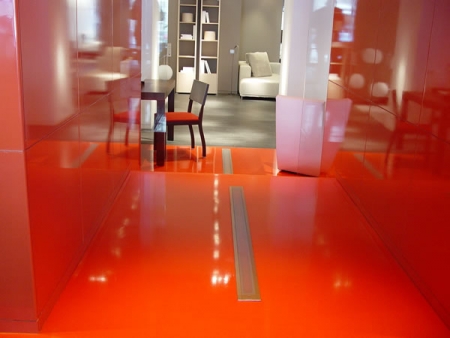
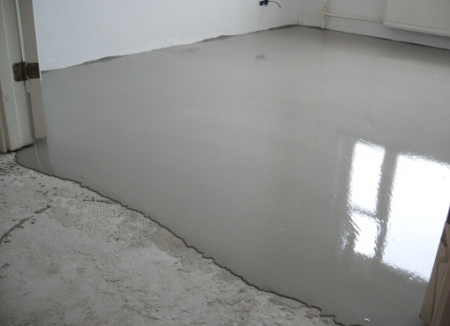
One of the latest types of flooring in the construction market is bulk self -leveling mixtures. They have great wear resistance, low chemical activity, tolerate temperature changes well, can be used as a finish coating.
Since this building material is expensive, so the thickness of the bulk floor is minimal and is 5-30mm. If you need to raise the floor height to a larger height, you need to combine a bulk floor with a cement-sand screed device. This will reduce the cost of filling the floor.
The bulk floor is produced using various plasticizers, this allows you to carry out final work on the installation of the floor in a day. The main types of bulk floors are:
- on cement knitting;
- on gypsum knitting;
- polymer (epoxy, epoxy polyurethane).
The device of the bulk floor will provide reliable concrete protection, provide an even and smooth surface for laying the finish coating.

