Ceramic tiles for wood are one of the most convenient materials for ...
|
|
To protect your house from the penetration of groundwater, damp, capillary water, ... |
In order to conduct supporting walls of the frame house, necessary... |
Laying plywood on the floor
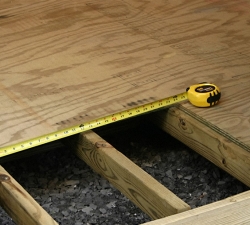
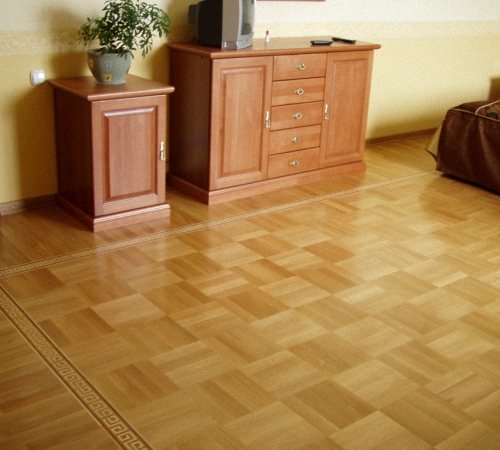
The floors in the room are most exposed to loads, but the impeccable surface is achieved by competent alignment during repair, including by laying plywood on the floor. The material is suitable for inexpensive repair, for laying under linoleum and carpet, under the parquet board, cork and warm floor, even with a decorative purpose, when it is laid out as a mosaic panel instead of a parquet.
Table of contents:
- Plywood properties and quality
- Varieties of plywood
- Preparation of plywood of improved quality
- Where to start laying plywood on the floor
- Preparation of surface and tool
- Cutting sheets and preparing the base
- Aligning the wooden floor with plywood
- Laying and fastening plywood on a wooden floor
- Basic rules for laying plywood on concrete floor
- Useful tips that will help increase the life
Plywood properties and quality
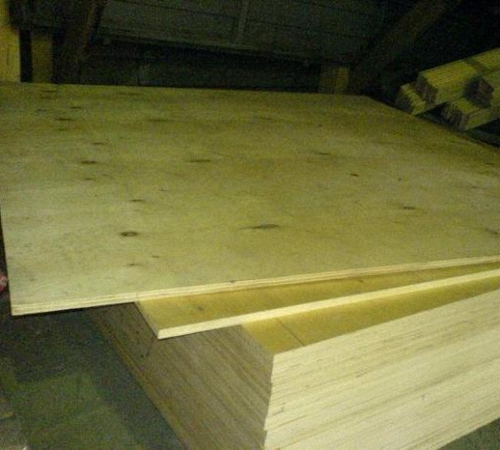
Plywood is a universal building material based on natural wood, suitable for the installation and repair of walls, floor, roof.
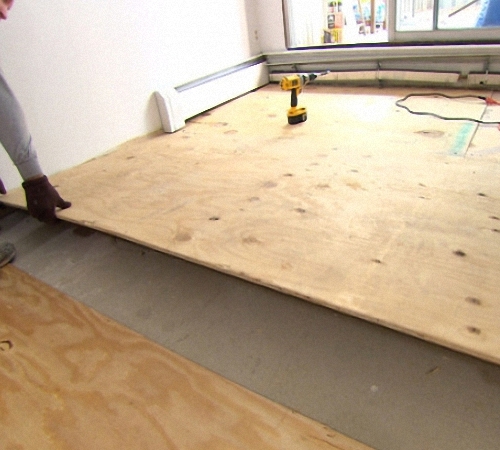
It is indispensable for leveling floors and other goals, but in each case of installation there are technological differences. For example, laying plywood on a concrete floor requires maximum alignment of the screed, and laying plywood on the old floor with deformations is easier to do directly on the lags, provided that high ceilings are done.
Laying is carried out in different ways:
- on the lags forming on the floor a leveling crate;
- on a fresh cement screed;
- on concrete floors;
- on top of the old plank floor.
Sheets of plywood consist of layers of wood veneer, where the fibers are glued perpendicular. The material was highly appreciated by the builders, as it has its advantages:
- environmental friendliness;
- strength;
- simplicity of cutting and styling;
- cheapness;
- reliability in operation;
- wear resistance;
- low weight and thickness;
- moisture resistance - in more expensive varieties;
- high density and hardness;
- relative fire resistance;
- sufficient wear resistance;
- lack of toxic odors;
- high availability of independent installation;
- convenience of transportation;
- long life.
When choosing plywood, you need to focus on its thickness under the carpet and linoleum thin sheets are suitable, and the parquet and laminate are laid on the plywood of about 8-10 mm. However, the faner is contraindicated:
- raw buildings with a sharp temperature difference and humidity above 75%;
- those places where plywood is laid on lags, with machines and a vibrating tool, quickly deform and become unusable;
- rooms where, under the false - floor, communications can be laid, which can lead to a breakthrough of the water supply and flooding;
- the premises where the electrical wire is laid under the floor, which can be exposed and lead to ignition.
Varieties of plywood
- NSh is not grinded, contains casein glue, the cheapest from 170 rubles/sq. M 12 mm thick, requires grinding with a skin before the flooring of other building materials.
- FC based on non -toxic carbamide resin without phenols, harmless and durable, is used in the nursery and bedrooms, quite waterproof, in quality resembles an aviation plywood of the BS.
- Sh1 on the basis of casein, goes for the draft floor, smooth on one side.
- Sh2 plywood of double grinding under a small load in dry rooms.
Mark SH1, Sh2, NS and FC are suitable for individual construction, and FSF increased water resistance, FB and FOF only for industrial installation.
Preparation of plywood of improved quality
1. If there is no need to quickly complete the repair, after purchase in the cold season, the plywood is better not known under what conditions it was stored in warehouses. It dries for 2-3 weeks vertically at room temperature, after which the plywood is treated with wood antiseptic-flicide and dried, ventilating the room.
2. The moisture resistance of plywood sheets is increased by impregnation with PVA -based putty, processing on both sides, dried vertically. However, it is not advisable to mount it on an open balcony and loggia, in the pantry and toilet, in the kitchen and in the bathroom.
3. The strength of the outer layer of plywood is increased by acrylic varnish in 2 layers, and the second is applied after the primary staining dries, then it is advisable to cover with a stain and lacam.
4. Plywood, like any wood, requires acclimatization in the place where it will be laid on the floor. The terms depend on the temperature difference and the total humidity in the room, even after a warm warehouse, it should get used to the apartment for 1-2 days horizontally.
Where to start laying plywood on the floor
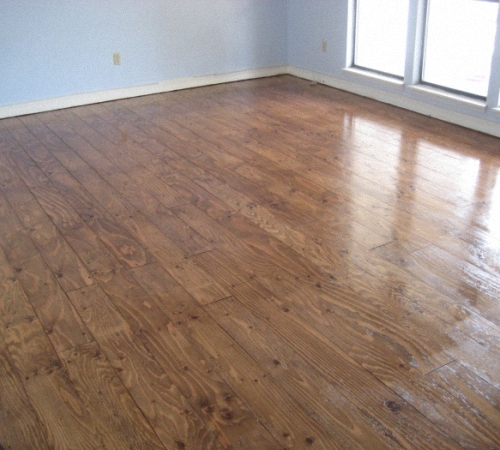
Check the moisture content of the floor in the room, catching a large area in the middle with a piece of plastic film, fixing with weights or slices and slightly lifting the bubble in the center will show condensate. If it appears in the room in the room very wet, then additional measures are needed for drying. Small drops over 3 days above the concrete floor are quite normal, but it needs to be covered with a waterproofing substrate, it is better to disassemble and dry the wooden floor. If the condensation of the ideal condition has not fallen in 5-7 days, and the plywood can be laid without fear.
Attention: it is not recommended to restore old -damp and moisture deformed from moisture with traces of mold, fungus or rot, where there are rodents and other serious defects. It is better to remove the old floor, find a moisture source and preserve it, dry and ventilate the room, bring humidity to normal and then make a flooring.
Preparation of surface and tool
The floors for laying leaf plywood are prepared in stages:
- preparation and cleaning of the old surface;
- waterproofing work;
- preparation of the basis for styling;
- alignment;
- measurement of the room and calculation of the floor area;
- preparation of the required tool;
- purchase of plywood itself, additional materials and components;
- sheet cutting, marking and numbering;
- laying plywood;
- grinding and additional processing.
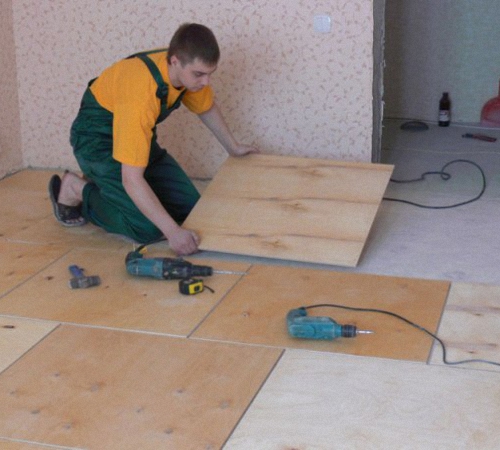
Necessary tools and materials:
- electrician for cutting sheets;
- vacuum cleaner for cleaning the surface;
- roller, primer;
- water level;
- roulette;
- t Rooted spatula;
- snow drill and screwdriver;
- plastic dowels and screws;
- grinding machine for finish processing.
To lay plywood, as a substrate for a decorative flooring, they prepare an absolutely even surface with a screed or self -leveling mixture so that laminate, parquet bars, carpet and linoleum lie down most smoothly. Such floors will be comfortable and warm. It is better to choose a moisture-resistant plywood 12-15 mm. When laying plywood on a wooden floor, glue may be needed, there are options:
- based on solvents, with self -tapping screws, it dries quickly, but ventilation is required;
- on a water basis, fastening of plywood with self -tapping screws is also required, glue is non -toxic, but dries for a long time;
- a practical two -component composition, dries quickly and does not require fastening with self -tapping screws and other methods.
- bustylate, mounting glue, liquid nails are also suitable.
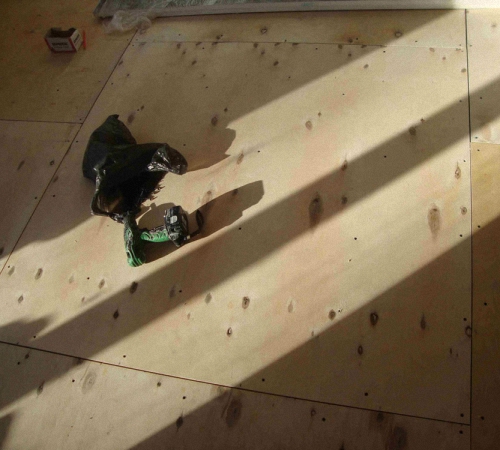
Cutting sheets and preparing the base
Cutting plywood depends on the floor area in the room and leveling the lag, the dimensions of the damper joints are also taken into account. To do this, leave a gap of 3-4 mm between the blanks and 1 cm at the wall to avoid swelling of the base at temperature differences. Concluding the cutting, check the ends of the workpieces so that there are no defects and stratification of plywood, a sheet with a defect is easier to replace, they are suitable for cutting.
Preparation of the base is pouring a self -leveling liquid, and if the concrete floor does not crumble, then it is simply vacuumed under styling and covered with a primer for adhesion. A fresh screed, if necessary, is made on an uneven old floor up to 3 cm.
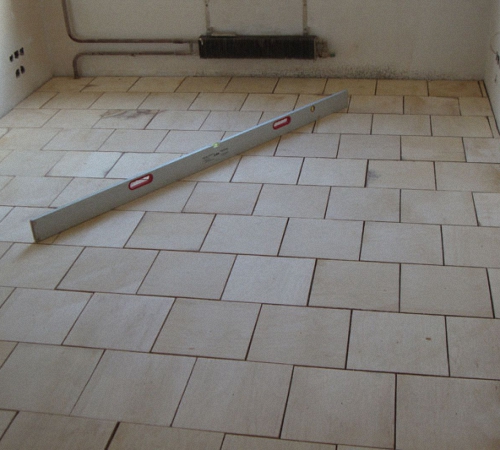
For convenience, cutting plywood can be marked with a side of 50-60 cm to the squares, it is so easier to prevent voids under the sheets and smooth out possible irregularities. Between the sheets the seams are made 0.8 cm, and at the walls up to 1.5-2 cm. The plywood is well cut by an electrician, laid on the prepared surface of the floor and is numbered, then removed until final installation.
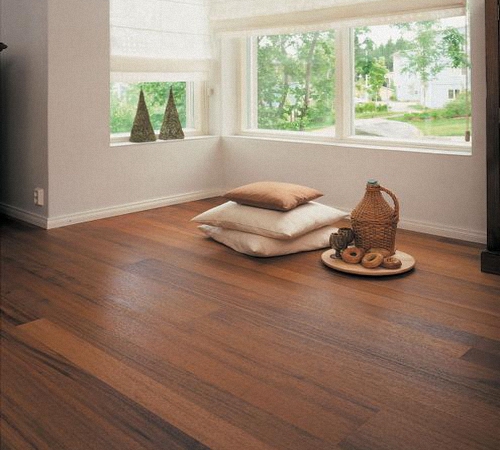
Aligning the wooden floor with plywood
Installation is carried out in compliance with the rules for laying plywood on the floor, and it is better to have experience of such work or get advice with styling masters, however, with skillful use of the inventory, watching the video and understanding the technology of laying plywood on the floor - this is not difficult to make in stages yourself.
1. With a slight irregularity of the floor, the maximum difference in surfaces is determined, small deviations are filled with a special substrate or self -leveling mixture. A difference of over 1 cm requires lags, which are exposed to a water level.
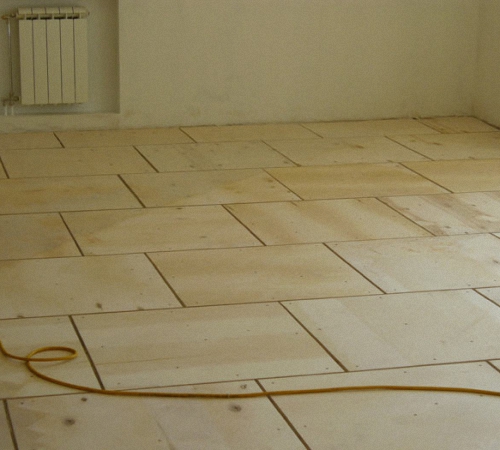
2. By laying sheets of plywood, try to place them so that there are no joints of 4 angles, it is better to mount like brickwork, that is, with a displacement. It is best to take FC plywood about 12-18 mm. The sheets are numbered and the blanks are removed so that when installation, we will not get confused with the cut, and the joints of plywood sheets are best placed in the middle of the lag.
3. Sometimes it is necessary to add a floor of greater strength to heavy furniture or aquarium, then the plywood is laid in 2 layers, additionally gluing, for example, PVA.
Lags are laid in compliance with the rules:
- The boards are suitable for ordinary, non -trudged, a hundredth that will pass acclimatization in the same room, after which the culling of the crumpled building material is done.
- The crate of the lags is attached with a step of 300-600 mm.
- The voids of the sections of the crate are filled with material for additional heat and noise insulation such as expanded clay.
- For draft floors, you can take a ready-made rogue sheet plywood of 12-20 mm squares 300x300 mm and a strip from 300x600 mm.
- You can use self -tapping screws with a secret head.
Laying and fastening plywood on a wooden floor
Upon completion of preliminary work, the plywood to the floor is attached to the lags according to the cutting scheme. Fastening is done using glue, dowels and screws. It is important to ensure that the plywood does not deform from the hammer and work with the tool. The holes are drilled with the diameter of the dowel, respectively, the hat is hidden there, and then the final stage of processing goes.
Under the carpet, laminate, parquet and linoleum, the plywood is polished and it should be additionally covered with protective varnish, it is advisable to lay a substrate on the absorption of noise on a plywood base. If the work is carried out technologically and carefully, the surface will come out even and aesthetic, and independent installation will cost you much cheaper.
Laying plywood on the floor of the video clearly shows its multifunctionality and accessibility of installation with your own hands if there is a suitable tool.
Basic rules for laying plywood on concrete floor
1. The floors should be clean and dry.
2. To increase waterproofing, a special substrate or a dense plastic film is suitable, it lifted the entire area of \u200b\u200bthe floor, fasten the seams with ordinary adhesive tape.
3. A large whole sheet can be put from the threshold, since there will be the maximum load, and the seams are undesirable.
4. Plywood sheets are raising, leaving a small gap.
5. It is difficult to nail the plywood to the concrete floor, so you can’t do without a perforator, it is necessary to drill a carbide drill.
6. Self -cuting hats slightly larger than the diameter of the drill so that it does not leave through the plywood.
7. Plastic dowels are inserted into drilled holes, which will enter the screws.
8. Plywood sheets are fixed in the center and around the perimeter.
9. Excessive length of the sheet is cut off by an electrician.
10. Upon completion of the installation, check if all the screws are drowned enough so as not to damage the upper flooring of linoleum, carpet or cork.
Useful tips that will help increase the life
1. The floor repair begins at the end of any wall decoration, ceiling and installation of carpentry.
2. Before starting installation, it is advisable to de -energize this room, the power tool is connected through an extension cord from another room.
3. It is important to monitor the level of humidity and avoid temperature difference, this will help to avoid wood deformations.
4. Do not forget to pre -treat the plywood sheets with an antifungal drug for wood, if there is a risk of humidity.
5. When laying draft plywood under linoleum and carpet, take into account that these materials have a soft and thin structure, under them all the irregularities are felt and visually noticeable.
