Everyone dreams of a house from a log house. Even those who do not admit this. After all...
|
|
Bitumen cheap waterproofing and adhesive material, which is often used in ... |
In the process of choosing what to build a house - a log, is quite popular ... |
DIY Parquet restoration
Among various flooring, a special place is occupied by parquet. This flooring is famous for its natural beauty and uniqueness. Unfortunately, like any other material, the parquet wears out and is damaged over time, losing its attractiveness. The complete replacement of this flooring is fraught with large costs in labor and finance. But due to the possibility of multiple wood processing, the restoration of parquet is possible. Such work requires certain skills and experience. But for those who know how to handle the instrument and love to do everything independently, can do it with their own hands.
- Tool and materials
- Restoring the surface of the parquet
- Restoration of damaged parquet planks
- Restoration of Parquet Video lesson
Depending on the nature of the damage, the restoration of the old parquet is conditionally divided into two categories. The first restoration of the surface. The second restoration of the Parquet dies. Comparing these types of work, the complexity of their implementation becomes obvious. So the restoration of the dies is much more complicated and requires more effort, in contrast to the restoration of the surface. Therefore, when going to do these work on your own for the first time, it must be understood that the first time it may not work. In this case, it is better to contact professional parqueters. But it should be immediately noted that the restoration of the parquet is evaluated quite highly. Of course, in resolving the issue of how much the restoration of the parquet costs, it all depends on the nature of the damage and the volume of work done. Having decided on the independent restoration of the parquet, you will have to be patient, since this work is very laborious.
Tool and materials
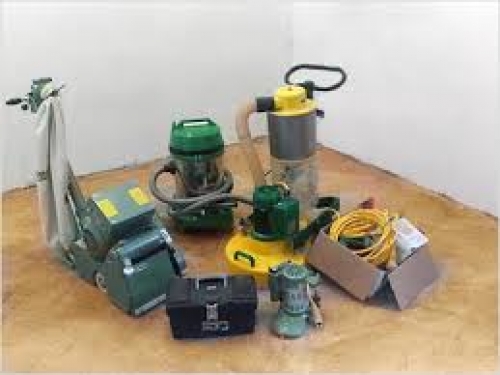
To carry out work on the restoration of the parquet, certain materials and a professional tool will be required, which can be bought, but its price is quite large. DIY parquet restoration work is rarely performed, and the tool itself will gather dust in the pantry all this time. Therefore, it will be more practical to rent it. List of used tool given below:
- cycle machine or ordinary cycle;
- grinder and a set of sandpaper of various grainness;
- industrial vacuum cleaner;
- chisel and hammer;
- drill and hacksaw;
- wide and narrow spatulas;
- roller or brushes;
- soft shoes, respirators and protective glasses.
To restore the parquet, the following will require materials:
- parquet dies to replace badly damaged;
- putty;
- glue for parquet;
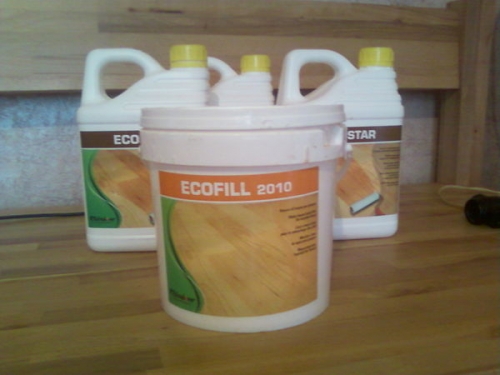
- varnish or mastic;
- morilka or oil.
By acquiring everything necessary, you can proceed to the restoration work itself, which boil down to restoring the surface and replacing or repairing the parquet planks themselves. This separation is due to complexity, labor intensity and cost of work. So with superficial restoration of the parquet, the cost will be about 10 15 cu For M2, and the amount of work itself is less.
Restoring the surface of the parquet
The restoration of the surface of the parquet implies the restoration of wood color, the elimination of scratches, chips, potholes and irregularities of the parquet. When performing surface restoration, it will not be necessary to disassemble the entire coating or part of it.
Parquet color restoration
The tree from time to time and aggressive environment darkens and loses its attractiveness. Therefore, from time to time, the color of the parquet has to be restored. This procedure is the simplest and does not require much effort. To restore the color of the parquet, you will need to do the following:
- first we remove the baseboard;
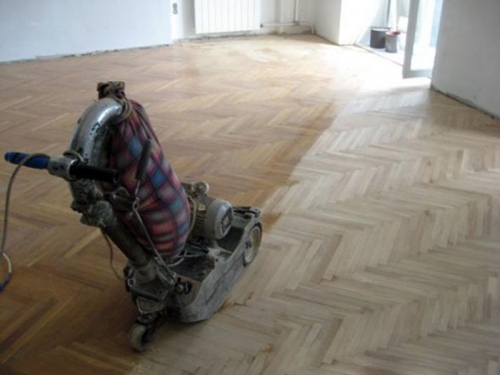
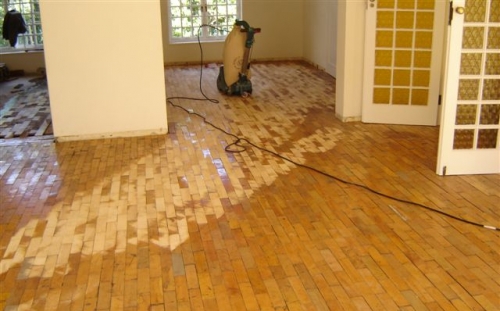
- using a cycle or grinding machine, remove the layer of old varnish. For hard -to -reach places, corner grinding machines are used. Also, the removal of the varnish coating is performed using an industrial hairdryer, which warms up the varnish and then removed with a spatula;
- after cleaning the varnish, we carefully vacuum the surface and examine it for other damage;
- if necessary, put the surface. If there is a desire to change the color, you can use a stain;
- if everything is in order, then again we take a grinder and sand a parquet with a sandpaper with small grain. The task is to eliminate the large roughnesses of parquets and clean their surface from darkened areas;
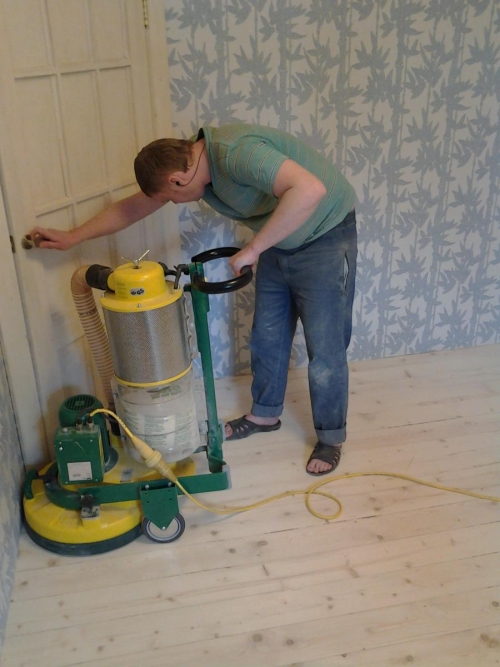
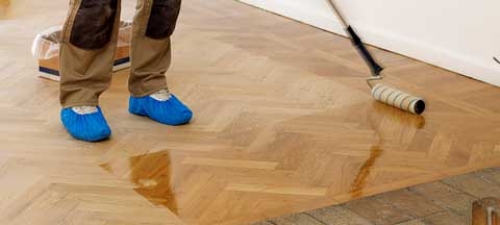
Important! Pi performing work on the restoration of parquet should be worn by soft shoes with boils dressed on top. During cleaning the surface of the parquet, the machine will be a lot of dust, so the protection of the eyes and respiratory tract will not be superfluous.
- at the end of the finish grinding, we take the vacuum cleaner and carry out thorough cleaning from dust residues. It is necessary to achieve perfect purity;
- after the surface of the parquet has been thoroughly sprinkled, the first primer layer of varnish can be applied. It is done with a brush or roller. After drying it, the surface is thoroughly thoroughly grinded again, but the next layer is already applied with zero sandpaper. After each layer completely drying out, the grinding procedure is repeated. In total, there may be up to nine layers of varnish. Toning and varnishing of parquet is performed in the direction of the wood fibers. Instead of varnish, parquet can be covered with mastic;
- after applying the last layer of varnish, the parquet remains to dry for at least three days. In this case, windows should be closed in the room and there are no drafts. The temperature should be in the range of 17 22 C, and humidity of 40 70%.
Elimination of scratches
Among the most common damage to the surface of the parquet is scratch. They appear quite easily when the furniture is moving. After that, the parquet can be restored in several ways:
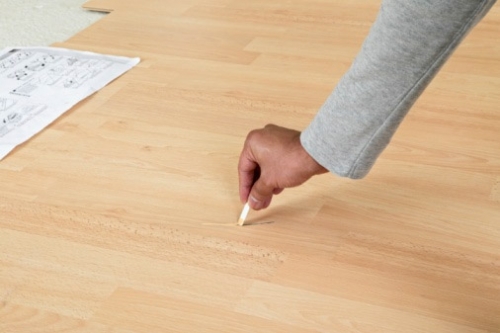
- if the scratches on the parquet are small, not too deep and wide, then the restoration of damaged areas can be carried out with the help of remote assumptions for parquet or, for example, with wax pencils. This approach will save time and effort;
- but in the case of deep and wide scratches, everything is much more complicated. To restore parquet with such damage, complete cleaning of the varnish will be required. To do this, we clean the parquet from the varnish coating described above;
- next, using a cycle machine, we remove a small layer of parquet. The essence is to eliminate the layer of wood with damage. To complete the first time the cycle, without having experience, is a rather difficult task. Therefore, one must be prepared for the fact that you will have to cycle the floor several times before a decent result is obtained;
- after the cycle, the room is thoroughly removed and vacuumed;
- further work consists in the priming, putty and varnishing of the parquet.
Elimination of potholes and chips
Despite the fact that parquetin uses solid wood, the tree is not able to withstand a strong blow with an object of higher density material. As a result, potholes, chips and irregularities appear. The restoration of the surface of the parquet with such damage is as follows:
- the first thing we do is remove the old varnish and carry out the inspection of cash damage;
- then we proceed to the surface cycle. We remove a small layer of wood, thereby aligning and eliminating potholes and irregularities. If, after the first cycle, a strong difference in the shade of the parquet is noticeable, then we carry out the cycle of again;
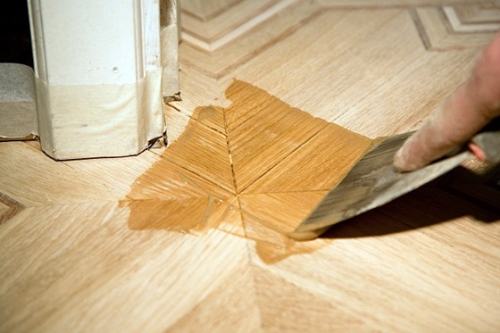
- now that we eliminate the main irregularities, we proceed to eliminate chips. They are compared with ordinary putty. In order for the surface to look the same after putty, fine dust is added to the putty after cycling. The resulting mixture is leveled on the surface of the parquet with a wide spatula;
- after the putty dries, we proceed to grind the parquet and its varnishing.
Restoration of damaged parquet planks
Unlike the restoration of surface damage, the restoration of parquet with slots, swollen, creak or exhausted parquetins will require more effort, time and skills. In such cases, it is quite difficult to repair the parquet, and therefore many prefer to contact experienced craftsmen. It should be immediately noted that with such damage to the restoration of parquet, the price will be about 15 20 cu per m2. That along with the necessary materials can result in a very round bag.
Elimination of cracks
Due to its structure, wood absorbs and gives moisture quite easily. This fact, combined with a violation of the technology of laying parquet and water ingestion leads to the appearance of cracks. To eliminate this kind of damage, it is necessary to do the following:
- remove the baseboard and clean the surface of the old varnish using cycles or grinding;
- further, the surface of the parquet is cycle to remove the upper damaged layer of wood;
- upon completion of the cycle, the parquet is thoroughly vacuumed;
- having inspected the surface for cracks, we clean them of excess garbage inside. To do this, use a vacuum cleaner and a knife with a thin blade. Carefully clean the dirt, trying not to damage the edges of the parquences;
- now we take putty and add dust or fine chips to it after cycling. We apply the resulting mixture to the parquet and with the help of a spatula we fill out all the cracks. The dust from the old parquet equals the color tonality of the parquet and putty;
- after the putty dries, the parquet is polished several times and covered with a primer layer of varnish;
- giving the varnish to dry, we grind again and apply the following layers of varnish.
Elimination of creaks in the parquet
The appearance of creaks in the parquet may be associated with several reasons. It can be rolled up strips, sagging spacer wedges or voids under the parquet itself. Eliminating the screenshop of parquet does not require complete cleaning of varnish, cyclopting and grinding. It is enough to do the following:
- remove the plinth and check the spacer wedges. It may be that they just from time to time have become quarrels and no longer fulfill their role and do not hold the Parnish together. In this case, we take out the old wedges, and we drive new ones in their place. It should be noted that this procedure is best performed with relative humidity of about 40%. Having installed the plinth in place, we observe the parquet for a week. If the creaks remain, then the reason may be different;
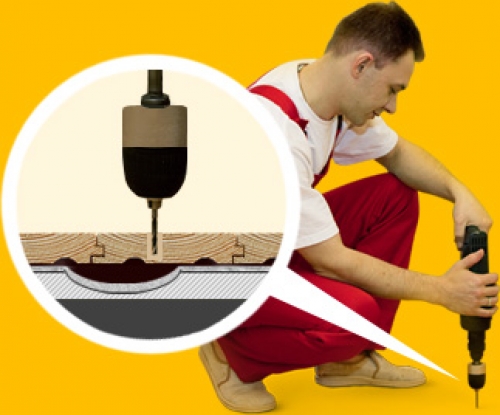
- if the spacer wedges are in order, then we localize the creaking parquet. Usually, the parquet is laid on a background of plywood or directly on a concrete base. Over time, concrete and plywood wear out, and failures appear. Parquet creaks in these places. The creak is eliminated quite simply. A small hole is sprinkled in the creaking bar. Either glue for parquet or concrete solution is pumped into it, using a syringe. As soon as the remover stops to absorb and remain in the hole, stop the pumping and leave the parquet under the press for a couple of days. Upon completion, the hole is filled with putty or a pin is inserted;
- if the parquet creak has a rather extensive area and it is impossible to eliminate it using the above methods, you will have to cross the entire coating. In this case, you must be prepared for a full restoration. Starting from the removal of varnish and ending with the parquet.
Elimination of swollen
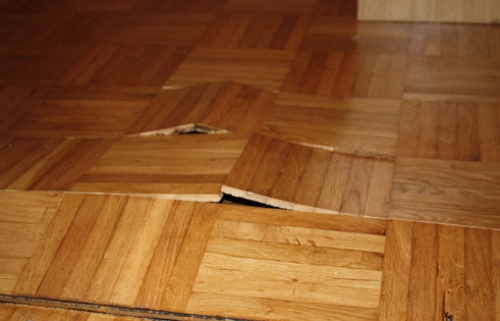
Vimitation of the parquet is one of the most unpleasant damage, the appearance of which indicates a violation of the technology of styling and operation. Such damage to the parquet is quite difficult to fix, especially if the restoration of a thyroid parquet is performed with such a diagnosis. It is impossible to eliminate such damage with your own hands without a full Parquet. The reason for the swelling is quite simple increased humidity. To eliminate swelling, you need to do the following:
- if the damage area is small, then using a regular or industrial hairdryer we warm up the parquet;
- after the smell of glue or mastic on the surface of the parquet, we install a load of at least 10 kg/dm2 and leave for a day;
- after a day we check. If the swelling decreases, the procedure should be repeated.
Another reason for the appearance of swelling may be the absence of hydraulic ads near the walls. In this case, you should completely disassemble the parquet, give the parquet and the base to dry in natural conditions, and then re -lay down.
Restoration of damaged and departed Parquet planes
Damaged or departed from the base of the Parquet strip are quite common. Especially often this can be seen when the restoration of the old parquet is performed. In such cases, damaged strips with further restoration of the entire surface are replaced. To do this, do the following:
- remove the old varnish and identify the exhausted parquets;
- if the bar has become very quarrel, between it and neighboring strips of a 5 mm or more gap, then it should be replaced;
- if the cracks are small, then we pump the glue under the bar and leave it under the press at night;
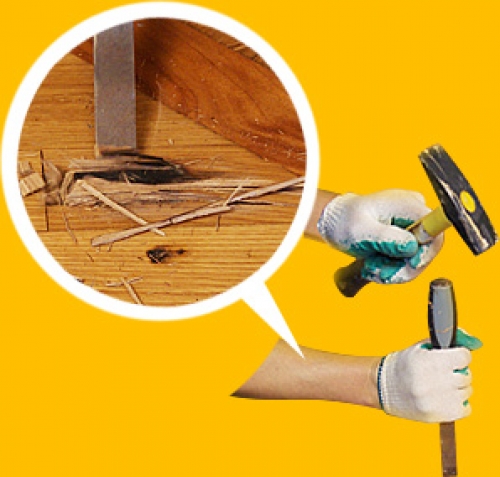
- to replace damaged parquet planks, you will need a chisel and a hammer. With their help, we split the bar in the middle and remove the remains;
- using a narrow spatula, remove the remains of the old glue;
- now it is necessary to adjust the new bar to the required size. Also cut off the protruding spike;
- apply glue to the base in the purified space. Then we start at an angle of the bar so that its groove dresses on the spike lying nearby, and then tightly press to the base;
- after gluing the bar, leave it for a day under the press;
- in conclusion, the surface of the parquet is putty, polished and covered with varnish or mastic.
DIY Parquet restoration is quite a feasible task for those who can handle the tool. But the lack of experience in working with parquet can negate all efforts. Therefore, before proceeding with restoration on your own, a small training or participation in the repair of a parquet with experienced craftsmen will not be superfluous.

