The growing popularity of wooden houses associated with their highest environmental friendliness, ...
|
|
Each of us has seen a metal tile more than once. Every year, not one hundred square meters ... |
It is no coincidence that part of the kitchen wall between the working surface consisting of a countertop, ... |
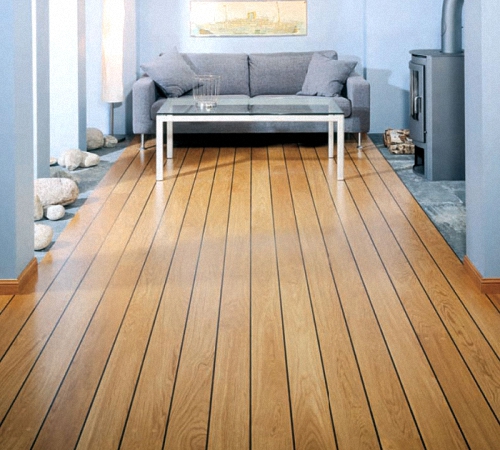
Black floor in a wooden house with your own hands
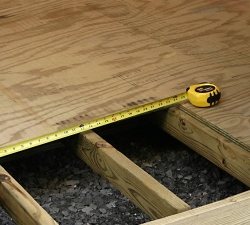
When building a new house or the device of an old one, an important part of the repair work is the laying of the draft floor in accordance with the rules. In the article, we will consider the features of folding the base and use of insulation and insulating materials.
Table of contents:
- Features of laying the draft floor on the lags
- Laying logs: installation
- Bars fastening and laying of a black floor: features of work
- Instructions for the construction of the crate for the heater tab
- DIY dry screed method in a wooden house with your own hands
- Laying materials for expanded clay
- Wet method of screeding a black floor
Features of laying the draft floor on the lags
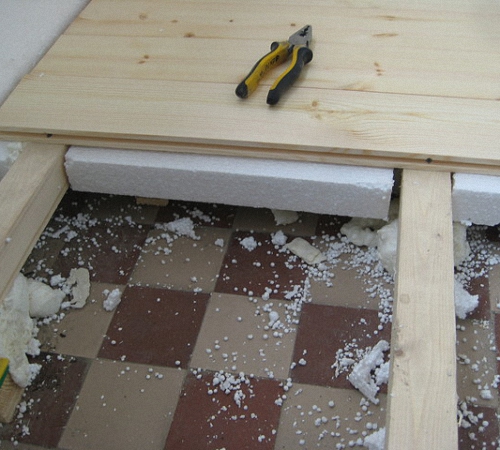
Most builders recommend equipping a black floor as an additional insulation and a guarantee of strength and reliability. Features of styling are not difficult, and therefore everyone can do all the work on their own. One disadvantage of this gender is poor insulation of shock noise, which is indicated by a strong fastening of the elements. Experts do not recommend making such an arrangement in toilets, saunas, a bathroom or a bath, because the increased humidity of the room is not suitable for boards.
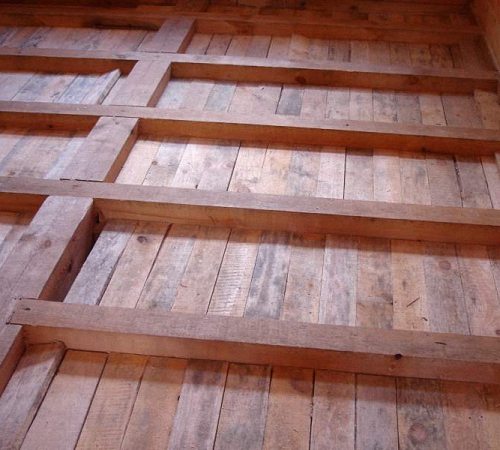
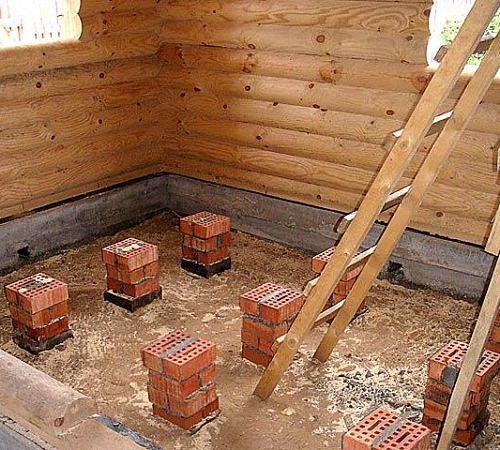
The draft floor in a wooden house on the lags is bars that make up a frame for styling and alignment. In such variations, boards are used that are not string, second and third grades preferably from conifers or soft deciduous. In suburban houses you can use logs as a lag, which equips a more solid and reliable design. At the beginning of the work, all logs must be processed regarding the alignment of the material. In fact, part of the bars, which will be fastened with the boards, should be aligned and trimmed, but it is almost impossible to achieve a high level.
The logs are placed in grooves that are prepared at the beginning of construction, while the distance between the lags and the wall should be approximately 2 to 3 mm. This is due to the way of laying the draft floor in a wooden house that will not creak during operation. The boards are treated with antiseptic agents or bitumen to avoid the penetration of pests, mold and fungus. Plays are not the only object of fastening, and therefore must have other supporting elements, for example, brick pillars.
Laying logs: installation
1. Between the lags the distance should be 60 cm, when using boards of larger width or logs of a significant diameter, the distance can increase to 1 meter.
2. After laying the logs, we proceed to the next step. We use the bars with a cross section of 50x50, which serves the role of the support, and fasten with the help of self -tapping screws on each side of the log.
3. It is recommended to carry out the fastening procedure carefully, since the design may be fragile and fall apart in the process of work. To do this, we fasten all fasteners carefully and reliably to avoid harm for ourselves.
Some homemade builders purchase boards in size of 15x40, and then divide them into several parts, since the bars are obtained with a size of 50x40, which is a good alternative to the previous process.
Bars fastening and laying of a black floor: features of work
The peculiarity of attaching bars on the lags should be calculated for additional space for the use of insulation materials. With a heater thickness of 10 cm, and the thickness of the boards is 2.5 cm, the distance between the bars and logs should be 12.5 cm. Of course, all the data given can be different depending on the material you use.
The arrangement of the rough floor in a wooden house is the following stage of work. There are some points that can complicate the installation process. For example, logs in structure are uneven building material with various knots, cavities, so it will be difficult to finish the boards of the same size and thickness. In this case, you will have to carefully process each element.
In the presence of bars, the process of work is greatly simplified, especially when sawing and dividing the material into boards. They are attached to the bars that are attached to logs of different sides. For fastening, you can use self -tapping screws, as well as nails.
Such a preparatory gender is quite unstable and does not withstand a person’s weight of more than 80 kg. With greater weight, the boards can fail, which will have unpleasant consequences for workers. To avoid such incidents, it is recommended to put boards of larger thickness on the lags and then engage in the process of installing a black floor in a wooden house.
Instructions for the construction of the crate for the heater tab
After laying the boards, you can proceed to the work on the insulation of the floor using different insulating materials. In construction stores, a wide selection of goods with different prices and features is offered. Therefore, it is not difficult to choose the insulation, for example, manufacturers are exhibited by mineral materials, as well as fiberglass or basalt, slab styrene and sprayed goods.
If necessary, the insulation can easily be adjusted to the dimensions of the repair area using the construction knives. Some owners prefer to use environmental materials that are expanded clay or slag. In wooden houses, the insulation of the black floor with natural materials will preserve the ecology of the premises and create more comfort.
Step -by -step instructions for establishing a crate for insulation:
1. We lay the lags in the grooves prepared for this. All elements should be fastened tightly. The flooring is carried out using the level of the level, which depends on the entire plane of the base.
2. We lay the draft material on the lags adhering to previous recommendations.
3. Since the tree absorbs moisture, the surface must be covered with a special film or rubber.

4. The material is attached using a stapler to the surface. It is important to ensure that the fixed raw materials are not swollen or have depressions. Thus, waterproofing of the draft floor in a wooden house is carried out, which provides excessive moisture from the entering inside.
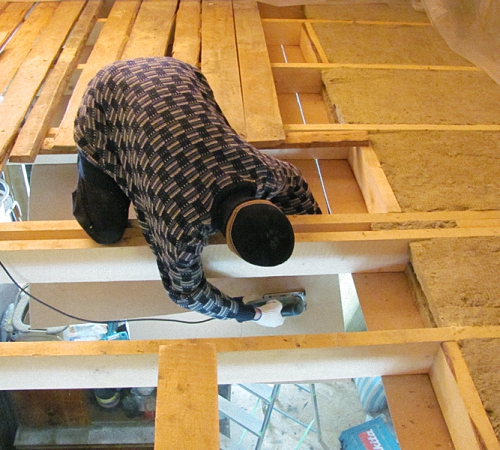
5. The next step is to fill the hecks with a width of 5 cm, however, this parameter may vary depending on the acquired type of insulation. As in the facade crate, the slats should fit in the same direction horizontally or vertical. In a wooden house, such styling is especially important, since the schematic presentation of the boards will save the wood from decay.
6. Warming materials are laid in the educated spaces. When using expanded clay, it is carefully poured into the openings, and left a few centimeters from the surface. It is important that the sizes of the granules are different, because this will allow more to compact the base. Styrene or mineral wool also does not fit to the very top, and this allows you to create a certain layer free from the materials, which will serve to ventilation of the floor and maintain heat.
7. After that, a vapor barrier row is laid out on top of the bars, which is very important when arranging a warm floor.
In wooden houses, as a rule, a water heating system is used, and therefore there is a probability of creating condensate. To avoid such a phenomenon, it is recommended to use vapor barrier material, it perfectly absorbs all evaporation, not allowing them to damage the base.
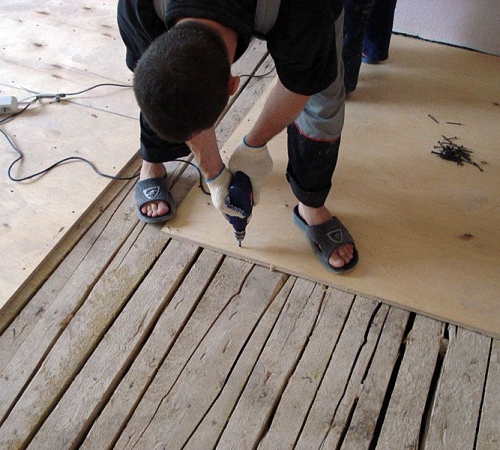
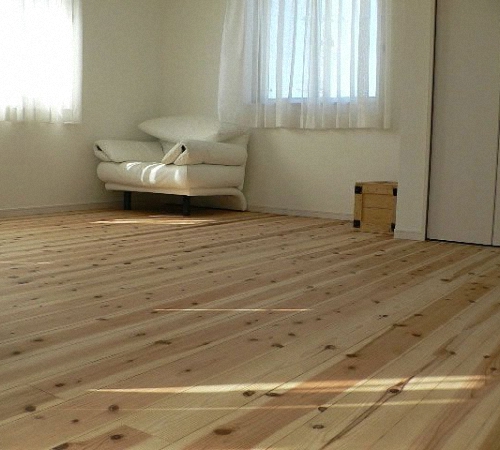
The last step is the flooring of the final sex. To do this, use drooped boards or a special plywood that can absorb moisture. This material is used for further flooring using linoleum or laminate. All surfaces must be carefully treated with a grinding machine in order to avoid irregularities or floor errors.
DIY dry screed method in a wooden house with your own hands
If there is a concrete floor in a wooden house, the owners want to convert it to special floors. Of course, there is a method of transformation using a dry screed or by a system of independent ventilation of the floors. The first option is more accessible in construction. It is recommended to use the following materials and tools for arranging a black floor with your own hands:
- expanded clay;
- polyethylene film;
- gVL plywood or chipboard;
- dampfer tape;
- pVA glue;
- electric jigsaw;
- self -tapping screws;
- screwdriver;
- marker, ruler and roulette.
All work is carried out in stages in accordance with the requirements and the recommendations proposed below.
1. A film made of polyethylene is laid on the concrete floor, which is used as waterproofing. The flooring on the wall should be about 10-15 cm, and between the compounds of the material it is worth making 20 cm. To ensure the reliability of fastening of the elements, it is important to glue all the seams using tape.
2. The next element is gluing around the entire perimeter of the damping tape. The height of the tape along the edges should be slightly larger than the spilled layer of expanded clay as insulation material.
3. Experts recommend using lighthouses when arranging black floors in a wooden house, the video of which can be viewed at the end of this article. They serve as a building level for the rash of granules and their even location on the film. With the use of bars, height can be increased or reduced to create the plane you need.
4. Further, expanded clay and level it, focusing on the established beacons. It is not recommended to simultaneously pour the insulation to the entire area of \u200b\u200bthe room. To get started, process one part and cover it with a sheet of plywood, and after the second and so on. Such work is carried out in order to move better in the repair area, while the expanded clay should be at least 2 cm, otherwise the plywood will slide underfoot.
Laying materials for expanded clay
The process of laying sheets of plywood or glv on expanded clay is a rather important stage, because when setting you will immediately understand how reliably the work is done. To do this, it is important to walk on them, which is why you will feel subsistence of the material. For beginners, this situation may cause bewilderment, but the main check is the solid subsidence of sheets, which should not be moved in the future.
It is important to remember that the floor sheets have a large weight of about 15-17 kg, and the movement of such plates on the expanded clay layer can cause its deformation. You can connect the material using self-tapping screws, but they should be located closer to each other, the approximate distance between them should become 10-12 cm. So that all parts of the sheets are reliably fastened, it is recommended to glue them using PVA. The application process should occur in exciting, and it is important not to exaggerate with the thickness of the layer, because the details are already connected by self -tapping screws.
As a result, all the joints of sheets of plywood or GLV should be plowed with special mixtures. After drying, the surface is polished and wiped so that the entire base is even. To the question: how to make a black floor in a wooden house with a dry screed in a bathroom or other room where high humidity is present, it is recommended to use waterproofing materials with different solutions with a cement component.

Wet method of screeding a black floor
The floor screed is a more popular method than laying on logs, since purchased materials are not so expensive and affordable. Black floor in a wooden house, a photo of which display a sequence of work in this technology.
Step -by -step instruction provides for the following stages:
1. The working surface is completely cleaned of garbage and foreign objects.
2. The laying of insulating materials is performed, which ensure the penetration of humidity into the room and contribute to the preservation of heat.
3. In a two meter step, lighthouses are attached, which act as a level and have the form of steel racks. Thus, you will ensure the evenness of the foundation horizontally.
4. Next, a special solution is applied, which is distributed on the surface with the help of the cell.
5. The last step is the formation of the coating under the final floor using delicate materials. As a rule, mixtures are used that the base is aligned and should have a thickness of 15 mm.
6. After drying, a rare solution is poured on a cleaned and primed base and aligned with a roller to get rid of all bubbles. The thickness of the black floor along the wet screed should be up to 3 mm. The drying time of the surface is from several days to two weeks.
The draft floor is an important stage in the arrangement of the house, which ensures the maintenance of heat in the room in any weather conditions. Do -it -yourself technology with your own hands is a thorough process of work, which will require the builder of attentiveness and follow the rules and stages of instructive material.
![]()
StrPort construction portal 2011-2018. Articles about repair, construction, building materials.
Copying information from the site is possible only with permission of the editorial office Or indicating a direct link to the source. Legal justification