Having planned the purchase of metal doors to ourselves, we initially analyze the product, ...
|
|
Before the construction of any building, you must correctly calculate ... |
Any painting work using a brush or roller is quite time -consuming, ... |
We glue the wallpaper on the whitewashed walls. Do -it -yourself wallpaper technology
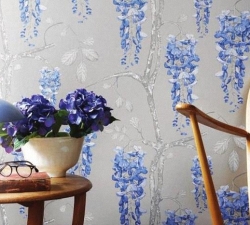
Many houses in which we live were built for a very, very long time. Therefore, quite often people decide to carry out repairs in order to update the interior (so that the apartment is playing with new colors). It is at this stage that they meet with a small problem: the walls of the old type are treated with whitewashing. Previously, it was a very popular type of decoration simple and cheap. But today, the development of building materials allows you to process the walls many times the best texture for the same money. Then people begin to raise questions: how to glue wallpaper wallpaper, and can you do this at all?. In this article we will try to answer all the questions of interest.
Table of contents:
- Advantages and disadvantages of wallpaper gluing on top of whitewashing
- The first way to glue wallpaper
- The second method of wallpapering
- Features of working with some types of wallpaper
- Beat the wallpaper: can this be done?
- Useful tips in wallpapering
Advantages and disadvantages of wallpaper gluing on top of whitewashing
Particles of white whitewashing or lime have a fairly small fraction and they are almost weightless. During the application of this type of finish, that is, its retention on the walls due to the force of surface tension. After the moisture evaporates, the whitewashing dries up and it turns out exactly the applied layer of the coating. Often whitewashing is compared with dust with a hand over the surface, chalk remains on the fingers. It is precisely because of this composition of the material that the wallpaper is recommended on top of the whitewash only in extreme cases, because:
- Even the strongest whitewash can not always hold additional weight. Under the load of wallpaper (especially heavy ones), it can simply move away.
- In the case when the wallpaper begins to peel off, whitewashing disappears along with them, thereby making re -gluing impossible.
- The glue applied to whitewashing soaks it and thereby contributes to the fall.
- Most soils are not able to penetrate into the layers of whitewashing (especially when the whitewashing is made of lime).
- Traces of divorces, omnosis and irregularities may appear on the surface of the wallpaper.
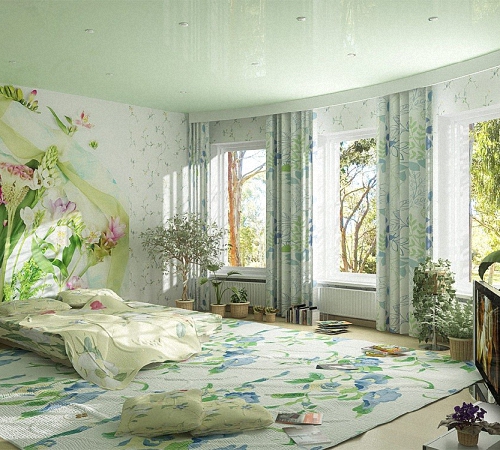
Why, then, many people decide to gluing wallpaper for whitewashing? It's all about the time of repair. By asking a professional builder how to wash off whitewashing from the walls, you can get only one answer: very simple, but it will take a long time. So it is, you will have to shoot such a finish for a very, very long time. And when a person is running out in the time of repair work, he decides to glue wallpaper over the whitewashing.
Since the choice depends solely on the circumstances of the person, consider both options for gluing wallpaper.
The first way to glue wallpaper
In this method, the first stage will be the cleaning of the walls of whitewashing. As it was already above, the lesson is not complicated, but quite dirty. Before proceeding with cleaning, it is necessary to cover the furniture with a film, and the floor with newspapers. If you forget about it, then everything will be covered with a white raid, which is very difficult to wash.
We start cleaning:
1. Wet the surface of the walls with warm water with a sponge or wide brush (necessarily having a natural bristle).
To accelerate the process of washing the whitewashing, you can use special solutions. The recipes of some flush are indicated further.
- On a grater we rub laundry soap, mix this shavings (about 3 tablespoons per 10 liters) with warm water, add 4 tablespoons of kitchen soda there. Mix thoroughly;
- Dissolve 1 spoon of ammonia in ten liters of warm water;
- 400 g of soda and the same amount of salt are dissolved in ten liters of water;
- 10 liters of water are mixed with 150 grams of liquid soap and two tablespoons of vinegar;
- We add one table to five liters of water. a spoonful of acetic acid + two caps for a bathtub. We moisten the walls of the wall with this solution, and after five minutes the finish will already be discharged, and will be ready to clean.
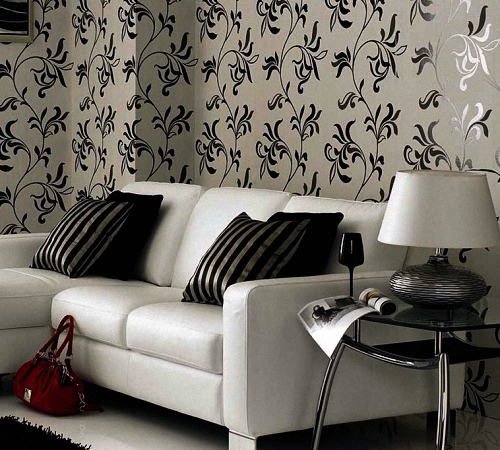
2. A wide spatula, turn the white whitewashing from the walls.
3. We process the surface of the walls with an acrylic primer.
4. Remove the garbage, and wash the floor with a solution of warm water and acetic acid.
Quite often, people make a mistake when they confuse whitewashing with putty from chalk (in the case when putty is strong, it is not necessary to remove it).
The difficulties of removing whitewashing arise when the wall is rough. Often whitewashing is applied to the plaster layer bypassing putty. In this case, whitewash particles stuck in the recesses of the upper layer of plaster, thereby complicating its washing off. In this case, the action plan will be as follows:
1. We moisten the walls well.
2. Remove the top layer of finishes using a spatula.
3. Wallting, which is in recesses, is washed out with a sponge or brush. It is not advisable to use the sponge, since it very quickly becomes a worthless state. The best option is a hard brush with a comfortable handle.
4. It is unrealistic to fully wash off the whitewashing from the plaster, so it is necessary to primer the wall.
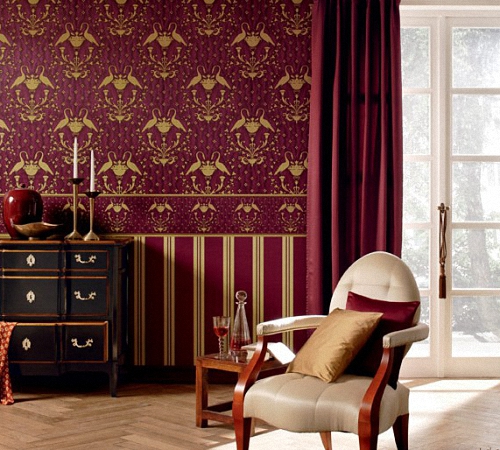
If you hear the word soil for the first time, you do not need to worry. DIY primer with your own hands is a very simple process. For him, special skills will not be needed. You just need to buy the correct type of primer in the building materials store, stir with water in the proportion indicated on the packaging and cover its walls. Apply layers of the primer with a roller. Then we let her dry, for this it will take about 24-38 hours. The next layer can be applied exclusively after the previous one is completely dried.
After the whitewashing is cleaned and the surface is primed, the preparation of walls for gluing wallpaper is completed. We proceed directly to the main process. Snala must calculate the number of wallpapers that will be required for repair.
There is a special online calculator for calculating wallpaper. It is enough to enter all the necessary data into it (room area, wall height, etc.). And if the room has standard dimensions, you can just look at the table that is given below. Keep in mind that all numbers are presented for rolls with 10 m long and 50 cm wide.
| The area of \u200b\u200bthe room | The height of the walls | ||
| 2.5m | 3m | 3.5m | |
| 14 | 7 | 9 | 14 |
| 17 | 7 | 10 | 15 |
| 25 | 10 | 13 | 20 |
| 29 | 12 | 15 | 25 |
| 31 | 13 | 16 | 27 |
Having bought the right number of rolls, we start gluing.
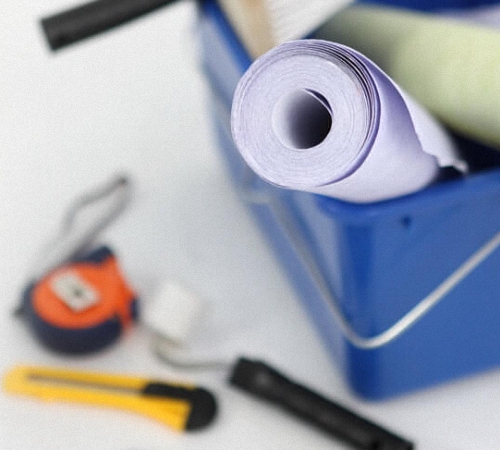
The main tool for gluing wallpaper roller or brush for applying glue. Also, for work you will need:
- Chancellery knife, ordinary scissors are suitable for replacement;
- simple pencil;
- roulette;
- the container in which we will mix glue;
- sponge;
- Dry fabric.
Having collected all the tools, we proceed to cutting into strips. We roll the rolls with the front side down, measure the length (add 10 centimeters to the height of the walls). In the case when there is no ornament on the wallpaper, it is possible to immediately cut the required number of lanes. If the pattern is present, you need to cut in such a way that the pattern is correct.
We proceed to the next process: gleaming wallpaper with our own hands. In order to do this perfectly evenly, it is necessary to measure the width of the canvas and apply a vertical line to the wall.
In order not to worry about the evenness of the marking, you can do this: rub the traser with chalk (color), then apply it to the surface and dramatically remove it. The result was a clear, flat strip.
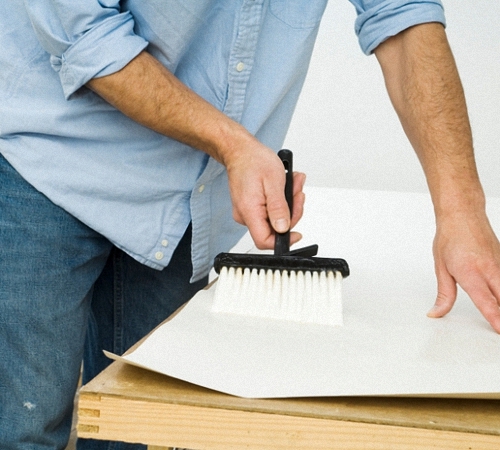
In the container prepared in advance, dilute the glue, the proportions are indicated in the instructions. We apply glue so that it smoothly lay down over the entire surface of the cut strip, especially thoroughly spread the edges. The sheet needs to have sweetness inward for 6-8 minutes so that it is evenly saturated.
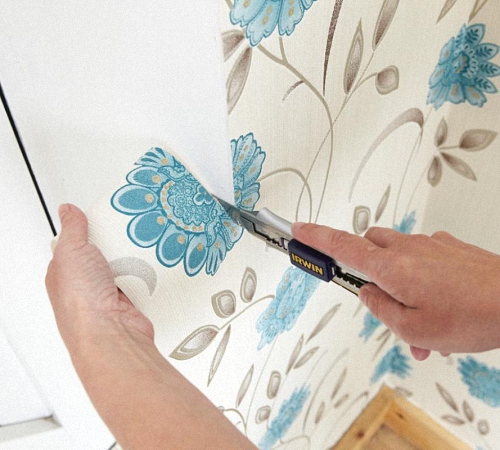
After everything is prepared, we can start gluing. We start from the window and slowly move inside the housing in the direction of light. We glue the paper wallpaper on the walls overlapping (do not forget to ensure that the pattern on the wallpaper matches). We take the strip impregnated with glue and press the dry fabric from the middle to the edges, then continue to press, making movements from top to bottom. Since we measured the length more than the necessary, we cut off the remains with the help of a stationery knife along the level of the skirting board.
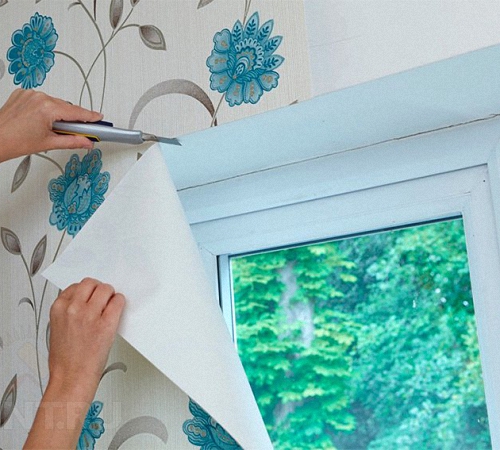
An important point is the gluing of sockets. First of all, de -energize the apartment and unscrew the sockets (switches). Get out the stripes by previously cut the squares. After the glue dries, insert, into their previous places, sockets.
The second method of wallpapering
In this method, consider gluing wallpaper over the whitewash. Use this option only when it is very tightly settled, or when you do not present high requirements for the quality of the repair. The ceiling should not be covered on whitewashing in any case.
Application of glue helps to soak and expand paper wallpaper. In the process of drying, they compress and return to the original size. The largest load falls on the edges of the wallpaper, so most often they diverge at the seams. When gluing wallpaper over an unprepared surface, be sure to glue the lanes.
Step -by -step instructions for gluing wallpaper for whitewashing:
1. Delete whitewashing in places where it is unsuitable.
2. We clean the corners.
3. Apply a primer on the walls, in our case, select a deep penetration.
4. Dilute the glue and cut the wallpaper stripes.
5. In the course of work, smear the upper part of the wall and corners with glue PVA.
6. We smear paper wallpapers with glue and turn for 6-7 minutes to swell.
7. Wallpaper glue, as in the last method, starting from the window.
Video gluing video is at the end of the article. Be sure to look in order to perform each process correctly.
Features of working with some types of wallpaper
In addition to paper, popular species are woven -based wallpaper and liquid. If the first type is still possible to glue on top of the finish, then the second one cannot in no way under any circumstances.
In order for gluing on a non -woven basis for whitewashing to become possible, in addition to the stripes themselves, lubricate the walls with glue. Buy special glue for this type of work.
When liquid wallpaper is used in the repair, it is necessary to carefully approach the cleaning of surfaces very carefully. Apply the mixture using ironing or the so -called spraying method.
If you try to apply liquid wallpaper for whitewashing, the following consequences may occur:
- Whatever you do, wallpaper of this type will not be able to stay on the walls;
- The color may change or yellow spots will appear;
- If you apply liquid wallpaper with the help of ironing, the whitewash will begin to reach for the mixture and move along with the components, thereby spoiling the texture;
- If you apply wallpaper from the pistol, they begin to slide (the whitewash will push the mixture).
Beat the wallpaper: can this be done?
There are no special wallpapers released for whitewashing. It is forbidden to whiten paper wallpapers, they will simply soak and become unsuitable. In the case of embossed or smooth wallpaper, which are not afraid of moisture - whitewashing is possible:
- First of all, it is necessary to check how tightly the wallpaper adjacent to the walls.
- We dilute and filter the whitewashing at the base of which is the chalk.
- We defeat (1st layer), for this we use the sprayer.
- Apply the next layer only if the gaps remained after the previous time. For the second layer, use a sprayer or brush. It is impossible to use a roller in the work, the dried layer begins to stretch behind the coat of the tool.
Useful tips in wallpapering
1. It is best to choose a water -repellent primer, it will become a reliable basis for gluing wallpaper.
2. It is best to buy meter wallpaper. They simplify all the work (the number of seams is reduced and the cost of buying is reduced). One meter of wallpaper costs cheaper than two half a meter.
3. Buy wallpaper with a margin, the walls are not always even, which also affects the number of rolls used, so a small excess cannot be avoided.
4. When using wallpaper with patterns, pay attention to the instructions, it indicates the size of the strips so that the picture is preserved.
5. Glue strips with an overlap of 3-4 mm.
6. Knowing the glue, be sure to follow the instructions indicated on the packaging, because the consistency of even the same glue for different types of wallpaper is different.
7. If your choice fell to gluing wallpaper on top of the whitewash, do not immediately do all the repair, first make a trial piece. The thing is that the wallpaper can not only fall, but also be covered with yellow spots that will spoil your entire interior.
In order to more accurately understand the technology of wallpaper gluing, read the whole article and watch the video at its end. Choose an option that you like, follow all the instructions and repairs will pass without any failure.

Nothing like this. Smeared and
Nothing like this. Mazala both the walls and wallpaper, are all the same. I tore off the sheets, washed the whitewashing to the glue added PVA, and all the same are peeled off. Now I will buy new wallpaper, again wash off everything from the walls, and go through the primer. Maybe then they will hold on.
squeeze - you
squeeze - are you serious?!?!