Today, many developers choose the construction of a columnar under their house ...
|
|
The apartment from time to time needs repairs. And regardless of the volume of work, ... |
Residents of our country with the advent of winter are faced with the problem of the cold floor in the house ... |
Waterproofing flooring in the bathroom
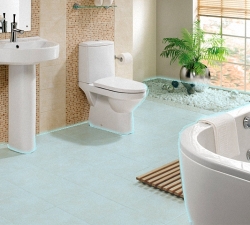
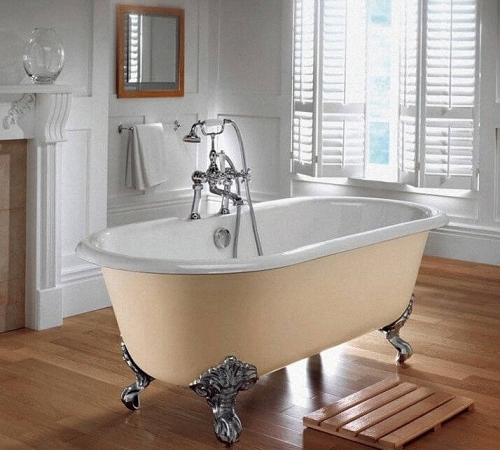
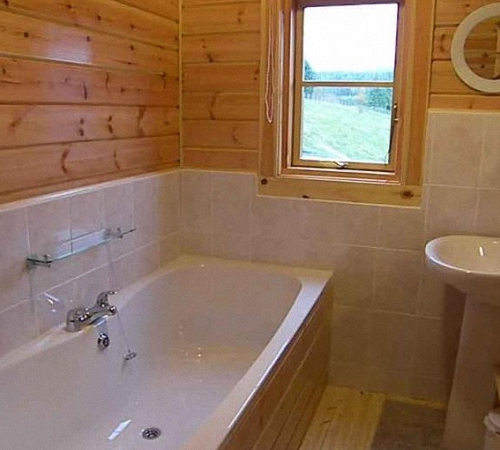
The bathroom is a room with a high level of humidity, so it needs high -quality waterproofing. There are several options for ensuring the waterproofing of the floor in the bathroom. We offer more details to get acquainted with their features and technology.
Table of contents:
- Methods and features of waterproofing flooring in the bathroom
- Liquid waterproofing of the floor in the bathroom: advantages and characteristics
- Waterproofing of the floor in the bathroom in a innantial way
- Waterproofing of the floor in the bathroom technology of integrated work
Methods and features of waterproofing flooring in the bathroom
Before starting studying the methods of waterproofing floor, we propose to familiarize yourself with the aim of waterproofing. Since the room of the bathroom has constant increased humidity, the destruction of the decoration, screed, walls, floor and ceilings to avoid, their high -quality waterproofing should be provided.
The main goal of ensuring waterproofing is the ability to create a continuous layer, with waterproof characteristics. At the same time, on the floor, this coating has the shape of a pallet, the walls of which are 20-30 cm waterproofed on the sides.
This, the so -called reservoir has the ability to collect condensate masses that flow into it on the side walls. Providing monolithic waterproofing can prevent the destruction of floor and coating under the influence of moisture. In addition, it is possible to prevent the formation of mold and fungal formations, which are a consequence of increased humidity in the room. This is the main goal of ensuring waterproofing.
There are many ways to ensure waterproofing, the choice of a particular variety of waterproofing depends on the specific and individual characteristics of the room. When determining the method of installation of waterproofing material on the floor in the bathroom, the following characteristics should be taken into account:
- the general condition of the floor in the bathroom;
- the type of surface and the material from which the ceiling finishes is made;
- time allotted for waterproofing the floor;
- the number of floors in the house;
- The height of the ceiling and the possibility of its reduction.
The type and option of waterproofing is affected by the shape of the room, the presence of extraordinary corners in it, the presence of specialized equipment for the work, the material condition of the owners.
In order to choose a particular method of ensuring waterproofing, the advantages and disadvantages of each of them should be assessed. To protect the floor in the bathroom, waterproofing of the coating type is used from moisture. In addition, it is possible to use roofing material, fill the soil mixture, pour the polymer floor, additional additives in the form of liquid glass or concrete. However, the use of these methods is limited to a too unpleasant odor and the presence of toxic substances in certain compositions. Most often, the following methods are used to ensure waterproofing in the bathroom:
- The flooring of the floor with a waterproof composition, which allows you to form a membrane with impenetrable characteristics;
- the use of fluid -type liquid compounds, with their help it is possible to achieve uniform waterproofing;
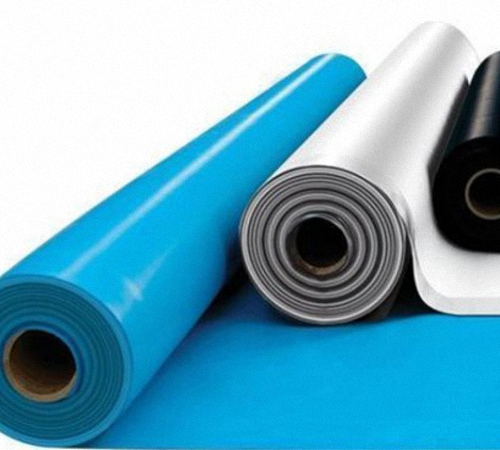
- Installation of roller materials that make the floor surface moisture permeable.
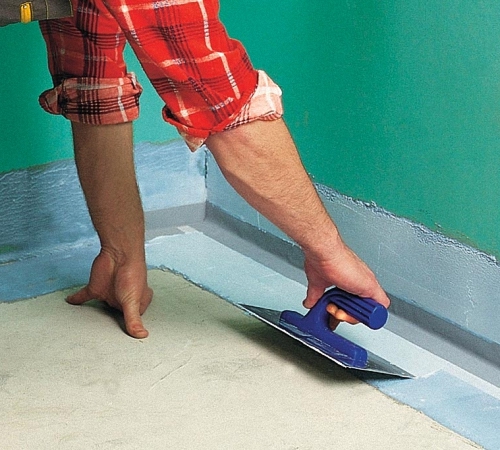
To perform waterproofing using the first method, coating is used, that is, the material is applied to the surface with a brush. The second option of waterproofing is also called bog, as it implies the introduction of polymer substances.
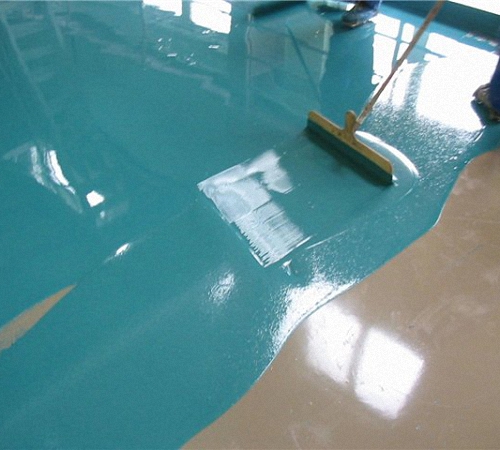
Liquid waterproofing of the floor in the bathroom: advantages and characteristics
For the first time, this type of waterproofing was used in the form of fats and various kinds of oils. Modern waterproofing materials of the coating type have the form of mastic, pasta, dry powder, while they contain various kinds of additives.
To dilute the dry mixture, water or emulsion on a polymer basis is used. All work is carried out in agreement with the instructions from the manufacturer. Pastomic and liquid compositions are used without prior dilution, so the process of applying them takes less time. The mixture is sold in special packages, which are hermetically closed and prepared and installed on the surface.
To apply a pasty or liquid mixture, tools in the form are used:
- a wide brush based on a terry or maclovor, if the consistency of the composition is quite liquid;
- When using a pasty composition, a gear spatula is used to apply it.
Coming compositions allow you to create a certain layer of waterproofing, their application is characterized by the same features as staining with varnish. The use of one or another waterproofing option is determined by the sphere of its use, namely:
1. Liquid mixtures based on mastics contain oxidized oil bitumen. The minimum number of layers for their application is two. Each layer is applied in one, one and a half millimeters. Further, after applying materials based on mastic, the floor surface is covered with screed. Before starting work, the surface is cleaned of dirt and dust, completely dried.
2. pastes, which contains substances based on bitumen, mineral and polymer substances. To lay them, several layers are used, the thickness of each of them is about three millimeters. Pastes based on pastes perform two functions: firstly, they isolate the surface, and secondly - protect it from moisture. Since the waterproofing has a decent thickness of the layer, it is subject to additional reinforcement using PVC nets.
Please note that the instructions from the waterproofing manufacturer indicate the time of hardening of the waterproofing. After laying the first layer, the interval should be maintained, after which, the waterproofing is applied again. In some cases, the application of the third layer is allowed immediately to the second.
If the cracks have formed between the pipes and the waterproofing, then to fill them, use bitumen substances. To strengthen the site between the wall and the screed, a reinforcing tape is used.
With the help of mastics and pastes, it is possible to get a coating that is characterized by moisture resistance. However, the use of these materials removes the space of the height of the room by several centimeters. If you have quite low ceilings in your bathroom, then it is best to use standard coating that penetrate deep into the concrete base, preventing water from entering it.
According to some manufacturers, the material should be applied to a pre -moisturized surface. If the concrete or cement concrete base is well moistened, then after applying coating waterproofing, crystal -shaped substances are formed on its upper layer that do not allow moisture to penetrate deep into concrete. At the same time, it is possible to get a coating, resistant before moisture, which is vapor permeability and does not reduce the height of the room, which is especially important for the bathroom, which has low ceilings. The cost of this type of waterproofing is quite high, so it is not too common in use.
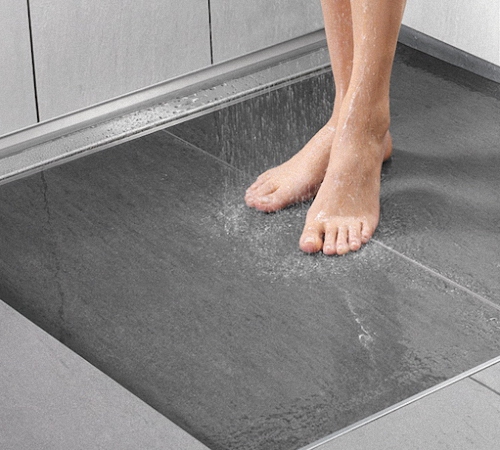
Waterproofing of the floor in the bathroom in a innantial way
Previously, roofing material was used as this waterproofing. However, this building material is not distinguished by environmental safety and is quite complicated in installation. The basis of modern glow materials is the use of polyester on an elastic basis, flexible fiberglass or fiberglass. Substances based on bitumen are applied to the external and inside of the waterproofing material. In order to improve its adhesion to the floor, glue -based lining is used. The upper layer is also processed with glue
Keep in mind that in order for the waterproofing of the floor to differ even more adhesion with finishing materials, it is processed using medium -grained sand. After the waterproofing hardens, the excess sand is removed with a broom.
Environmental materials are of two types, a gas burner is used to heat some, and for others - a construction hair dryer. To glue the second group of waterproofing materials, it is enough to remove the protective coating and install the strip on a previously measured surface.
This material is very easy to work, easily lends itself to styling and is glued to the surface. Despite this, these materials are distinguished by the following shortcomings:
- To stick the material, you should previously dry the surface, level it and prepare, while the maximum changes in height should not exceed two millimeters, a two -meter level is used to check the flatness of the floor;
- Rolled materials tend to secrete volatile toxic substances that are dangerous to human health, so after laying them, it is recommended to equip the screed;
- The laying process is quite long since all the seams should be thoroughlyathered, and the corners should go perfectly on the surface.
Despite this, rolled pasting is distinguished by the following advantages:
- low cost of work and purchase of consumables;
- strong mount on the black base;
- speed of work.
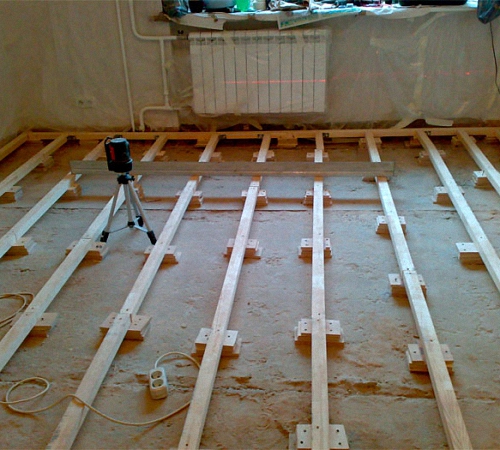
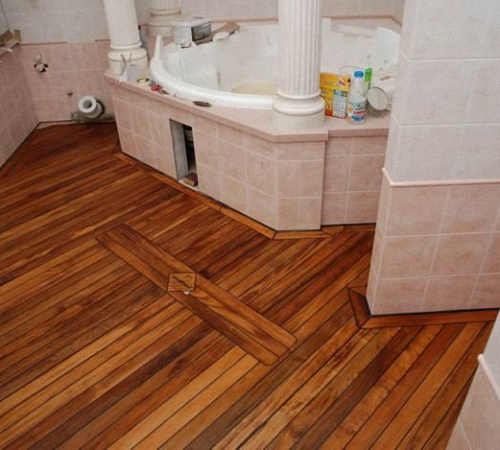
Also, it is with the help of rolled materials that it is possible to ensure waterproofing on a wooden floor. Due to its elasticity, these materials are not deformed under temporary changes in the wood structure. In addition, the coating remains monolithic for a long period of time.
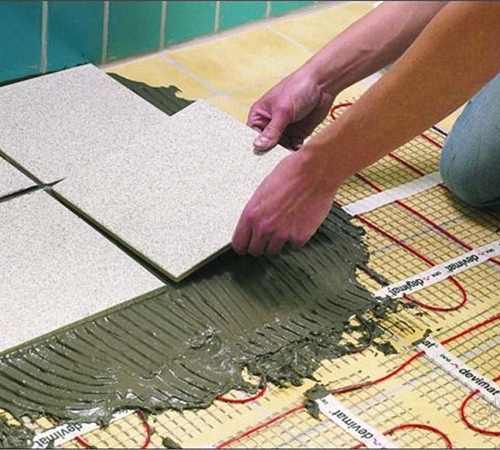
Waterproofing of the floor in the bathroom technology of integrated work
The use of two waterproofing methods at once, taking into account the individual characteristics of the room, allows you to achieve a positive result in the conduct of these work. This method of waterproofing is called complex. In this case, it is possible to reduce moisture by moisture by several times.
We offer to consider the option of waterproofing after removing the old screed. In this case, you should pre -level the surface, remove oil spots from it. If there are damaged areas on the floor, you should also take care of getting rid of them.
The work begins with the restoration of the concrete coating, removing all the identifications and cracks. To fill in cracks and alignment of the surface, an isostop or other repair solution, the same action, is used.
In a place where the floor is joined with the wall, you should equip a small depression, its depth is about one centimeter. To fill in this ditch, use the beetot -based cord. In its absence, the use of ordinary cement mortar is sufficient. To strengthen the corners and zones of the combustion, use the same solution, since these places are particularly vulnerable to moisture.
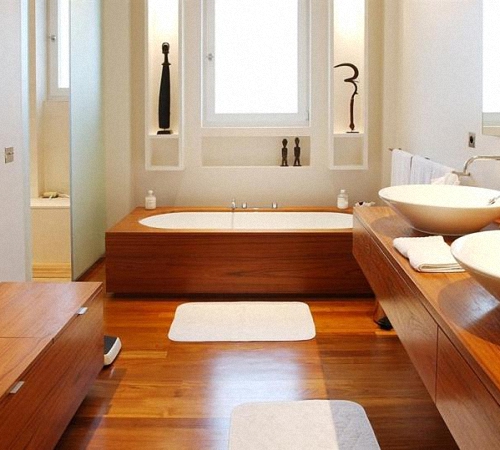
Waterproofing the floor in the bathroom photo:
After repairing in the bathroom, walls and floor are treated with a primer. Detailed instructions for the work are given below:
1. Paul primer is produced twice. At the same time, the application of the second layer should be carried out perpendicular to the first.
2. In order to waterproof risers and other volumetric elements, liquid waterproofing is used.
3. With the help of mastic on a bitumen basis, walls and floor are also processed, before grasping it, walls and floors are reinforced using PVC film.
4. Next, the process of applying pasta or mastic follows, the number of layers depends on the characteristics of the room and is most often indicated in the instructions from the manufacturer. After the paste is hardened, the process of using coating waterproofing follows, with its help it will be possible to level the surface.
5. After the last layer of liquid waterproofing freezes, the application of glow materials should be applied. At the same time, one should not forget about the climbing wall.
6. Stick the strip to the floor, use the roller to align it. The overlap between the stammers is about 10 centimeters. The result should be a surface in the form of a continuous waterproof canvas. In order to ensure its dense fixation, use a heavy roller.
7. Next, the walls should be treated. To do this, use a building hairdryer, with it, heat the waterproofing surface, set the stripes on the walls, use the roller to fix the corners.
8. Completely waterproofing completes additional treatment of pipes and other areas with bitumen.
Please note that the implementation of partial waterproofing on the floor in the bathroom is irrelevant. Since the water from protected areas will fall on the unprotected ones, thereby provoking a decrease in their quality. It is preferable if the bathroom has a small threshold at the door. In addition, the floor level in this room should not be lower than in other rooms. In order to avoid moisture in areas near pipes or other communication systems, process them using bitumen mastic.
Waterproofing the floor in the bathroom:
![]()
StrPort construction portal 2011-2018. Articles about repair, construction, building materials.
Copying information from the site is possible only with permission of the editorial office Or indicating a direct link to the source. Legal justification