The kitchen is the place where the family spends the best time for a joint dinner ...
|
|
Laminate universal finishing material, which is widely used in ... |
Low -rise houses with a residential attic are more common. First of all ... |
How to put a door on a loop
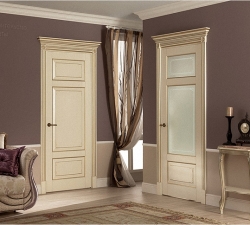
The installation of the door frame is accompanied by the installation of the door on the loops. This process is quite realistic to perform independently, but in the event that you get acquainted with the technology of its implementation. There are several methods of installing the door on the loops. About how to cut the loops into the door and the same how to remove the door from the hinges will be considered further.
Table of contents:
- How to hang a door to loops: features of a professional method
- How to put the door on the loops with a handicraft
- How to put loops on the door: features and technology for performing the process
- How to weld the loops on the door made of metal
- How to hang loops on the door: features of choosing loops
How to hang a door to loops: features of a professional method
This method of installing the door on the hinges is ease of execution. It is most often used by professional workers, due to the speed of work. Therefore, in the process of work, a special tool will be required. First of all, to insert loops, you will need to use a manual milling machine. With its help, it is possible to perform work on arranging a pure cut. Also, you should prepare a tool with which it is possible to cut the loops.
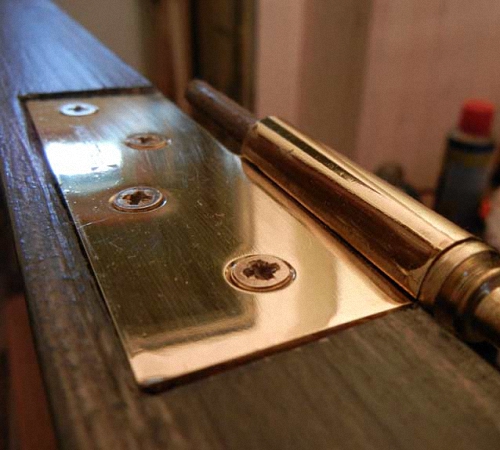
This device has the shape of a lining, which prevents damage to the door leaf with mechanical damage. In addition, with the help of some professional tools, it is possible to completely set the size of the hole for the loops on the door leaf. In this case, it is possible to significantly facilitate the process of installing the door on the loops.
Keep in mind that there is equipment with which it is possible to build a groove on both the surface of the canvas and on the door frame. With its help, two parts of the door frame are connected together, so the process of combining the grooves disappears on its own. It is with the help of this equipment that it is possible to accelerate the speed of installing the loops on the door.
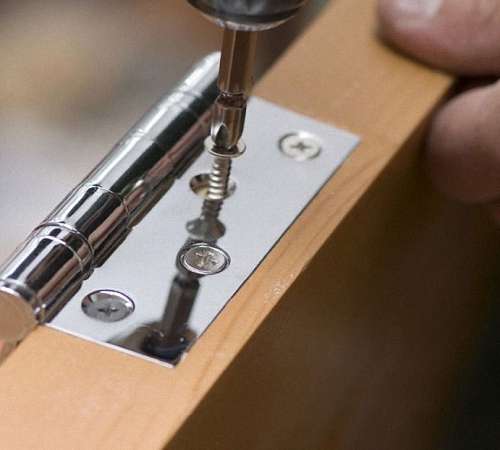
If you do not have such tools, you should not give up, since using one milling machine, you can also do the installation of the door on the loops. This tool, in the presence of skills in working with it, allows you to build a groove connection under the loops, both on the door and on the door frame. However, the disadvantage of its application is the low quality of the result and more time to perform insertion.
Also, with an inaccurate attitude to the mechanism, there is a risk of scratches on the door and damage to the attractiveness of their appearance. Therefore, the heel of the milling machine should be covered with the help of protective material, such as felt.
How to put the door on the loops with a handicraft
This method has a lower quality of the result than the previous option. To conduct it, there is enough chisel and hammer. The popularity of this method is explained primarily by the availability of materials for its implementation.
If the door has a laminated coating, then as a result, the edges of the groove under the loops will be inaccurate and aesthetically unattractive. Instructions on how to install the loops on the door with your own hands is given below:
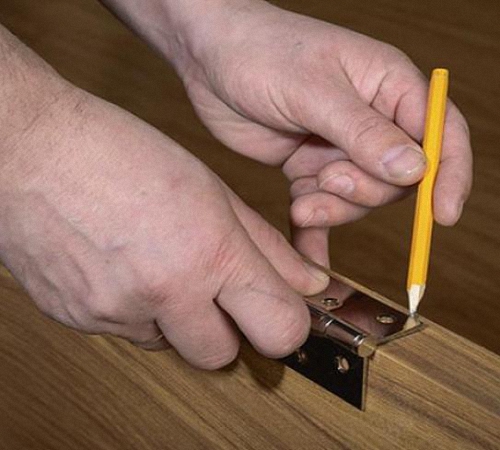
1. At the beginning of the work, marking should be carried out for installation of the groove. To do this, install a canopy on the end of the canvas, circle it with a pencil. Keep in mind that at this stage you should show special seriousness, since the loops should be installed in proportion to the door leaf. Incorrectly installed loops will not be able to rationally distribute the load and lead to premature failure of the door.
2. Next follows the process of execution of the groove connection. For these purposes, a hammer and a chisel are used. The chisel should be installed inside the door leaf for several millimeters. This edging should be made in a ratio with previously made markings.
3. Next follows the process of sampling of the groove connection using a chisel. In this case, the chisel is installed with a small slope. The groove connection is knocked out with a hammer. At this stage, special caution should be avoided to avoid damage to the front surface.
This method of installing loops is suitable for a wooden door, which is subject to further staining. Since after its implementation, inaccurate chips and sample are formed. To eliminate and improve their appearance will just help coloring.

How to put loops on the door: features and technology for performing the process
If you do not have experience in installing doors on a loop, then it is best to use this option. Using a certain type of canopy allows you not to cut them into special grooves. There are two such methods of work:
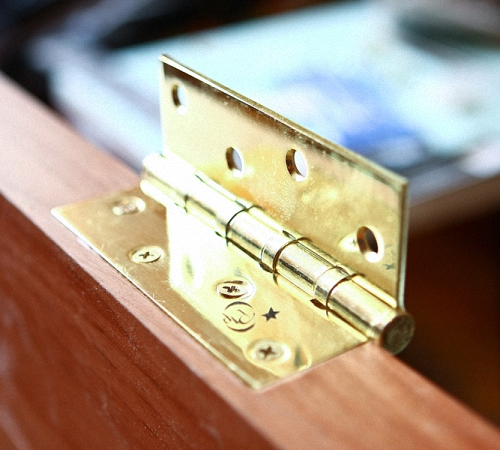
1. The use of loops without a fit. To install this kind of hinged mechanisms, it will not be necessary to cut the grooves on the door or on the box. Their design is quite simple, and allows them to be installed directly on the door. After closing the door is carried out, they are installed in each other, since the thickness of one part of the loop is no more than 0.25 cm, then a technological clearance is formed between them. To install this loop, it is enough to fasten it on the door and on the door box. Among the shortcomings of the use of this method is, first of all, the unaesthetics of the appearance of the door, after their installation.
2. The use of entrepreneurial loops is also relevant for beginners. In this case, the grooves on which ordinary loops are fixed are replaced by holes. To install such a loop, you will need two holes in the doorbell and one in the door itself. To install the canopy, it is enough to screw it into previously prepared holes. Keep in mind that the holes should be located in the correct friend in relation to a friend order. The appearance of such loops is more attractive than the previous option.
In addition, another alternative option for installing the door is the use of loops. Their insertion is carried out directly in the canvas. However, a certain design of such a loop hides a place from the insert, so the aesthetic side of the issue remains at the proper level.
This loop consists of two plates, the rotation of which is carried out around the axis. Installation of this device is performed in the lower and upper part of the door. In some cases, the upper loop still remains noticeable, but only if the door remains open.
How to weld the loops on the door made of metal
To perform these work, electric arc welding is used. At the same time, it is necessary to have the skills of working with the tools. Properly installed and welded loops on the doors will provide their high -quality and soundless opening.
In addition, in the process, the availability of:
- steel door loops;
- plates;
- welding;
- electrodes;
- plot of a locksmith type;
- Bulgarians;
- special clothes, masks and protective gloves.
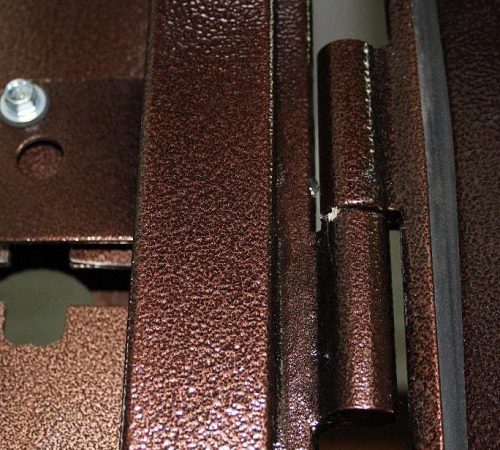
Most often, the loops have the shape of a cylinder or differ in the presence of hexagons. The first version of the loop is more simple to execute and is easier to weld to the door. Special payments are used to weld loops.
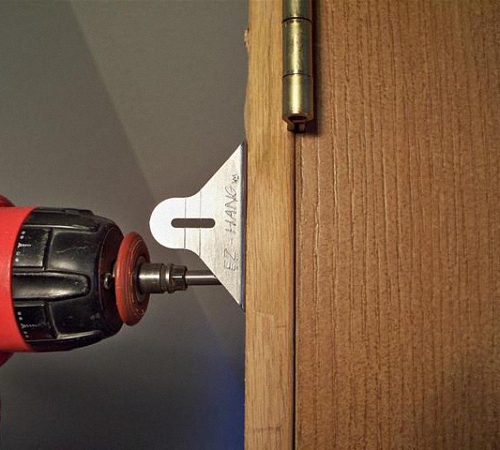
All work is carried out on the street, the surface for laying the door should be distinguished by strict horizontal. The scarves should be welded to the hinges using a continuous seam. Otherwise, the quality and reliability of the connection will be impaired.
In addition, the plastic should be selected in the ratio with the size of the loop. Also, the load from the door, its weight and size should be taken into account. Using these elements, it is possible to equip the so -called work site on which welding will be carried out. In addition, they will serve as a support between the door and the loop.
Before installing the loops on the door and before welding, the doors are installed in a vertical position. Next, their position in relation to the hinges is checked. After checking and marking the welding places, the welding process on the door frame follows. It is with the help of plates that it is possible to facilitate the welding process for people who have not had experience in performing these work.
In order to check the correct installation of the door, use the laser level. It is he who will help to determine the installation site of the second of the loops, after welding the first. Next, the loop is made, the door is extended to the canvas and the continuation of the work. After the welding of the loops is completed, the seams are processed using a grinder.
How to hang loops on the door: features of choosing loops
If you need to hang loops on the door, people who have never done this turn to specialists and spend pretty decent money, on the implementation of this process. However, before fixing the loops on the door, we recommend that you familiarize yourself with the recommendations that will help to perform this process even to beginners.
First of all, the installation of loops begins with their choice. You should also determine the number and direction of the loops on the door if they did not go to it in the configuration. If the door is double, then it will require two loops for each of the wings.
There are several options for doors loops:
- card;
- cut;
- hidden;
- The loops of the entrance type.
Each of these options for loops has individual advantages and disadvantages. Card loops are both removable and not removable. The second version of the loops provides a double -sided opening of the door. However, if you need to remove the door, it is best to use removable loops.
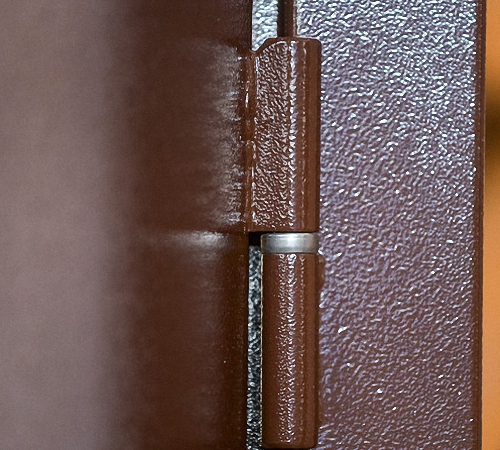
The mortise version of the loop is used if the total weight of the door leaf is more than twenty kilograms.
To install the loops on a single -leaf door, the type of opening should be determined. The number of loops is determined on the basis of the weight of the door, the material from which it is made and the operational load that is assigned to it. To fix the door consisting of one sash, two loops are enough, if it is the input, it is better to use three loops.
Tip: While buying loops in the store, ask the seller to open them in front of you. Since quite often mechanisms with deformed rods inside come across.
In addition, make sure that the color of the loops is in harmony with the general tone of the door, accessories in the form of pens and lock. Self -tapping screws should also be suitable for loops. To carry out work on hanging the door on the loops, you will need:
- plumbing;
- level;
- drills or screwdriver;
- chisels;
- hammer;
- measuring roulette;
- carpentry pencil.
The hinges are installed in relation to the upper and lower part of the door by 20-30 cm. If there is a third loop, its installation is carried out directly in the center of the door leaf. If you plan to install four loops, then the total door length should be divided into five parts and marking the installation site of each canopy.
One part of the loop, without rods, is installed on the door leaf. The second part of the loop is installed directly on the door frame.
In order to fix the loop on the canvas, follow the instructions on how to install the loops on the door:
1. Attach the loop to the door surface and circle it with a pencil.
2. Using a chisel, remove the loop installation circuit. The depth of the removed layer should be equal to the thickness of the loop itself.
3. Using an electric drill or screwdriver, fix the loop using previously purchased screws.
4. When choosing the diameter of the drill, stop on an element, which is half a centimeter less than the screw itself. Thus, it will be possible to increase the reliability of the mount.
5. Next, the door installation in the box follows. The door should be slightly open and set the lower part of the second canopy in the canopy. The installation site of each of the loops is indicated on the doorbell.
6. In these areas, the upper layer with a chisel should also be removed. In these recesses, fix the second part of the canopy. Follow the horizontal location of the rods. Otherwise, it will not be possible to achieve a smooth opening of the door.
The option of changing the procedure for performing actions is possible. In some cases, first, the loops are fixed on the box, and then on the door.
If a creak is observed when checking the door for performance, then use machine oil, technical petroleum jelly or solidol to lubricate them. If the loops are too deep, special lining based on rubber or dense cardboard is installed under them.

If there is a problem of too low the location of the door leaf, then to raise it, you should install between the washers of the washer. If during the installation of the loops you have a screw, which can not be pulled out in any way, then use the drill to extract it. The place in which the screw was installed should be sealed with a wooden beg, which was previously moistened in the college.
Installing loops on the door of the video:
