The correct choice of insulation will reduce the heat loss of the insulated building and extend its term ...
|
|
Granite a symbol of hardness and unshakability. Natural stone unites in ... |
Keramzit personifies real salvation when choosing a simple and durable ... |
Cement tiles: Installation instructions

The most popular material for arranging the roof is cement tiles. This is due primarily to its value affordable and good operational characteristics. We will consider how to install cement tiles about how to install a cement tile.
Table of contents:
- Cement sandy tiles - characteristics
- Features and arrangement of cement sandstone tiles
- Recommendations for the installation of cement of sandy tiles
- Sandy tiles installation technology
Cement sandy tiles - characteristics
The cement tile contains cement, sand, dyes and various kinds of supplements. It has certain similarities with tiles made of ceramics, however, the cement tile has a much larger scope.

The appearance of the roof on which the cement tile is installed is attractive and noble. In addition, cement tiles over time, the influence of moisture on it, acquires additional strength.
The principle of manufacturing concrete or cement tiles is to prepare the right material, its pressing and drying under special conditions. If we compare this tile with ceramic, which is subjected to firing, then the first option is more durable.
The procedure for making tiles is to mix all dry components, add water to them, and the formation of tiles in special containers. A long strip is cut into tiles of a certain size. Next, the concrete surface is covered with a primer, and the material is drying. The procedure for making tiles lasts from eight to twelve hours.
Next, the tiles are painted in the desired color, after which it becomes smooth and at the same time acquires additional strength characteristics. Coloring helps to give the tile a presentable appearance. On the street, the tile should stay for about 30 days. The presence of iron oxide in the dyeing pigment helps to make cement tiles similar to ceramic. In addition, mineral -based dyes are used for its coloring.
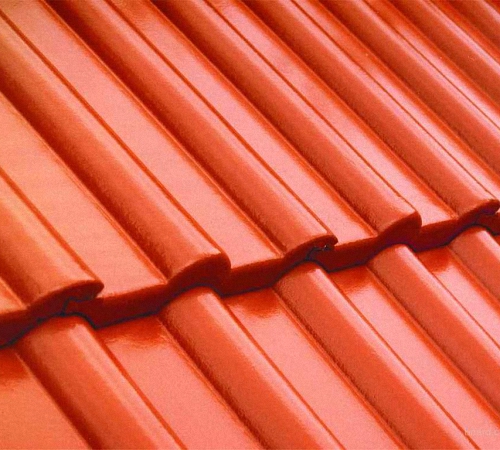
Cement tiles consists of ordinary tiles, but also, for the arrangement of the roof, materials in the form of:
- skate elements;
- cornice overhangs;
- pedimon particles;
- ventilation elements;
- Snow -holding materials.
Features and arrangement of cement sandstone tiles
Among the advantages of cement tiles are highlighted:
- high level of fire safety, since the roof trimmed with the data does not burn;
- After installing the tiles, it does not need additional care;
- In addition, the material is stable before ultraviolet radiation, atmospheric precipitation, temperature changes and other external stimuli;
- The tile shows resistance before frost and does not change the color during its operation;
- During the wind or rain, noise on the roof is not heard.
Cement tile photo:
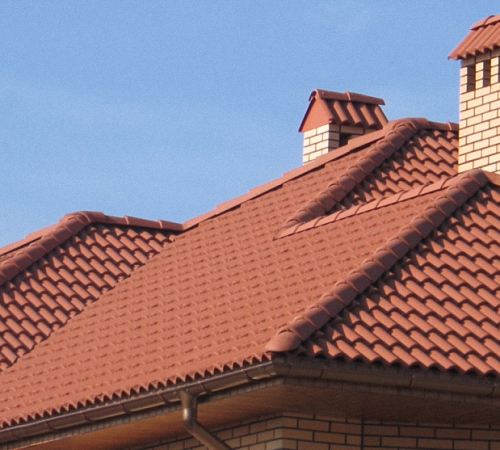
One important advantage of cement sandy tiles is the duration of its operation. According to some manufacturers, the tiles will last at least a hundred years. In addition, toxic substances are not used for the manufacture of material, it is safe and harmless to human health. There is a large range of products according to color preferences of buyers.
The affordable cost of the material is explained primarily by a simpler technological process of manufacturing tiles, compared with ceramics or bitumen coatings. Despite the affordable cost, the material has excellent operational and technical characteristics.
In addition, since there are additional ventilation gaps between the tiles, they provide high -quality ventilation of the undercarbon space. This material is not subject to deformation, very reliable, since tiles are interconnected using a lock.
The tiles are very strong, it is able to withstand the load of more than 150 kg. This quality helps the material with a large amount of snow on the roof surface.

Despite this, tiles on a cement basis are distinguished by such disadvantages:
- high -quality tiles are a decent cost;
- Due to the large weight, cemented sand tiles, the material adds the building, therefore, before laying it, it is required to carry out additional strengthening of the supporting structures;
- It is installed on the roofs with a slope, since on a continuous roof the tiles will delay snow and moisture;
- The use of poor -quality tiles is fraught with the appearance on its surface of the pores in which moisture accumulates;
- A fairly high cost of completing installation work, however, if you perform the process manually, material costs will be significantly reduced.
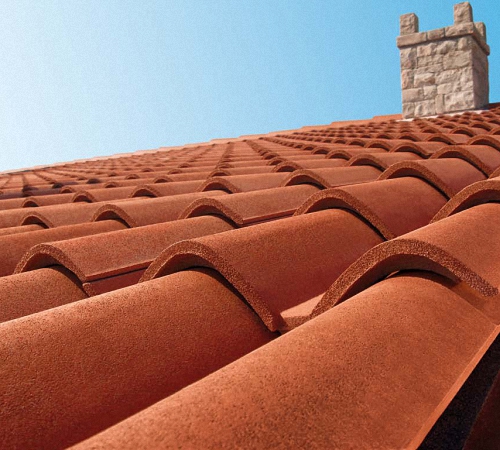
Recommendations for the installation of cement of sandy tiles
Please note that the installation of cement sandstone tiles is possible only if the angle of inclination of the roof is more than thirty degrees. The use of groove tiles is permissible on a roof with a slope angle of 22 degrees.
In addition, modern developments in the industry of building materials involve the use of certain types of tiles, and on more steep and gentle roofs. The main rule of their application is not allowing moisture or wind entering a subcutaneous space. Although, depending on the strength and angle of the wind, there is a risk of moisture even on standard types of roofs, so the use of waterproofing materials in the process of laying the roof is mandatory.
Materials in the form of a waterproofing film are laid directly on the rafters, the material is overlapped with 150-200 mm. Fixation of the material is carried out using wooden planks. After the waterproofing is laid on the surface, the installation procedure of the crate and the finishing material itself.
The installation of the crate depends directly on the size of the tile, which will be laid on it. To calculate the parameters and the size of the crate, the tile should be measured. Based on the sample of the tile, the number of materials for the crate is calculated.
To determine the size of the roof, which must be covered with tiles, twelve tiles should be laid, which must be laid horizontally. In the same way, the tile should be laid in an upright position. Do not forget about compliance with the gaps.

After the size of the crate is determined, work on its installation begins. On the bottom row, the interval between the tiles is calculated based on the fact that it should hang a little from the roof. In order to accelerate the installation of the crate, use a cut out scam. To adjust the rectility of the crate, use the cord, with its help the lattice will turn out to be perfectly even.
The laying of cemented sand tiles should begin with fixing the lower row, gradually moving to the top. Keep in mind that after the installation of the lower row, one row of tiles is laid in the vertical direction, and the cord will help adjust the quality and evenness of the installation.
After the installation of each tile, the evenness and horizontal coating should be carefully controlled. To fix the tiles on the surface, nails and Klyammers are used.
Pay special attention to complex parts of the roof, such as the skating zone, pediment, etc. The laying of the horizontal pedimental series ends with the installation of a special material having a bent end. These works require special attentiveness, since the interval between the standard and pediment tiles must coincide.
In order to arrange the skate area, it is recommended to use special seals made of plastic. Using these elements, the waterproofing of the roof in the ridge zone will improve, in addition, they are able to provide high -quality ventilation of this space. The plastic part is mounted on the skate, superimposed on it and fixed on the tile. To fix the skating tiles on the beam, it is recommended to use Klyammers. It is possible to replace plastic parts with a tile with ventilation holes.
The standard option for installing the tiles on the ridge zone is based on the installation of wooden boards on both sides of the ridge beam, they are covered with special waterproofing, and in the space between them there remains a small hole that provides ventilation.
In the same way, cement tiles in sloppy areas are installed, a grinding machine is used to cut the tiles. Keep in mind that the cost of the rib part will require the installation of a bar, the same as on the skating beam. To fix all the external coatings, use the Klyammers.

Among the main types of standard tiles should be highlighted:
- pediment materials;
- skate tiles;
- tiles with the presence of ventilation canalls;
- The tile on which there are special holes.
Sandy tiles installation technology
After buying cement tiles, it should be stored outdoors, but preferably under a canopy. In no case, moisture should accumulate on it. If the tile is stored on the street without a canopy, then it should be covered with a polyethylene film.
Keep in mind that when raising the tiles, extreme caution should be caused to prevent its damage or the formation of cracks on its surface. It is recommended to transfer the tile upstairs to stacks of 6-7 pieces.
The recommended angle of inclination of the roof for laying the tile is 23-66 degrees. In addition, some tiles are established in the observance of a chess order, so the roof becomes more durable.
Before laying sand tiles, it is necessary to install waterproofing in the form of a film made of polyethylene on the surface of the rafters. To fix this material, you should use nails or stapler.

In order to establish waterproofing, perform a number of actions:
- Try to fix the film in such a way that a small sagging is present;
- It will ensure the removal of condensate and ventilation of the subcutaneous space;
- In addition, waterproofing sheets are overlapped by 150 mm, when fixing the material with small galvanized nails, it is recommended to fix them on a wooden bar;
- Take care of the presence of a small gap between the insulation and waterproofing, thus, it will be possible to ensure ventilation of the subcutaneous space;
- In order to build a crate for the installation of cement tiles, it is recommended to use bars, the size of which is about 5x5 cm;
- The stacking step of the beams is 320-390 mm.
In addition, the installation of cement tiles should be carried out in compliance with the strict rules of consistent laying of the material. The work begins from below, the first step is the lower horizontal row. Move should be moved from right to left, from the lower right angle. The next row is vertical, it also fits from the first tile with the right corner and to the top to the ridge zone.

Gradually, the plots located around the perimeter should be overlaid, moving to the central part. Please note that in each tile you should previously drill holes, for these purposes use an electric drill.
Do not break the holes with a nail, as there is a risk of damage to the tiles. Keep in mind that the first row is mounted with a small allowance down, it will provide water flow from the roof, it also helps to improve ventilation in the attic.
Keep in mind that the strength of the entire structure depends on how qualitatively the first row of tiles is laid, since it is subjected to the largest load. You should also pay attention to the skate zone, since its incorrect installation can lead to moisture to the attic.
The installation of the skate completes the work that improves the presentability of the appearance of the roof and makes it more completed. If there is a need to cut the tiles into parts, then for these purposes use a cutting machine on which a disk with diamond spraying is installed.
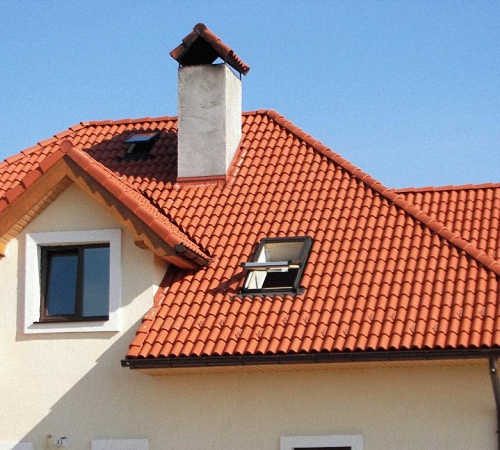
Please note that when laying the tiles, the load on the roof should be evenly distributed. In order for the roof from the tiles to serve you as long as possible, you should use the services of specialists who will carry out the installation of tiles with qualitatively and quickly. With self -installation of tiles, we recommend inviting a person who performed this work earlier.
Installation of cement of sandy tiles video:
