To ensure additional sound insulation, any metal doors require ...
|
|
We all worry about the safety of our housing. And windows protection first task ... |
With the development of modern building technologies, many options for creating ... |
Balcony sheathing: tips and instructions
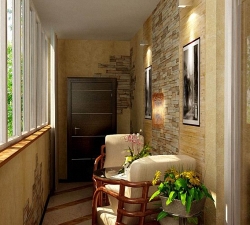
In order to make the balcony aesthetically attractive, it is necessary to perform its internal and exterior decoration. There are many materials by which this process is performed. We will talk about their features and advantages of installation on the balcony.
Table of contents:
- Balcony lining technology with lining: Instructions and recommendations
- Balcony sheathing with plastic panels
- How to make a lining of the balcony with siding
Balcony lining technology with lining: Instructions and recommendations
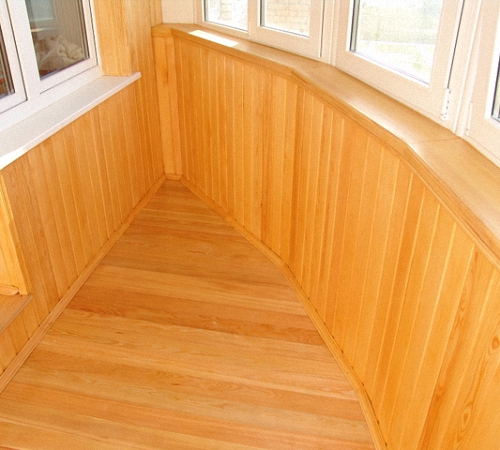
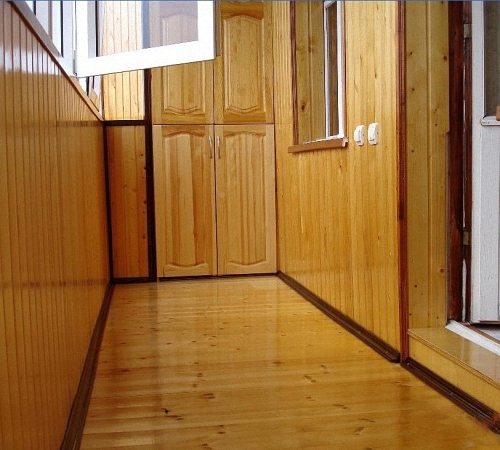
After finishing the balcony using the lining, it is possible to get an amazingly comfortable room. In addition, a special work or special equipment skill is not required to lay this material, it is enough to follow the instructions specified by the manufacturer.
Among the advantages of using the lining, you should highlight:
- environmental safety;
- attractiveness of appearance;
- ease of installation;
- resistance before mechanical damage;
- Lightness of care.

For lining the balcony, a lining of cedar, ash, alder, pine, oak, etc. is used. The most economical option is a pine lining, and more expensive is a lining of cedar and oak. Keep in mind that the duration of the operation of this material depends primarily on its quality and the styling method. The use of the cheapest option is pine wagons, it is possible only if there are no direct sunlight on the balcony during the day. Otherwise, the lining will begin to highlight the resin and its appearance will deteriorate.
In the process of choosing a lining for the finish of the balcony, it should be noted that there are several of its classes:
- Extra -Wagon - a material that differs in the absence of knots, deformations, has a homogeneous surface, but the cost of such a lining is very high;
- The wagon A of the class has several knots for a certain area, in the rest it differs in the same characteristics as the previous option;
- In the lining in the class there are certain cracks and several resin pockets;
- The lining of the latter with the class is distinguished by the presence of a huge number of defects, cracks, mechanical damage, its cost is the lowest.
After choosing a lining for the balcony, one more important process is followed - preparatory work. We offer to familiarize yourself with the instructions for preparing the balcony for trimming:
1. Get rid of the previous finish, if necessary. Remove paint, wallpaper and degrease the surface.
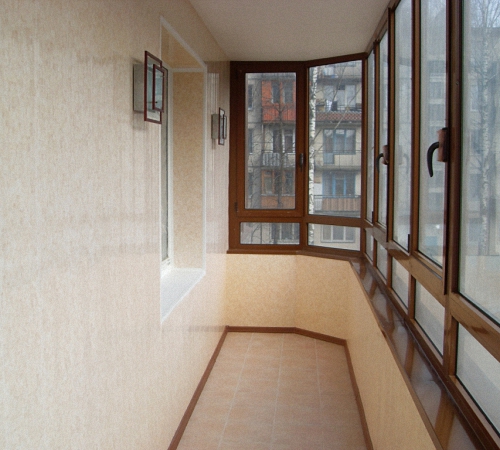
2. In the presence of cracks on the ceiling or walls, fill them with a cement mortar or putty. Further, the walls and ceiling are treated with a primer with an antiseptic effect.
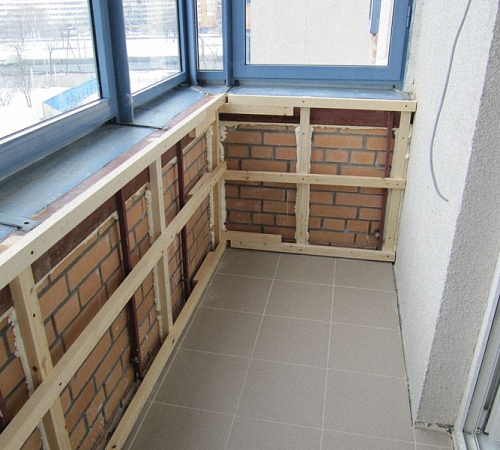
3. Before installing the lining, the crate should be equipped for it. First, corner racks are installed, then vertical bars, which are fixed on the wall with anchor bolts.
4. After fixing vertical corner racks, they are combined using bars. The interval of their installations is 50 cm.
Tip: According to the recommendations of experienced craftsmen, the first beam is set directly with the knee, the second to the thigh, and the third to the shoulder. Thus, relying on these areas, the lining will not be damaged, since there is a crate under it.
5. After the installation of the crate, the insulation should be installed in it, for example, mineral wool. In order to fix the insulation, use adhesive foam.
6. Next, a layer of vapor barrier should be provided. After fixing this material, it is necessary to install the lining itself.
The next stage is the installation of the lining on the balcony. To perform the interior decoration of the balcony, you should start work from the corner. The lining is installed in a perpendicular position in relation to the crate. The bars will help to fix the lining, while the work is checked by the construction level. To install and fasten the lining to the wall, they are used with nails or klyammers.
Tip: in order to avoid damage to the lining, first nails are clogged into it gradually, then a stand is installed that prevents the cracking of the material.
The following should be installed on the already installed board of the lining, while slightly pushing it with a hammer. Further, the entire process is checked for evenness and the next board of the lining is installed.
Balcony sheathing with plastic panels
A fairly common and budget option will be the lining of the balcony with plastic panels. Among the advantages of using this material we note:
- the duration of operation and the high level of strength - the panels made of polyvinyl chloride are resistant to moisture, ultraviolet, burnout or deformation;
- The affordable cost of panels makes them very popular in the building materials market;
- Good soundproofing characteristics protect the balcony from unnecessary sounds that come from the street;
- The simplicity and ease of installation is another advantage of using this material, with plastic panels, one day is enough to finish the balcony, the installation process resembles the assembly of the designer;
- Easy operation - PVC -based panels are of antistatic, do not accumulate dust, but for their washing, sufficiently warm soap water;
- A variety of colors, textures - there are many variations of plastic panels, some of them imitate a stone, tile, wooden surface, so it is possible to get a surface with good aesthetic characteristics.
Despite this, plastic panels have the following shortcomings:
- low level of environmental friendliness - this material is perfect for non -residential premises, such as a balcony, hallway, living room;
- high level of combustibility - material is prone to fire and combustion;
- The possibility of deformation at sharp temperature differences.
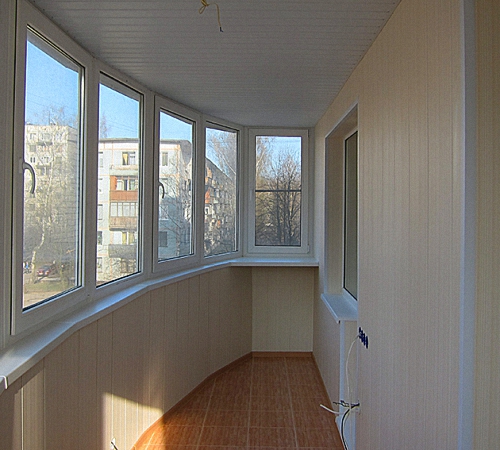
The process of lining the balcony inside with plastic panels is preceded by its glazing, insulation and sealing. Only after they are conducted, the decoration will last you for a long time and will not lose its properties during operation. Work should start with the installation of the crate. For its manufacture, use wooden rails and nails of dowels. The work begins with determining the thickness of the crate, then the amount of the material necessary to perform the skin should be calculated. In order to build a crate, it will require the presence of three, different in configuration, profiles:
- corner;
- internal;
- Triple.
Tip: In some, the situation will require the presence of profiles of the starting, guide and finish type. The last option helps to accelerate the installation of panels.
The same materials are used in the process of carrying out the lining of the balcony from the outside.
The installation of the crate is performed according to this scheme:
1. A direct type profile is mounted - it has the form of P. The fixation of this element is carried out on the surface of the crate, if necessary, a transverse block is installed between it and the wall.
2. The angles of simple configuration are two profiles that are interconnected at a right angle. This element is installed on both internal and external angular fragments.
3. Triple corners are the most complex. For their installation, it is advisable to have special skills in working with a profile system. In addition, in the absence of a triple profile, the triple angle is mounted by cutting the box at an angle of 45 degrees.
To fix the profiles on the surface, use screws of screws that have a flat hat with an extension. Install the fasteners using an electric drill.
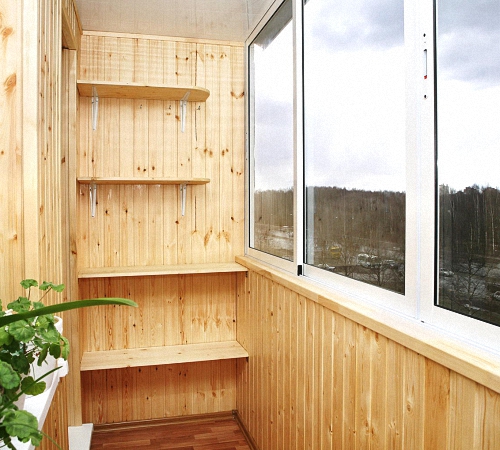
This is followed by the process of installing plastic panels, two versions of this material are distinguished:
- panels that have a symmetrical spoon;
- Asymmetric version of the panels.
The panel is installed on the crate and checked for evenness. To fix it, a puck press is used on the surface. Two, three fasteners are enough to fix one board, up to 200 cm long. A large number of fasteners on the surface of the panels will spoil their appearance.
Balcony sheathing photo:
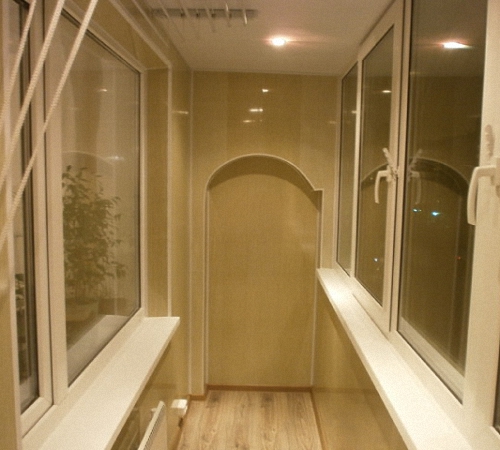
Installation of panels inside the balcony consists in their pruning in relation to the size of the crate, bending the board and its installation on the wall. When the panel is seized, you should easily press it or pat it on its surface. When sheathing with asymmetric boards, the canvas moves using a puck press.
The last two boards are not installed immediately. For the connection between each other, squints installed in the grooves are used. First, the first board is installed, then the latter. In the finish box, a tight fit of the canvas to the crate should be ensured. To do this, use the silicone that is processed a crate.
To begin with, lining straight walls with panels is performed. After that, it is necessary to shell the openings. If asymmetric panels are used, then a strong fit of the boards to each other should be ensured.
Tip: all work recommends that together, thus, it will be possible to increase the speed of the lining of the PVC balcony by several times.
How to make a lining of the balcony with siding
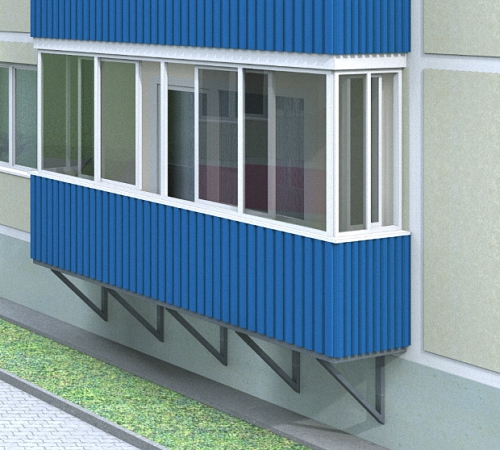
Siding is a material used in the process of external finishing of balconies. Among its advantages, primarily frost resistance and stability over atmospheric influences are noted.
In addition, this material has the following advantages:
- simplicity of operation;
- lack of need for painting or additional care;
- non -toxicity and resistance before fire;
- resistance before corrosion, fading;
- a variety of colors, the ability to diversify the surface with accessories;
- the possibility of arranging the facades of the ventilated type, the presence of ventilation allows to prevent the appearance of the fungus and mold;
- good thermal insulation characteristics;
- Available cost.
Among the main materials used in the process of lining the balcony with your own hands using siding, you will need:
- Starting stripes - are a hook on which the first row of siding is installed;
- external and external angular nozzles - allow you to close the connection of siding, thus improving the attractiveness of the appearance of the coating;
- window sills are platbands, with their help it is possible to close the upper line of siding.
In the process of performing work, the presence of electric drill, level, hacksaw, screwdriver, knife, pliers will be required. In addition, tools should be prepared, such as:
- The nozzle for a magnetic type drill - with its help, will be wrapped in self -tapping screws, despite the fact that according to the applications of most manufacturers, it is advisable to fix the siding using nails, self -tapping screws allow you to adjust the depth of siding with the surface;
- several meters of fishing line, which are used by fishermen, several homemade brackets, with their help it will be possible to achieve a perfectly even foundation for laying siding;
- The presence of a round steel brush will also help to do the work faster.
When starting to work, set yourself up for attentiveness, accuracy and seriousness. In addition, the installation of siding requires a reliable fastening on the surface of the balcony, since a randomly torn strip of material will lead to a replacement of the entire facade.
Keep in mind that the work on the balcony is quite dangerous, it will require the presence of a mounting belt, which is previously fastened to the balcony grate.
Instructions for preparing the balcony for siding:
1. Remove the railing from the balcony, if any, also get rid of the facing panels. If there are joints on which there are cracks, they should be repaired with welding.
2. Get rid of the cement coating, while knocking it with special accuracy.
3. To get rid of corrosion on reinforcing rods, it is recommended to process them using a steel brush. Next, they are painted and covered with a solution with an anti -corrosion effect.
4. Check the evenness of the balcony base, if necessary, fill in the differences with cement mortar.
5. Without fail, the upper parapet of the balcony should be strengthened. For these purposes, wood or metal will be required.
6. On steel fences, balconies are installed by the rails, first in horizontal, then in an upright position.
7. Fixation of the elastic plastic corner will provide protection of the lower part of the balcony and improve the attractiveness of the appearance of siding.
Please note that in the process of installing siding, it is necessary to use only factory connectors and profiles. Only in this case, the coating will turn out to be reliable and aesthetically attractive.
To ensure the connection of siding with the wall, we recommend the use of end profiles, and in order to connect two planes, external angles are used.
Installation of the starting profile is mandatory. If you neglect this rule and fix the siding using self -tapping screws, then with temperature expansion, the surface is deformed.
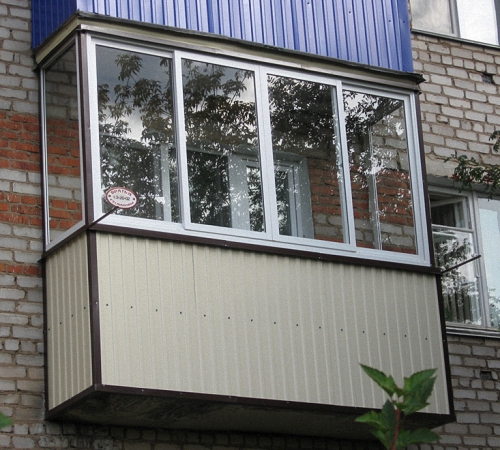
Hard fastening is required exclusively by the central part of the balcony, the remaining areas are smoothly held on the surface. This is necessary so that the sheets of material are freely compressed and expanded. After the external finish of the balcony with siding, there is the possibility of installing this material inside the balcony. To do this, a woodcock is installed and siding is installed according to the above scheme.
Do -it -yourself Balcony Video Balcony:
