Parquet is a high -quality and environmentally friendly flooring, a trump card ...
|
|
The range of flooring has dozens of different names. Among all ... |
In Khrushchevs and other buildings of the Soviet era, low problems are considered a big problem ... |
How to lead the ceiling without causing a master

In the modern world of design, much attention is paid to suspended ceilings with beautiful lighting and multi -level structure or ceilings finished with wood and plastic panels. Undoubtedly, such ceilings look spectacular, but they require significant efforts and financial resources for their creation. Those who want to get a beautiful ceiling with minimal costs should pay attention to the whitewashing of the ceiling. This simple method of decoration has been known for a long time and is still relevant. The whitewashing of the ceiling has a lot of advantages over modern decoration options and can be performed in various ways. There are no particular difficulties or secrets in how to whitewash the ceiling, the main thing is to understand the essence of the work performed and be able to handle the tool.
Surface preparation
Performing work on whitewashing the ceiling begins with the preparation of the surface. At this stage of the work, it is necessary to clean the surface of the old coating and, if necessary, level it, as well as repair the ceiling itself. All of the listed works are required for completion if you do not want to see bumps on the surface of the ceiling after whitewashing, and the whitewashing itself would not crumble in a couple of months.
Cleaning the ceiling
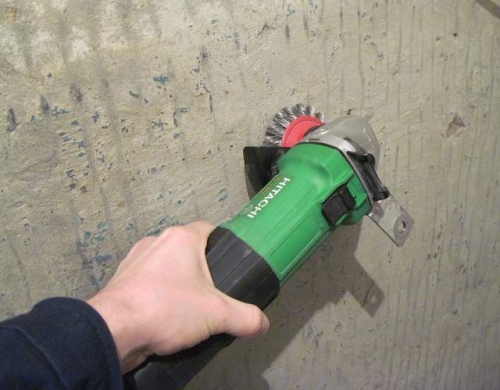
Work on cleaning the surface of the ceiling is required in preparation for its whitewashing. This is due to several factors. Firstly, the old coating can be made of material, which over time will appear through a layer of whitewashing. Secondly, the old coating can exfoliate in places and will completely disappear after whitewashing. Thirdly, having removed the old finish, you can more accurately evaluate the condition of the ceiling and the need to repair it. Fourth, only by applying a layer of whitewashing on a clean and carefully prepared surface, you can be confident in the durability of whitewashing. The method of cleaning the ceiling depends on the material of the old finish.
To perform all the ceiling cleaning work, the following may be required:
- ladder or goat;
- putty knife;
- wide brush or roller;
- hammer or punch;
- pulverizer or water container.
If previously the ceilings were painted with oil or acrylic paint, then it can be removed both mechanically and using special washing. In the first case, using a conventional hammer, the paint is knocked down from the surface. In the second, the surface is covered with chemical washing and after some time the paint is carefully removed with a spatula. What way to choose, to solve directly to the owners. But it is worth noting that in the first case, the work is quite uncomfortable and complex. As for the second option, despite its simplicity, the use of chemical washing is very harmful to health.
Those who have The ceiling is covered with wallpaper, you need to do the following. The entire surface of the ceiling should be moistened with warm water and let the wallpaper drop water into yourself. And then after 10 15 minutes to clean the ceiling from the wallpaper using a spatula. If in some places the wallpaper does not succumb, then you can re -moisten them with warm water and then try to remove them again. As soon as the surface of the ceiling is cleaned of the wallpaper, it should be washed to remove the remaining glue.
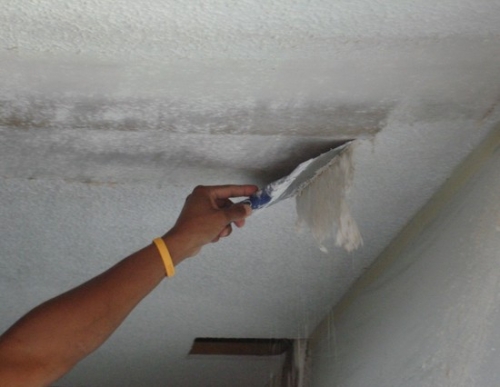
Old whitewash and water emulsion They are removed from the surface of the ceiling in two ways. The first surface is moistened with warm water with a roller or sprayer, and then the coating is carefully cleaned with a spatula. The second whitewashing is removed on a dry with a spatula or metal brush. The first method is more preferable, since there will be no dust in the process of removal. At the end, the ceiling should be washed to finally remove the remains of the old coating, and let it dry.
Sometimes the surface of the ceiling is finished with tiles. In such cases, to clean the ceiling, a hammer or even a perforator may be required. After the tile was removed, the surface is cleaned of the remains of the adhesive mixture or cement mortar.
Whatever the old ceiling finish, after its removal, a naked and clean concrete or wooden surface of the ceiling should remain. During the cleaning of the ceiling, it is necessary to worry in advance about the protection of the eyes and respiratory tract. It will not be superfluous to cover the floor with plastic film, so that later it is easier to clean the cleaning.
Ceiling repair and alignment
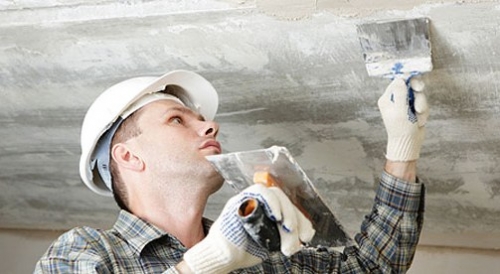
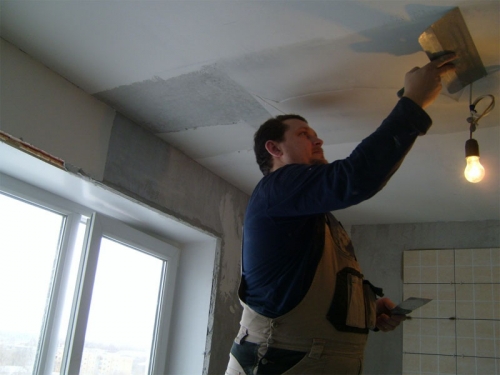
After the old finish was removed from the ceiling, it is necessary to carry out a thorough inspection of the surface for cracks, irregularities or other damage. All the shortcomings found will have to be fixed. The procedure for performing work is as follows. First, turn out the cracks. To do this, with the help of the corner of the spatula, we expand the crack itself slightly. Next, we apply a deep penetration to the damaged area of \u200b\u200bthe ceiling and let it dry, then put down. It is worth noting that this will be enough for shallow cracks. But if the depth of cracks and depressions is more than 3 mm, you will have to use a painting grid that will be hidden under a layer of putty for a more reliable repair.
If rust previously appeared on the surface of the ceiling, then it is necessary to protect the white ceiling from this. To eliminate and protect the surface from the appearance of rusty spots of the place of its appearance should be treated with copper sulfate.
A further step will be complete leveling of the surface. To do this, the entire ceiling is primed and a painting mesh is glued on its surface. Then the surface of the ceiling is putty. After drying, the ceiling is polished so that there are no irregularities left on its surface.
To carry out whitewashing the ceiling, the repair of its surface is required both for those who want to see a perfectly even ceiling after whitewashing, and for those who are simply going to make cosmetic repairs. Indeed, the slightest flaws are visible on the whitewashed or painted ceiling, which spoils the overall impression of the repair.
Pressing the ceiling
Upon completion of the preparation of the surface of the ceiling, you can proceed directly to the finish. The whitewashing of the ceiling is performed in several different ways using the three most popular lime materials, chalk or water -based paint. It should be noted right away that the price depends on whitewashing the ceiling. So the cheapest will be whitewashing the ceiling with lime and chalk, but whitewashing the ceiling with a water emulsion will cost a little more. However, in comparison with other methods of finishing the ceiling of whitewashing, the most cheap and environmentally friendly option.
We start working on whitewashing with preparing the primer for whitewashing. It is customary to do it on the basis of bastard lime. But if a primer remains after repairing the ceiling, then you can use it. To make a primer, you will need 200 g of laundry soap, 2 liters of hot water and 100 g of olifa, 3 kg of bastard lime.
Cut the soap in small pieces or chips and then dissolve in hot water. As soon as the soap dissolves, add the olifa and mix thoroughly. In a separate container, dilute lime using 4 liters of water. After that, the lime and soapy solutions are mixed with each other. The resulting concentrate should be diluted with 10 liters of water, after which it can be used. Sometimes, instead of lime for the primer, carpet glue is used.
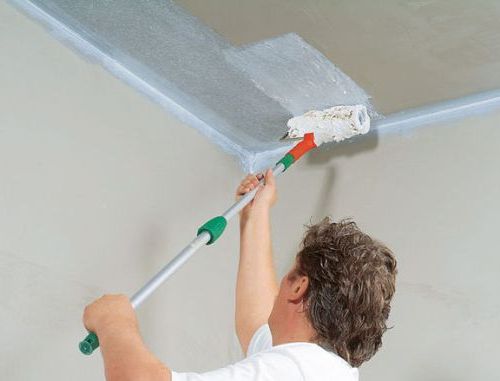
After the primer is divided with water, it must be strain through gauze or sieve so that the resulting mixture is homogeneous. Now We apply a primer to the surface of the ceiling. To do this, you can use a roller, a wide brush or a spray gun. After applying the primer, the tool should be thoroughly washed. After the entire ceiling is covered with a layer of primer, we proceed to whitewashing.
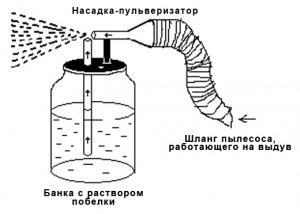
Important! Today, the purchase of a compressor and spray gun is not particularly problemed. But if the funds do not allow, then you can use the vacuum cleaner, which has a connection of the hose to blow. Such a function was provided in old Soviet vacuum cleaners. The set of such vacuum cleaners also includes a special battery nozzle.
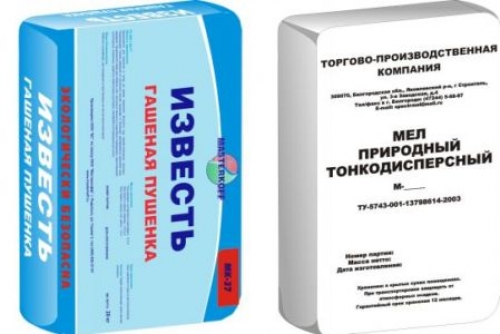
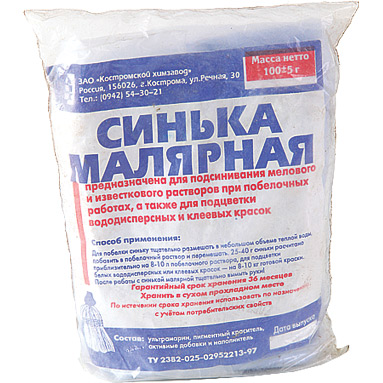
The next step will be preparation of chalk or lime solution. For chalk whitewashing, we dissolve 3 kg of mela or lime in 5 liters of water and add 20 g of ultramarine (blue). Mix everything thoroughly and filter through gauze or sieve. The resulting solution should be a homogeneous consistency without lumps. This amount of chalking will be enough for about 10 12 m2.
Important! Ultramarin, or as it is also called blue, is added to a chalk whitewashing to preserve the white color of the chalk. The fact is that the chalk surface takes a yellowish color over time, and ultramarin will preserve the whiteness.
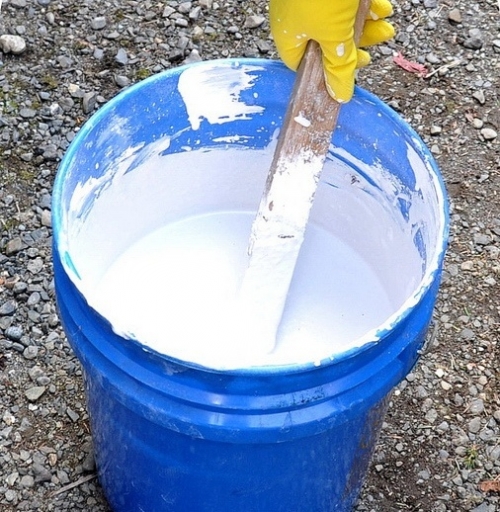
For lime whitewashing, we dissolve 3 kg in 10 liters of water with the addition of 100 g of ordinary table salt and aluminum kvass in 200 g. The preparation of lime whitewashing is associated with the risk of obtaining burns, so in the process of working with such whitewashing, strict precautions must be observed. It is necessary to work in rubber gloves, and when applying to the ceiling, protect with glasses, respiratory tract with a respirator. It is also worth noting another important feature of calcareous whitewashing. It is an excellent sanitary tool from fungi and mold. This is especially useful for those who thought about the question of what and how to whitewash the ceiling in the bathroom and kitchen.
Important! Before causing whitewashing, it is extremely desirable to cover the floor with a plastic film to protect against drops of chalk, paint or lime. It will also not be superfluous to protect the walls in this way. The film is glued to them with a painting tape. In addition, on the walls in this way you can make the indentation from the ceiling for whitewashing.
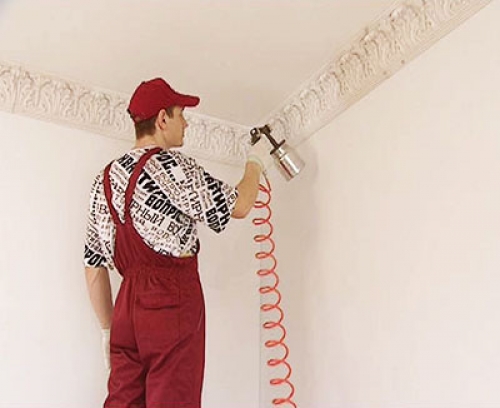
Now we proceed to defeat the ceiling. This can be done with a roller, brush or with a spray gun. If you use a spray gun, then this is the best option. Since whitewashing is sprayed evenly and with a thin layer. But it should be noted two important points. Firstly, you will have to whitewash in several approaches. First, apply the first layer, then let it dry for 1.5 2 hours and then apply the next. Secondly, the whitewashing should be sprayed in circular motions at a distance of 15,100 cm so that small drops fall on the surface of the ceiling.
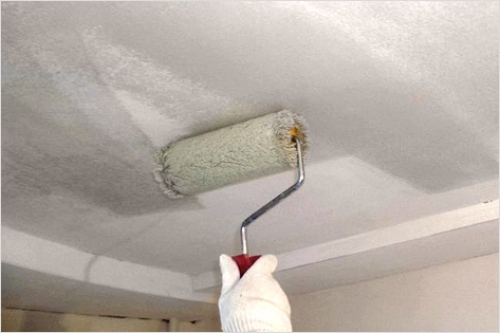
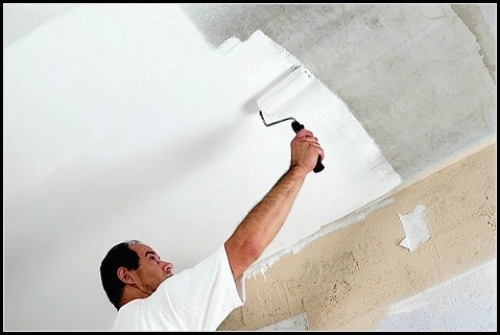
If the whitewashing is performed using a roller or brush, then everything is somewhat more complicated, since you will have to very carefully perform whitewashing. The process of whitewashing the roller or brush itself is as follows. By moistening a brush or roller, squeeze it a little to get rid of excess fluid, then gently apply it to the ceiling. We make smooth straight movements in the direction of the window. So we apply the first layer of whitewashing. Giving to dry the first layer, we apply the second perpendicular to the first. In such a simple way, shortcomings will be redeemed, and the surface will acquire a rich color.
Witting the ceiling with a water -based emulsion In many ways, it is similar to whitewashing with chalk or lime. The difference is to prepare the surface for painting. Where instead of homemade primer, a primer of deep penetration is necessarily applied. In addition, the acquisition of paint eliminates the need to prepare and breed a solution of chalk or lime. Today, the most common whitewashing the ceiling with snowballs is most common. The water -based paint of this manufacturer is famous for its excellent characteristics and affordable price. It should be noted that in addition to the finished water -based paint, on the market you can find ready -made OV Cretaceous and lime solutions. Like, for example, the lime paints of the manufacturer Bio Apnena. The main advantage of such colors and solutions is already a completely ready -made mixture with the addition of all the necessary components in the right amount. It is enough to add a little water to such mixtures and stir thoroughly before use.
After 2,3 whitewashing layers have been applied to the ceiling, we leave it to dry. At the same time, it is important to comply with several simple rules. In no case should you accelerate the drying process, opening the doors and windows wide open. Also, drying of whitewashing should occur in a room shaded from sunlight.
The work on whitewashing the ceiling is quite easy to perform, and even a beginner can perform them with a certain dexterity. The main thing is to adhere to safety precautions and follow the above recommendations.

