Any person understands well that the air rises up when heated. According to...
|
|
Such finishing material as liquid wallpaper in the kitchen It looks like ... |
Topping the goal of creating an unusual interior, using time tested by time and ... |
How to make a bulk floor with your own hands?
Have you conceived the repair? To keep up with the times, you need to know not only the types of flooring for the long time, but also novelties such as bulk floors. Indeed, for some rooms, they are simply indispensable due to their strength, integrity, smoothness, aesthetic qualities. In addition to all this, such a coating is also durable, practical, safe, hygienic, has waterproofing properties and is resistant to thermal, chemical and mechanical effects. Dirt and dust are not collected on such floors, since there are no seams on them. The bulk floors are good both on their own, and are used as a leveling floor based on laminate or linoleum. About how to make a bulk floor with your own hands and will go further.
Stage 1 Preparation
Before you start doing something, you need to thoroughly prepare for this. Correctly process the surface, stock up on the necessary materials and tools, think over the future design.
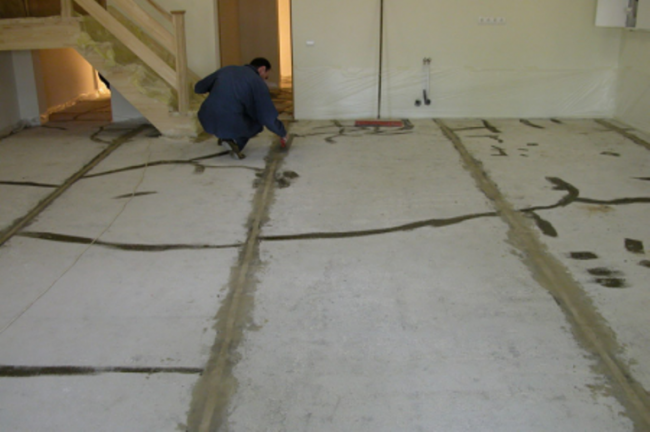
Pouring floors are applied either to the finished cement or concrete screed, or on a wooden floor. If in the first case it is enough to get rid of garbage and dust, remove the surface of the surface, if any, then in the second you need to check the boards for strength, if some are staggering, strengthen them, thoroughly process the cracks and polish irregularities. When pouring a polymer composition, it will have to spread on the surface, and not flow into the cracks. Therefore, it is important to treat them with sealant or cover them with a cement-sand mixture, in some cases the floors are better to treat with an additional layer of primer material.
With concrete, everything is easier. If there is linoleum, it is dismantled, but the tile is left in their place, checking its strength. If in the flat surface of the floors you are sure (made a screed), it is enough to drain them with a powerful vacuum cleaner. If the floors leave much to be desired, then local leveling will be needed so that neither protrusions nor the recesses. Crossbringing is grinded, the cracks are processed, in some difficult cases, fiberglass is used.
Stage 2 sound insulation and prevention of cracking
One of the preparatory stages in the construction of a bulk floor is the processing of the joints of the future floor with the wall. So that over time, with possible deformations of the room, cracks do not appear in the floors, in order to avoid linear expansion, it is necessary to lay a damper tape around the perimeter of the room. It will also serve for sound insulation. Its width should be no less than the level of future sex.
The second option requires great efforts and is called the execution of the release. Before pouring the floors at the joints of the wall and floor (approximately at the same distance equal to the width of the skirting board, drinks are made to the line of intersection of the planes of the wall and floor). Their depth and width 5 mm. Then this section is cleaned of dust and garbage, isolated with tape on the boundaries with the floor and wall and covered with epoxy solution. When the solution dries, the tape is removed and proceed to the performance of subsequent work. The next stage is cut off another parallel to the extension of the recess in the floor, which is covered with a primer along with the entire surface. In this case, the border with the baseboard is separated by tape, which is removed after the floors dry.
Stage 3 primer for better adhesion
For better adhesion of bulk floors with the base, the latter is covered with a layer of primer. The quality of the future sex also depends on the choice of primer. In addition, priming will help to seal cracks and prevent bloating. Most often, small polymeric materials, such as Ceresit or Knauf, are used for primer. These are universally recognized brands, which you can be confident. But the building materials market will offer a lot of materials, which you can use after advice with the master and in strict observance of the instructions.
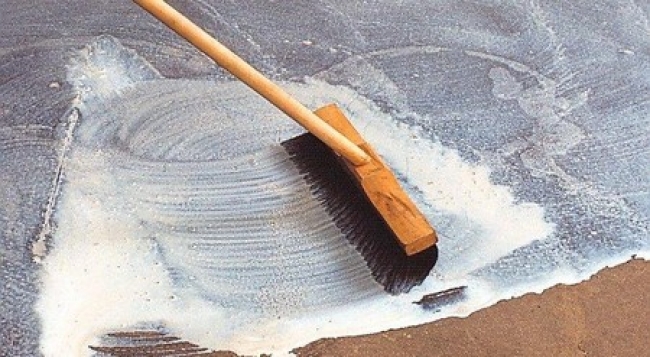
If half the basis is in excellent condition, then it can only be primed once to improve subsequent adhesion (clutch). To do this, they stock up on a roller or a spray. The mixture is diluted with water and the floor is covered. If the primer is absorbed, you will need to process the floor additionally. Repeated application (if necessary) is carried out only after 4 hours. It is necessary to ensure that the surface shines.
The floor is sprinkled with sand covered with a primer: this also improves adhesion. Sand consumption: on an area equal to 1 sq. m, they use no more than 150 g. The sand will make the flooring surface slightly rough, which is necessary so that the bulk floors are perfectly clasped with the base. After 24 hours after applying the last of the primer layers, you can start filling the bulk floors.
When working with polymer mixtures, you need to adhere to the temperature and moist regimes. If the room is too wet, it must be additionally dried, and after laying the screed, they must wait 25-30 days for its complete drying.
Stage 4 alignment
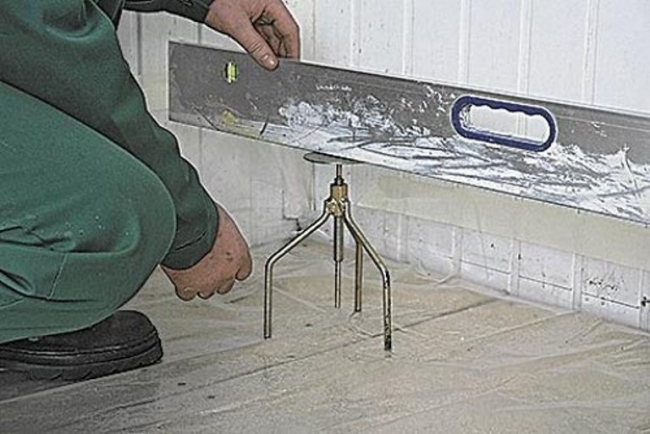
Burning floors are a frozen polymer mixture, which is also called self -enforcing. But in order to avoid incidents, many builders use beacons. These can be regulated beacons on the legs (pin) and ordinary self -tapping screws. The former is easy to arrange and remove, but the screws will have to be screwed into the duplic pre -clogged into the floor, and then make efforts to dismantle them. Set the beacons at a distance of 1 meter from each other. They put them taking into account the level. To do this, on the walls, notes are made as often as possible, which will correspond to the largest thickness of the bulk floor. Focusing on these notes, set the beacons. You can not do without lighthouses, especially in cases where the bulk layer exceeds with a thickness of 1 cm.
Stage 5 Choosing a mixture
Among the whole variety of materials to create bulk floors, you need to choose mixtures of already proven manufacturers. These are stamps such as Ceresit, Knauf, Semin, Maxit, Henkel Bautechnik, Deitermann, Atlas, Polyrem, Polymin, Osovite, CS, prospectors. Each brand has dry material - its own proportions for the preparation of the solution. They must be clearly observed. When buying a mixture, you will also need to calculate how many bags (packages) a dry mix will need. On average, it is 125 kg per 12 square meters. It will be even simpler than 1.5 kg of the mixture to fill the layer with a thickness of 1 mm on an area of \u200b\u200b1 square. m. If the base of the floor is not entirely even, there are potholes, then the mixtures will need more.
It should also be taken into account how the solution will be poured: by hand or by machine filling, the layer that is planned to be filled is needed only for leveling or it will be the finish flooring. Prophy builders recommend mixtures for the starting (primer) filling and mixtures for finish filling from one manufacturer.
Stage 6 Preparation of the solution
Have you already bought the mixture? Let's think about the tools. To prepare the solution, you need to take a container with a volume of at least 25 liters, stock up on an electric drill with a beat for whipping (mixer), an aeing roller (a special needle brush on a long handle), a wide spatula or rocket.
The first step in the preparation of the solution is pouring water into the container, and only then fall asleep the required amount of dry mixture. We mix everything diligently. Compliance with proportions key to success. The solution should resemble kefir in consistency: liquid, without lumps and bubbles. To check whether the necessary consistency is the solution of the following experiment. Take a smooth surface (glass, plywood). An empty glass of yogurt is placed on it, or the lid from the hair spray in which the bottom is cut off. Holding the cup, a solution is poured into it, the cup is raised and according to the way the solution spreads, they are judged by its consistency. Ideally, 100 g of the solution should spread into the spot, the diameter of which is about 20 cm. If the dimensions of the spots are significantly deviated, then the water is added or the dry mixture is added and mixed well again.
Stage 7 Pour the solution
The primer is diluted with water and moisturized by it. The finished solution is poured so that individual portions are interconnected. In this case, you need to adhere to the location of the deformation seams on the concrete base.
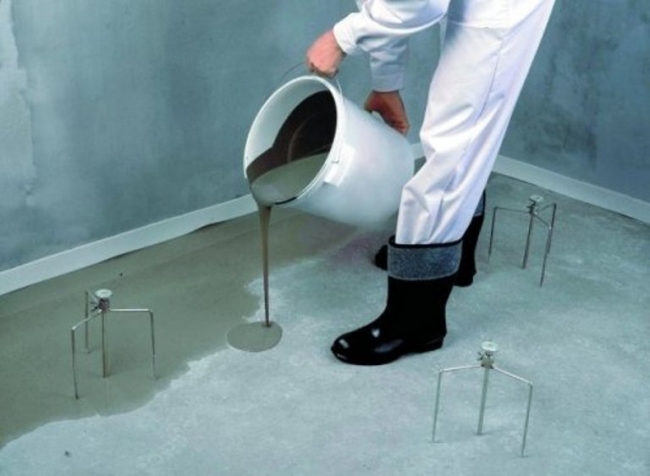
While one person prepares the solution, the other pours it to the floor and evenly distributes it with a wide spatula. It is important that the solution spread well in the corners and near the walls. When the planned amount of the solution was spilled, he evenly filled the space due to it, the beacons are removed.
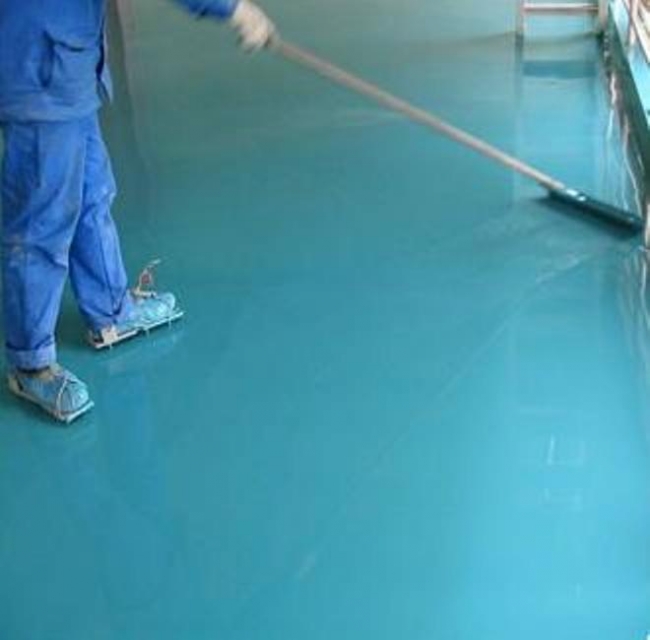
At the same time, on the surface of the floor, they go in specifically for this intended shoes of plane (or boots on spikes). After removing the lighthouses with the help of a needle roller, the solution is aeration. This is necessary so that the air bubbles go outside as quickly as possible. Then the surface will turn out even. For everything about everything you will have 40 minutes. At their expiration, the solution will begin to thicken a little, so it remains only to wait for time and let it freeze completely. The optimal thickness of the bulk floor should be at least 5 mm.

In order for the floor not to dry out, but freeze evenly and thoroughly, it is necessary to provide a normal temperature regime (+5 ... 25 s) in the room, humidity (not higher than 4%). You will also need to close the windows from bright sunlight, and after solidification, cover the floor with foil or plastic film.
After solidifying the first layer (after 48 hours after 48 hours), subsequent decorative with chips or other fillers or a transparent polyurethane coating are applied.
In some cases, polyurethane flooring is poured in 2 stages. The first device of the alignment of the base. For it, a mixture for polyurethane bulk floor is used. At the same time, the flooded floor is abundantly sprinkled with fine -fractional sand (consumption 1.5 kg per 1 m2). After the floor is filled with sand, walking on it, even in flat stations, is no longer recommended. After polymerization of the base (at a temperature of +20C it takes 12 hours), excess sand is removed, the surface is thoroughly exhausted, covered with a thin layer of polyurethane. The second stage is the direct device of the bulk floor, as indicated at the beginning of this section.
Stage 8 seam cutting
In bulk floors, as in concrete, it is important to cut the seams after solidifying the solution. In the surface, a cutter is made to a third part from the thickness of the polymer layer. The recess is filled with a seal (lace), and is covered with sealant from above. Do this in order to avoid cracks. At the same time, the seams in the bulk floors are trying to make according to the same scheme as they were laid in a concrete base. This is especially important for large rooms.
When working with polymer mixtures, it is very important to adhere to safety measures. It is necessary to provide reliable ventilation in the room (but avoid drafts) and use protective agents such as gloves and a respirator. So you will create beauty in your house without prejudice to your health.
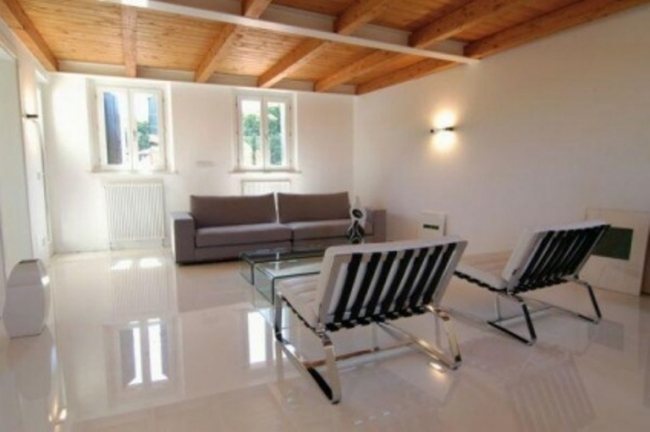
Brilliant, reflecting the light of bulk floors will make any room both stylish, spacious, and beautiful.

